Prop project
Posted: Tue Oct 06, 2020 10:44 pm
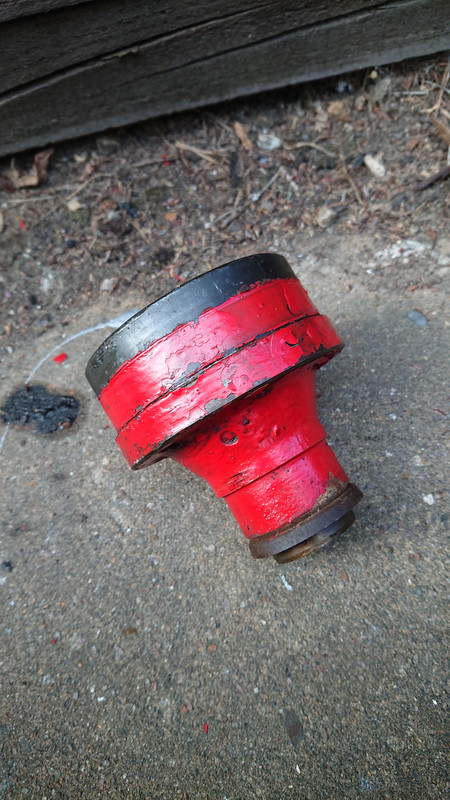
Looking under the 2.8 a little while back I spotted this split in the rubber on the central joint of the prop shaft.
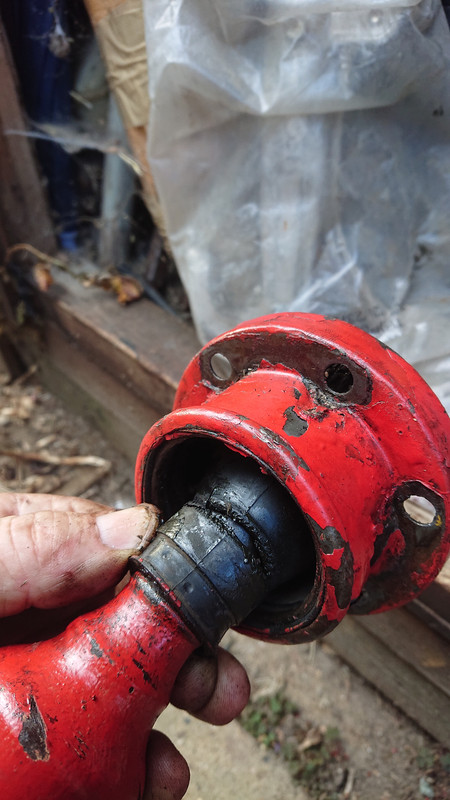
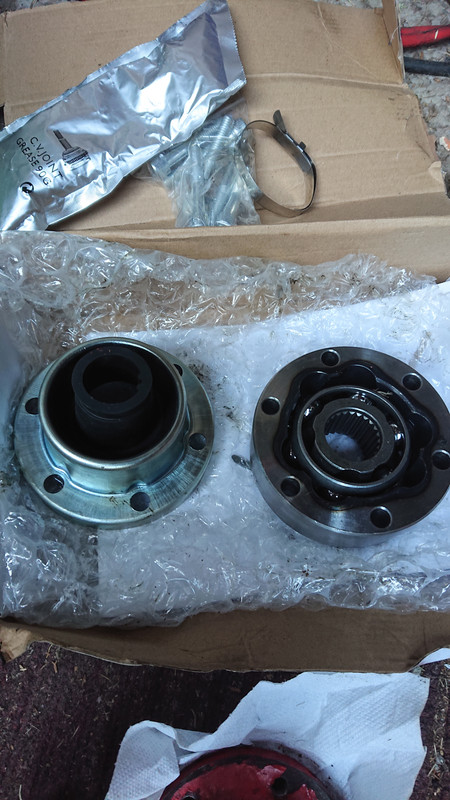
I'm not sure if the rubber is available on its own but I found a kit for the whole central CV joint so decided to do a refurb. This is the kit
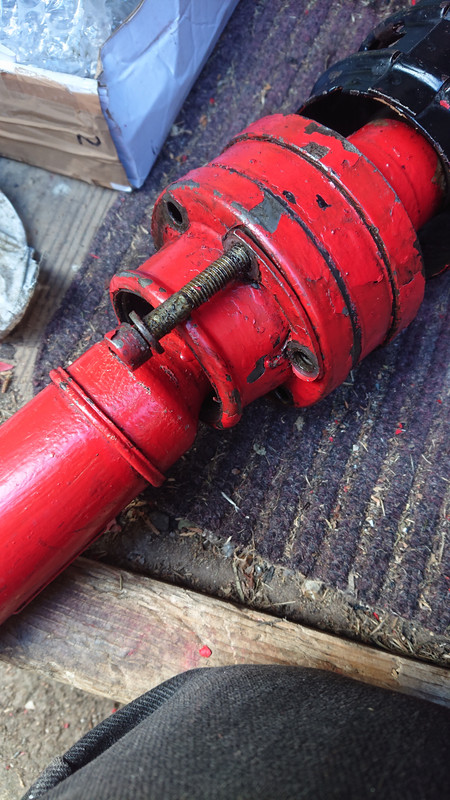
The joint is held together with 6 bolts which need to be removed
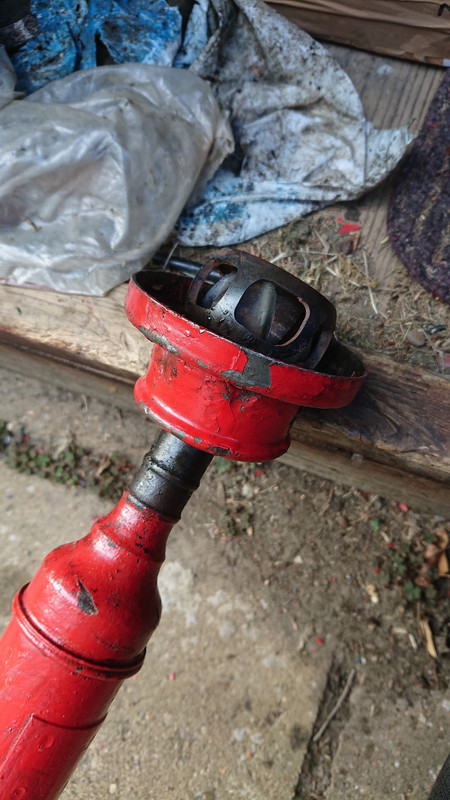
My shaft came apart with the bearing cage attached to this side - there are several large ball bearings in this cage.
This section is on a spline and will need a puller or a little brute force to get apart - brute force in my case hence the dented housing!
This is the other half

There is a bolt in the centre which needs to be removed and then the central joint can be pulled free.
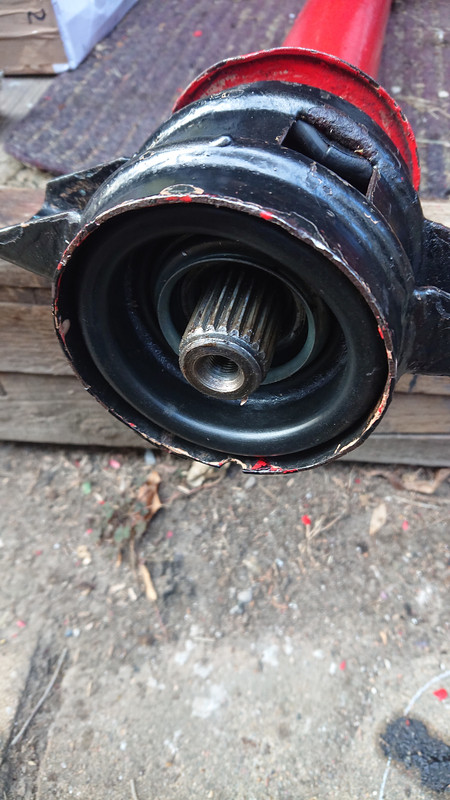
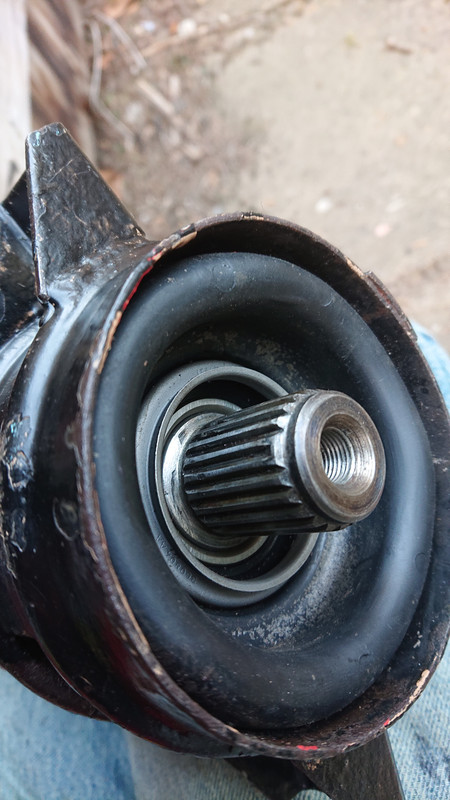
This allows access to the central bearing carrier
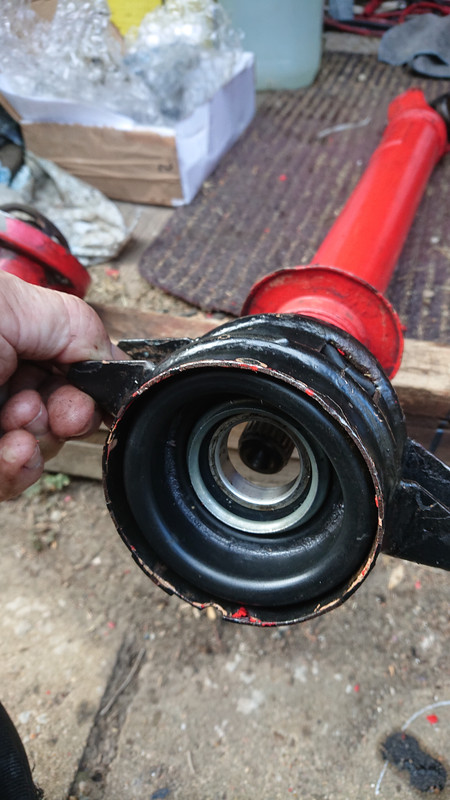
This should just slide off
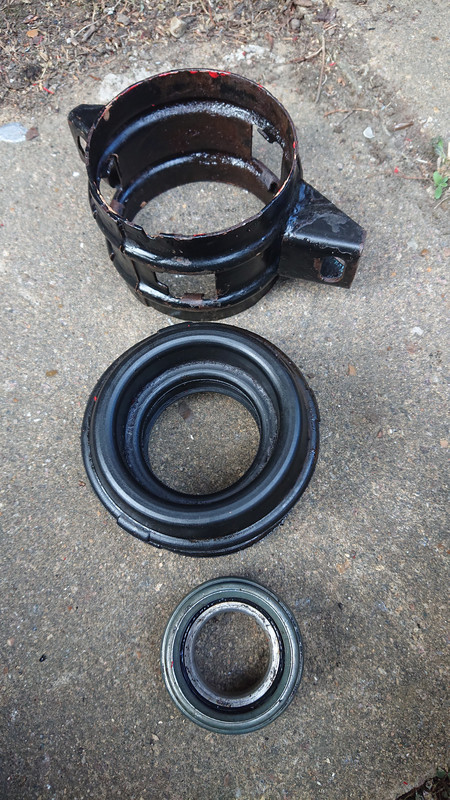
The centre breaks down in to 3 components
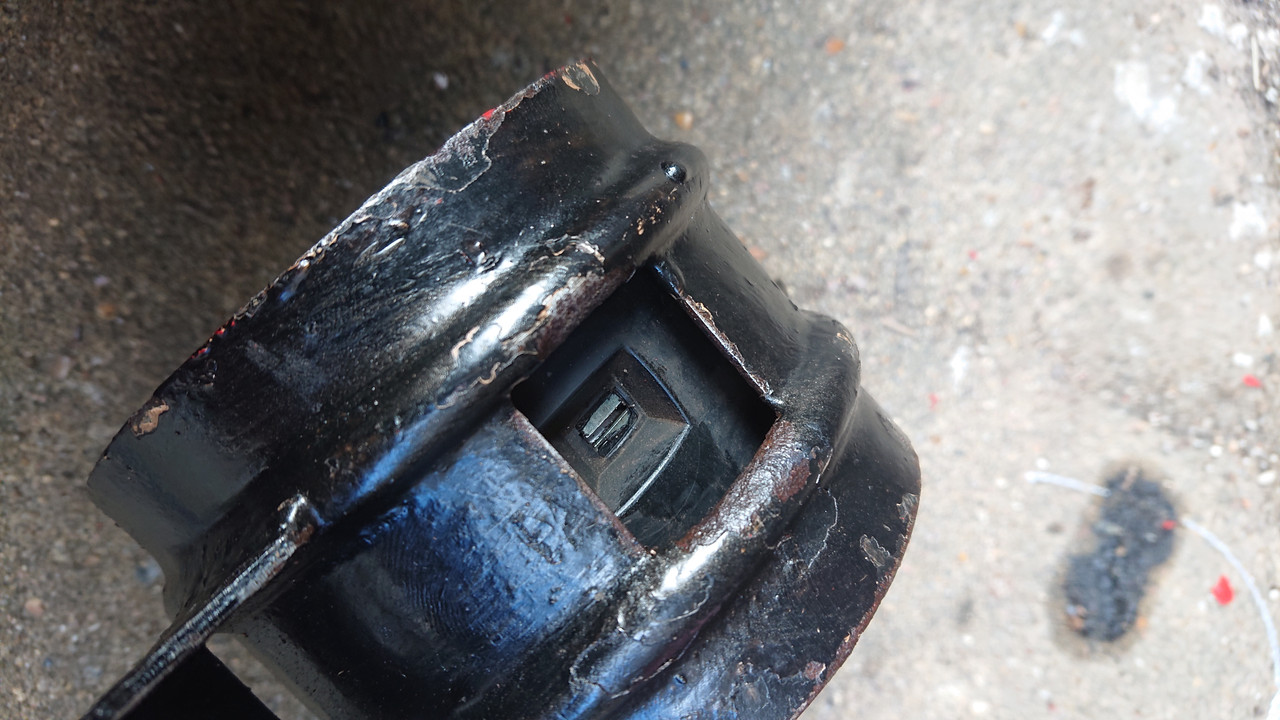
The rubber section is held in by metal tabs accessed through this hole
Reassembly is the reverse sequence

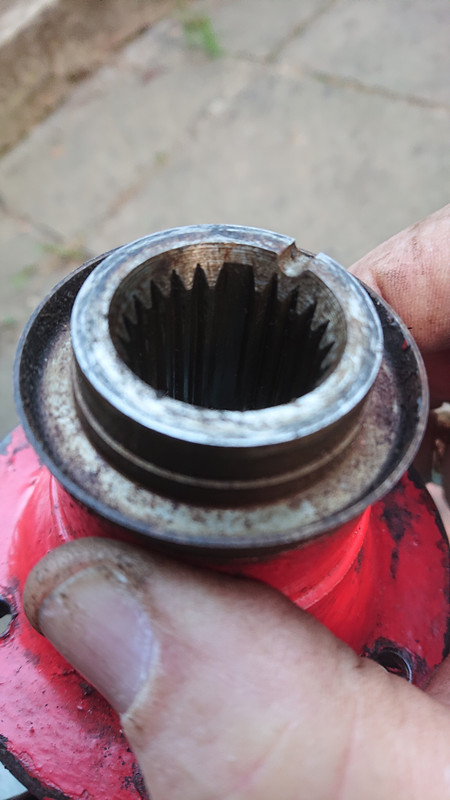
You will notice on this spline the larger section that is bridged at the top
This helps locate the next section which will only fit one way - there is a larger gap just left of the small cut out that lines up.
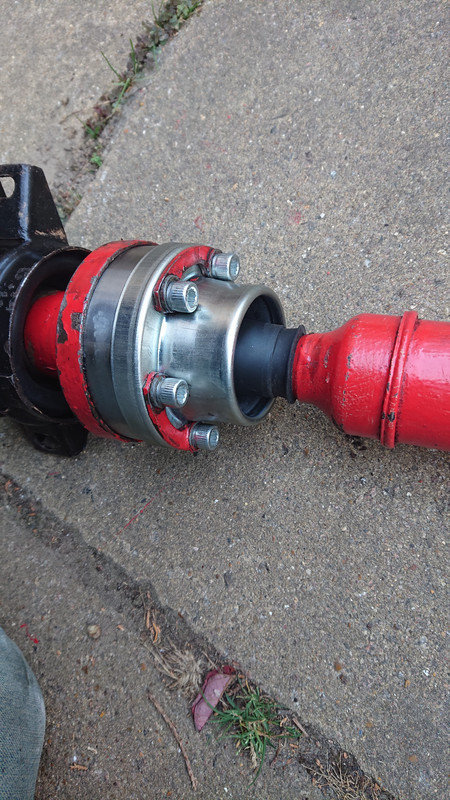
Pop the new CV joint over the splines and pack with the grease provided.
Refit all bolts according to torque settings and its ready to go back in the car
I'm not sure if the rubber is available on its own but I found a kit for the whole central CV joint so decided to do a refurb. This is the kit
The joint is held together with 6 bolts which need to be removed
My shaft came apart with the bearing cage attached to this side - there are several large ball bearings in this cage.
This section is on a spline and will need a puller or a little brute force to get apart - brute force in my case hence the dented housing!
This is the other half
There is a bolt in the centre which needs to be removed and then the central joint can be pulled free.
This allows access to the central bearing carrier
This should just slide off
The centre breaks down in to 3 components
The rubber section is held in by metal tabs accessed through this hole
Reassembly is the reverse sequence
You will notice on this spline the larger section that is bridged at the top
This helps locate the next section which will only fit one way - there is a larger gap just left of the small cut out that lines up.
Pop the new CV joint over the splines and pack with the grease provided.
Refit all bolts according to torque settings and its ready to go back in the car