Mini project - bumper corners
Posted: Sat Sep 23, 2017 8:19 pm
Hello. I have recently had my rear bumper powder coated, and thought I had better tidy up the corner caps before I fitted it back up.
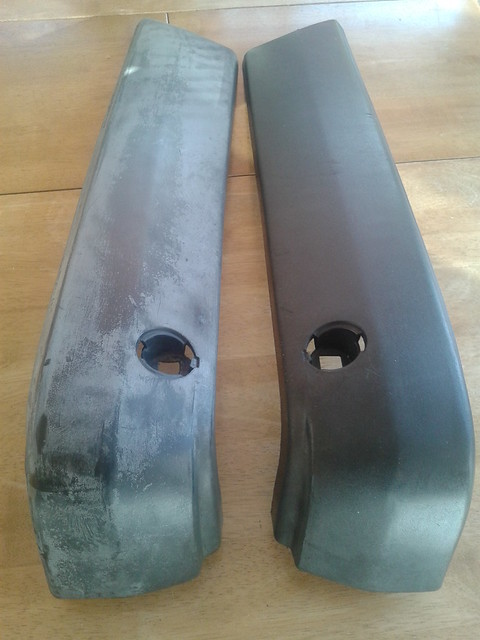
As you can see one is in good nick, but the other has suffered from being rubbed down and painted at some point in the long distant past and has then flaked off, faded, and generally has always looked pretty bad! In fact I think it is one of the worst I have ever seen, ironic that it's on my car.
What I want to do is get them looking vaguely similar and a bit more presentable.
All I've done here is clean them up with kitchen cleaner and give them a scrub all over with a green pot scourer.
Unfortunately the rough one also has a bit of a kink in it:
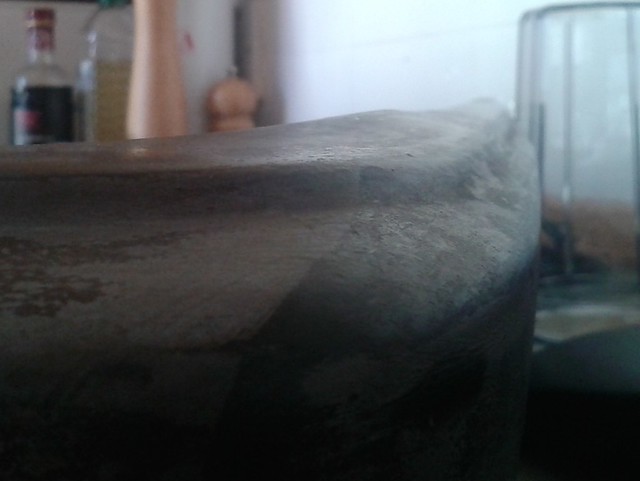
So first job warm up over a good hot heat source and then hold it in the right shape for half a minute.
Very easy to get the edges a bit hot and melty, so it pays to not over-do it and not get too close to the flame.

Much better shape after that:
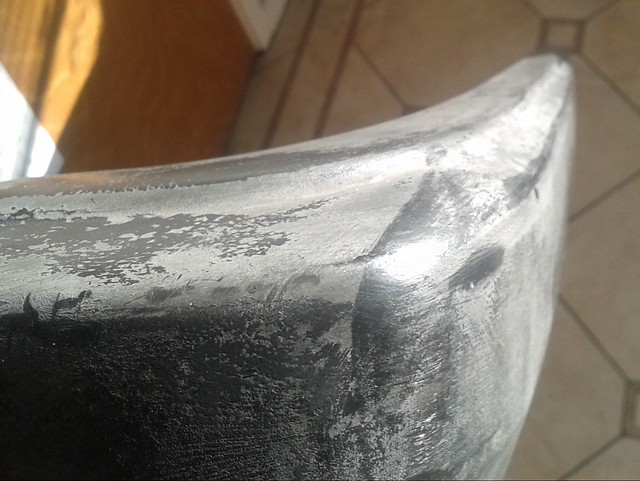
Then into the garden for a few coats of HALFORDS FLEXIBLE VINYL PAINT, what else?
The problem with them as a pair is that one is the correct texture and the other has been messed about so much its got smooth patches and proper textured bits, but the paint has kind of evened it up a bit and they look much better together.
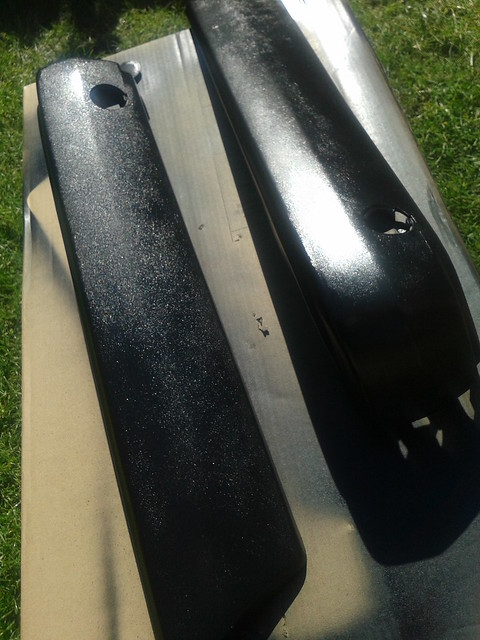
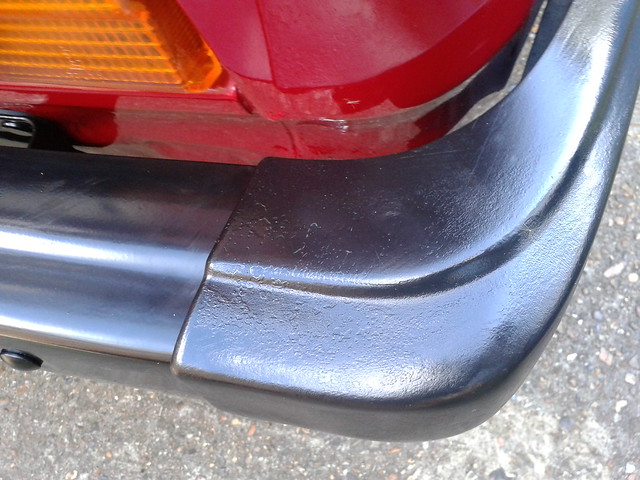
It was a warm afternoon Friday when I did it, so all dried off quick in the sun. Then onto the ends of the refurbed bumper. Here's detail of the formerly rough one. Not perfect, but a massive improvement.
and the other side.

Total cost £9.99 for the can of paint.
As you can see one is in good nick, but the other has suffered from being rubbed down and painted at some point in the long distant past and has then flaked off, faded, and generally has always looked pretty bad! In fact I think it is one of the worst I have ever seen, ironic that it's on my car.
What I want to do is get them looking vaguely similar and a bit more presentable.
All I've done here is clean them up with kitchen cleaner and give them a scrub all over with a green pot scourer.
Unfortunately the rough one also has a bit of a kink in it:
So first job warm up over a good hot heat source and then hold it in the right shape for half a minute.
Very easy to get the edges a bit hot and melty, so it pays to not over-do it and not get too close to the flame.
Much better shape after that:
Then into the garden for a few coats of HALFORDS FLEXIBLE VINYL PAINT, what else?
The problem with them as a pair is that one is the correct texture and the other has been messed about so much its got smooth patches and proper textured bits, but the paint has kind of evened it up a bit and they look much better together.
It was a warm afternoon Friday when I did it, so all dried off quick in the sun. Then onto the ends of the refurbed bumper. Here's detail of the formerly rough one. Not perfect, but a massive improvement.
and the other side.
Total cost £9.99 for the can of paint.