My 1986 capri laser project
Posted: Wed May 10, 2017 7:25 pm
its about time i introduce you all to my capri project thats been sat at my mums for a few years, ive had this car since 2008 as all of you will remember this was before they became subject to omgoldfordtax, ive copied and paste from another site to get you all up to date
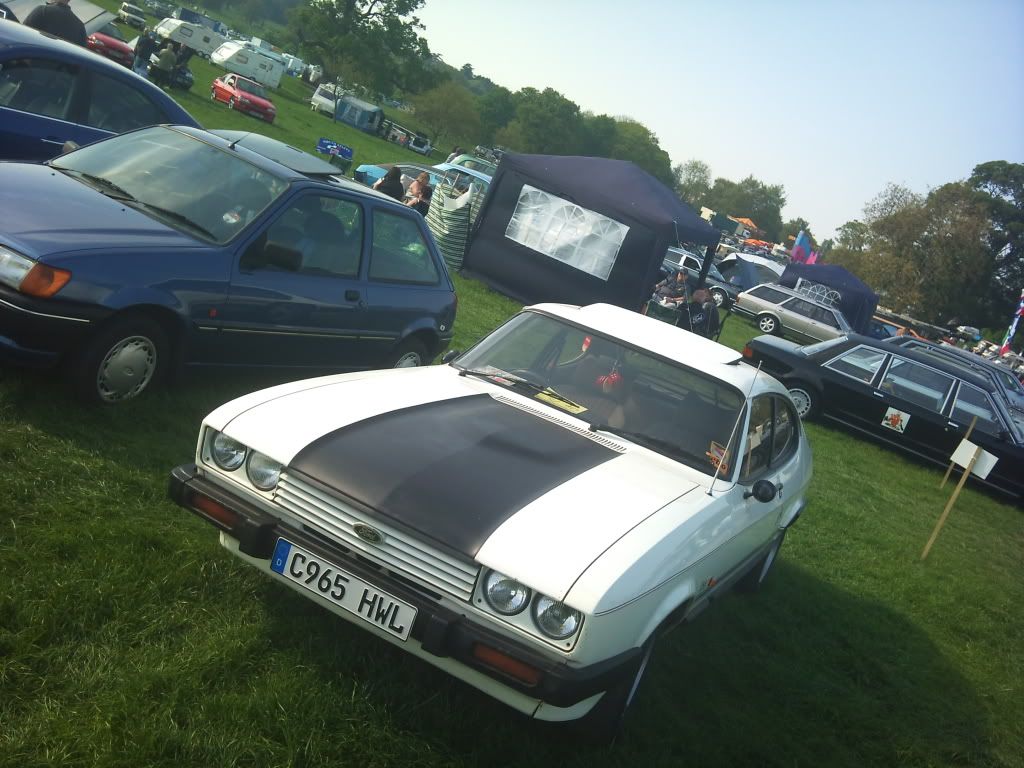
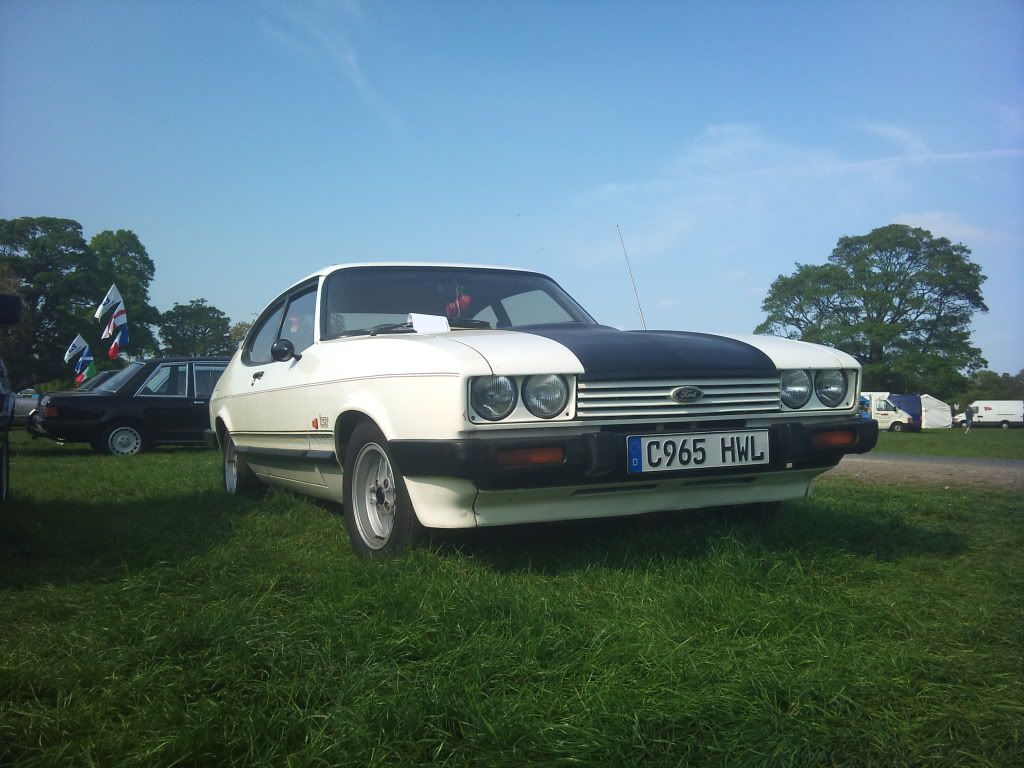
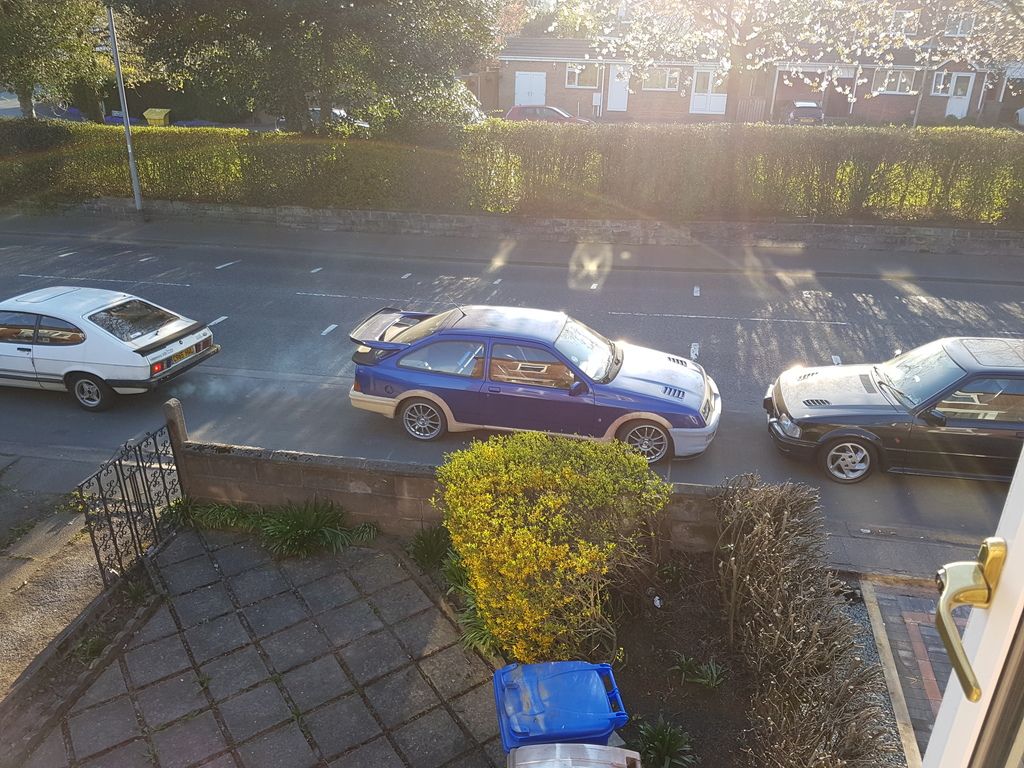
I loved driving this car looking down that long bonnet
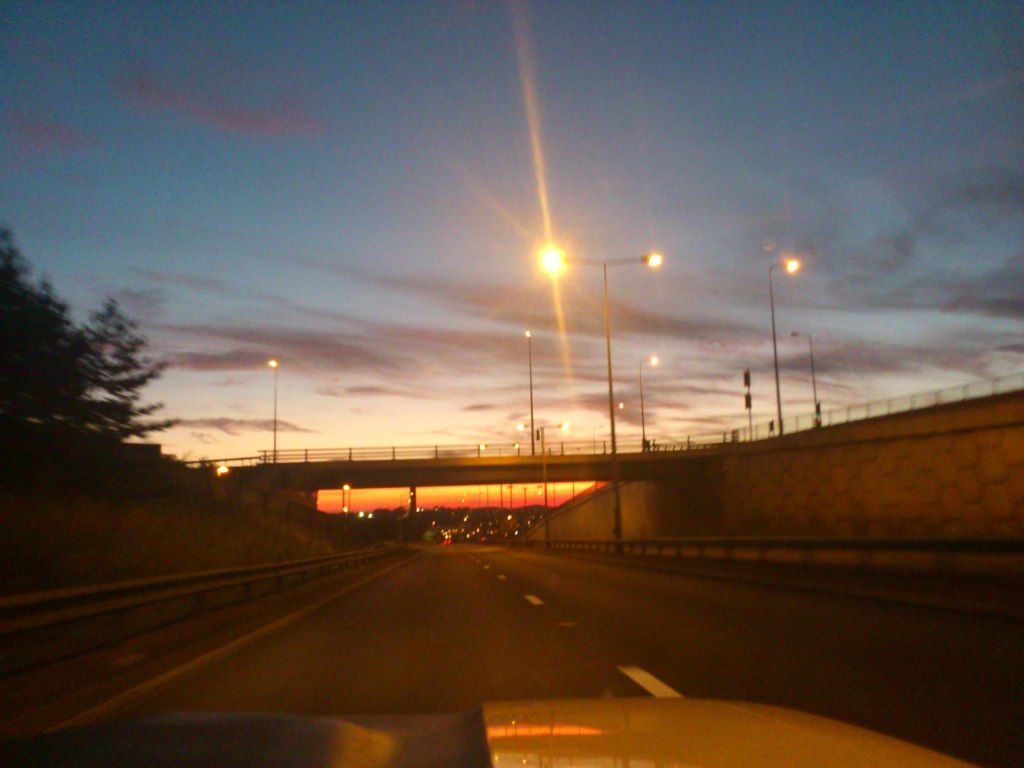
it was my daily car up until 4 years ago when i had an unfortunate accident, a roundabout was covered in diesel, i went around and understeered and hit a railing, there was nothing i could do
[url="
[url="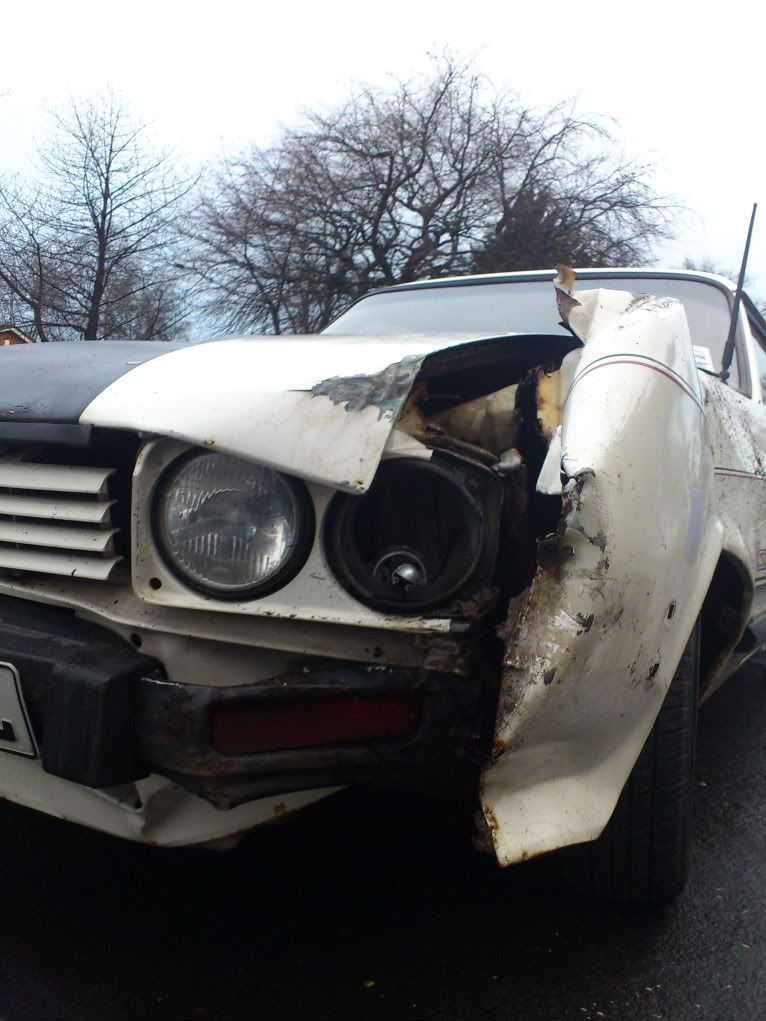
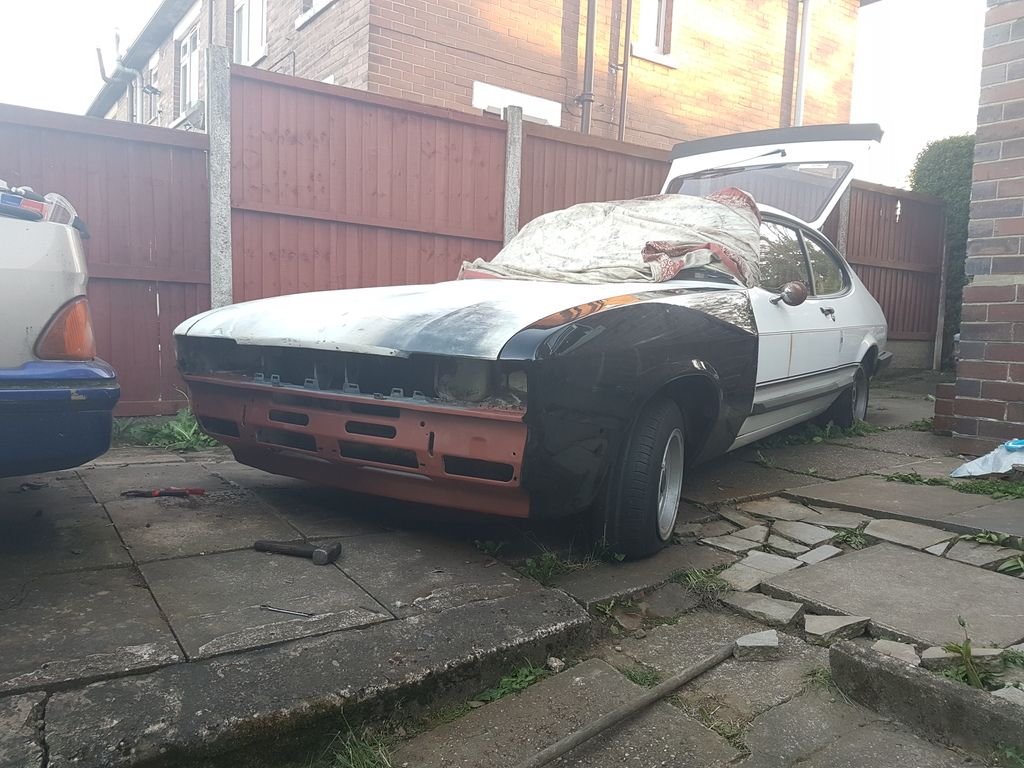
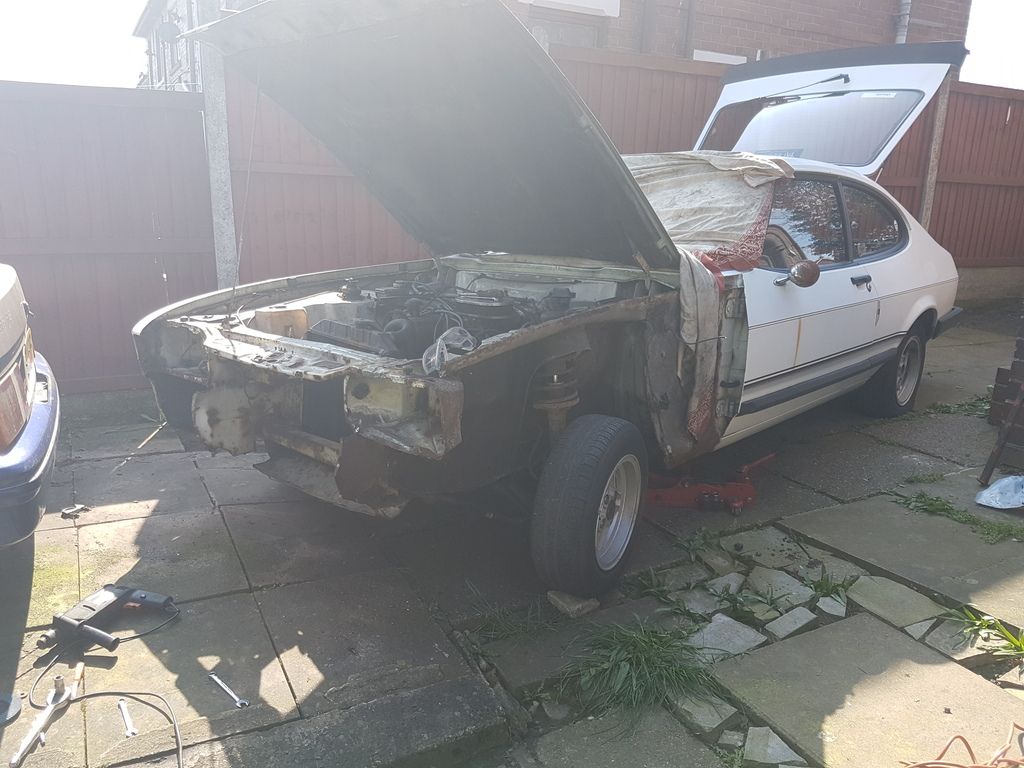
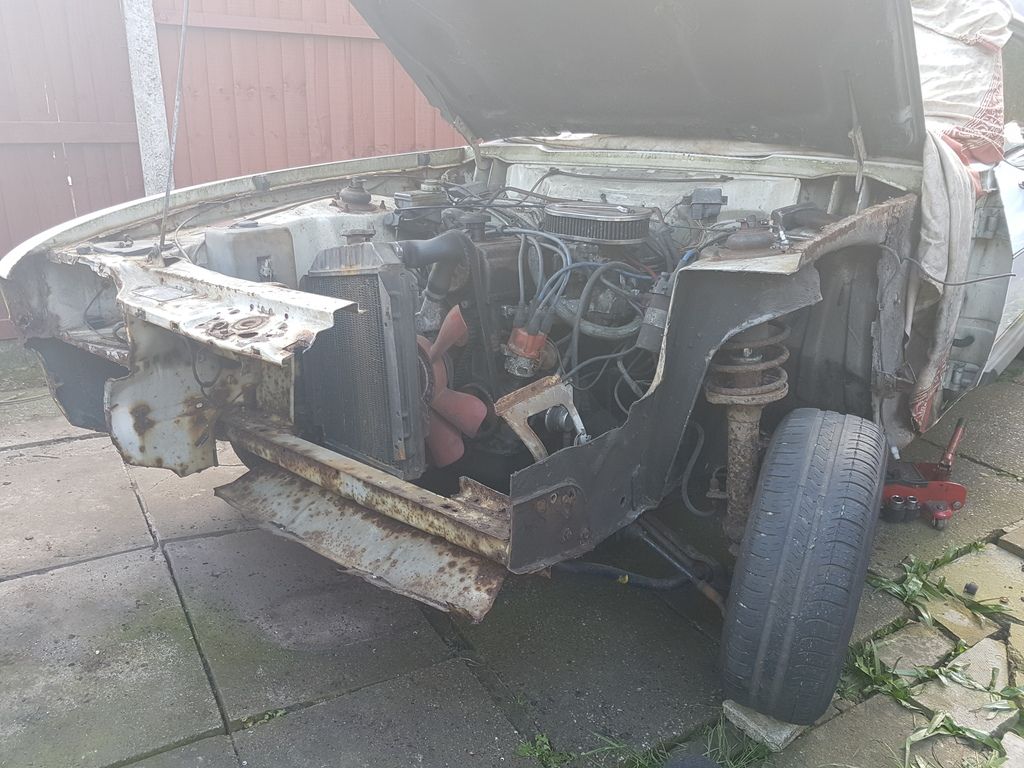
The accident crumpled the inner wing, headlamp bowl, wing, valance, bumper, it bent the steering arm, buggered the rack and arb mount, a good mate popped up and we heated the headlamp bowl and pulled it straighter with a chain and pulley on a telegraph pole, another mate whose a breaker raided his parts for replacements for me and i got it looking like a car again so i could drive it, my insurance cat c the car but i wasnt too fussed, i drove it up until the m.o.t ran out then parked it up at my mums to work on as i had no space, i started collecting as many new parts as i could for it, i even bought another to break in my neighbours drive which i cut the inner wing out of as a repair section, the only downfall is mum works nights so i cant start tin bashing in the day, so i mainly did mechanical things, she used to get no end of people door knocking to buy it, a week ago I decided to make some space and actually fire into it, so i popped up put a battery on and she fired into life, the brakess were still free, it's like it was just waiting to be saved
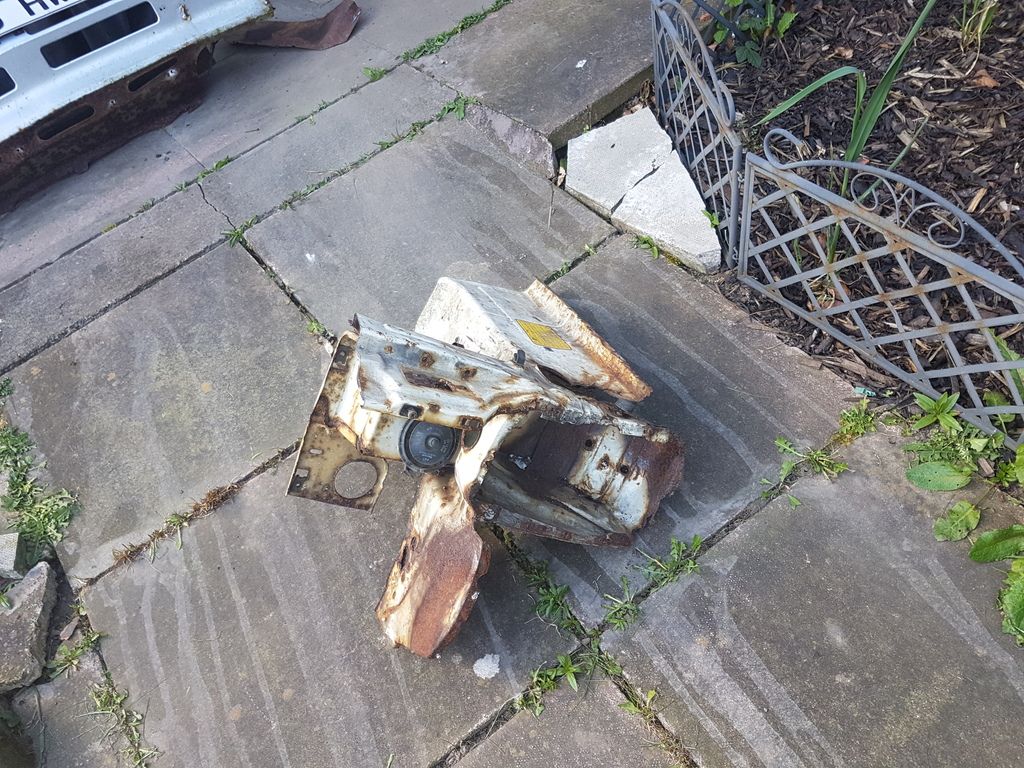
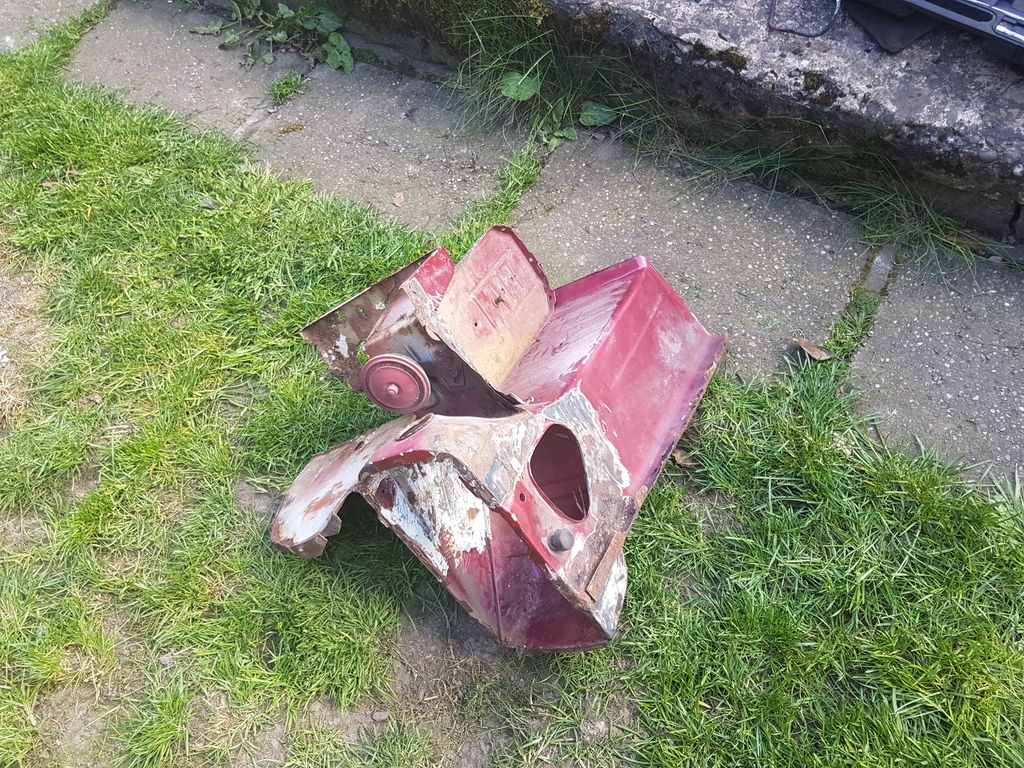
I then proceeded to strip it down, Look at the twist in that headlamp bowl
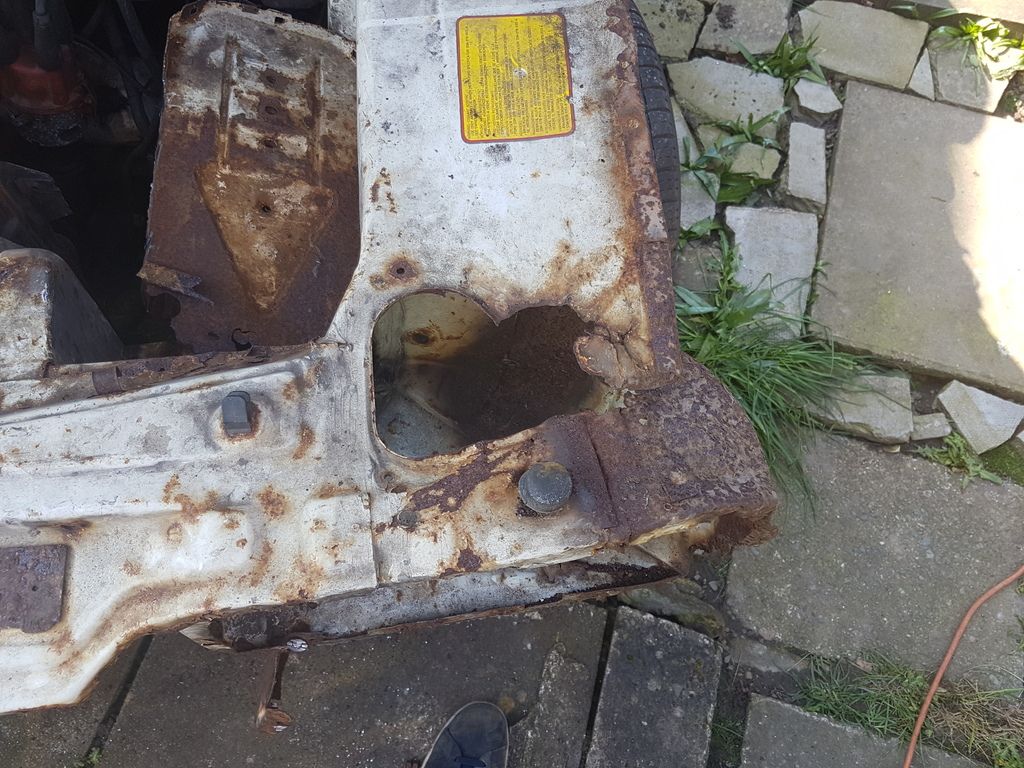
surgery begins
I also had to do a rust repair to the inner wing and the strengthener but havnt got a picture
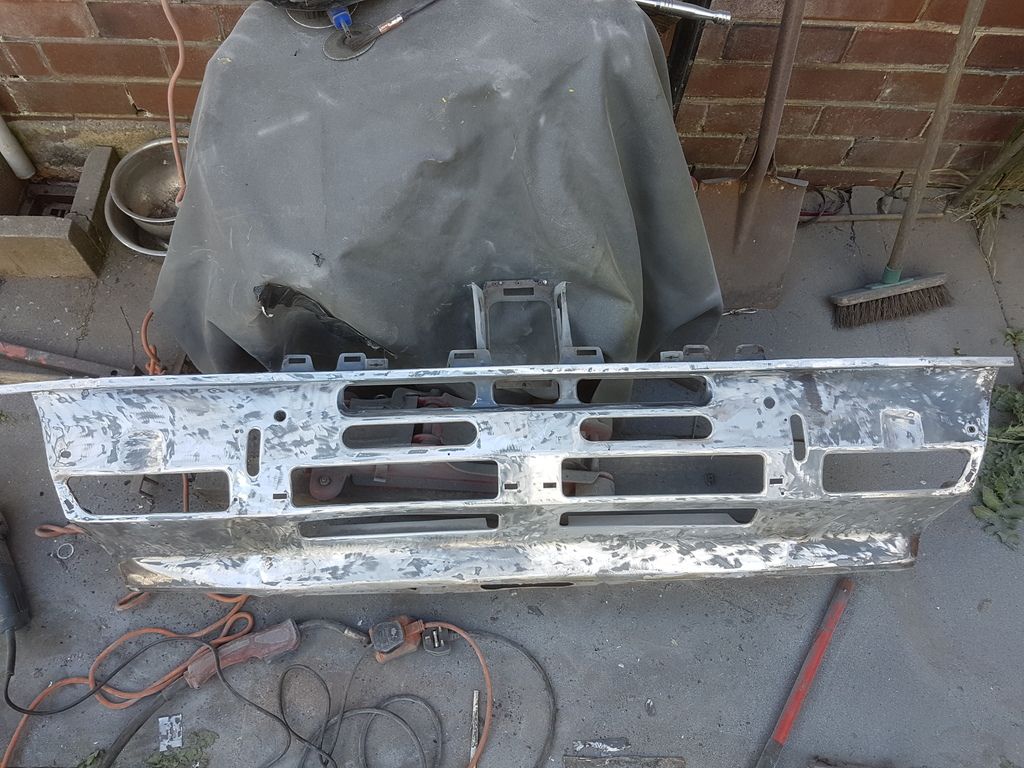
Bring in the replacement
Grafted in

You notice the wing rail is rotten but before i could replace that i had to repair a common rot spot, i replicated all 3 skins as i wanted it to be spot on
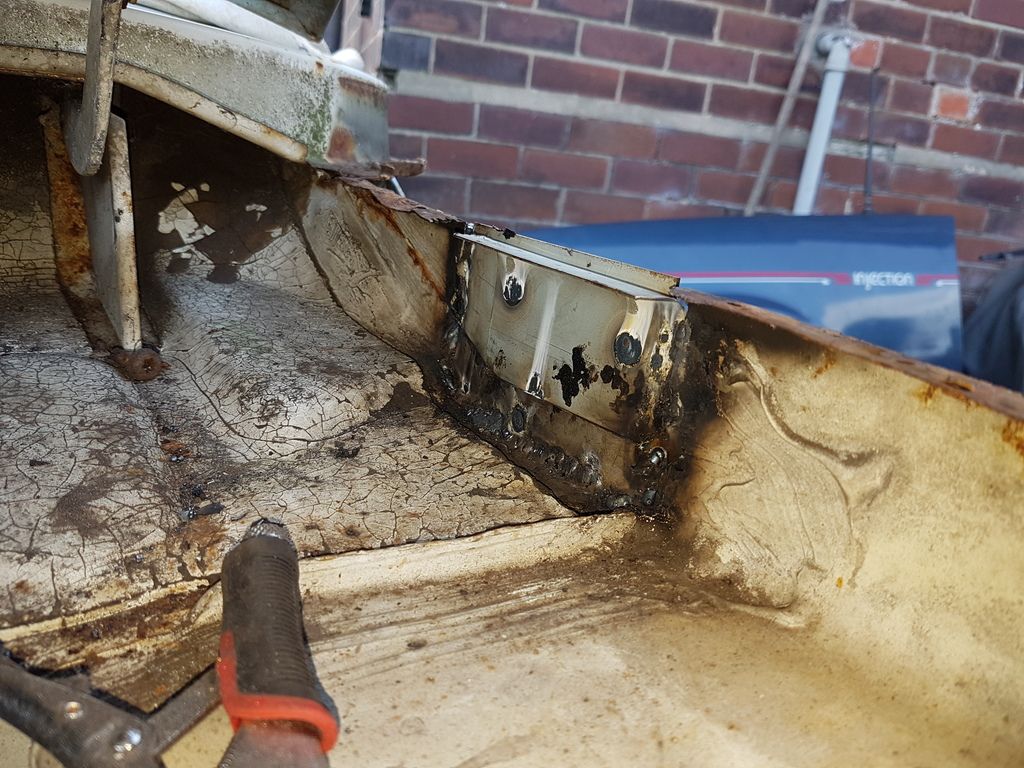
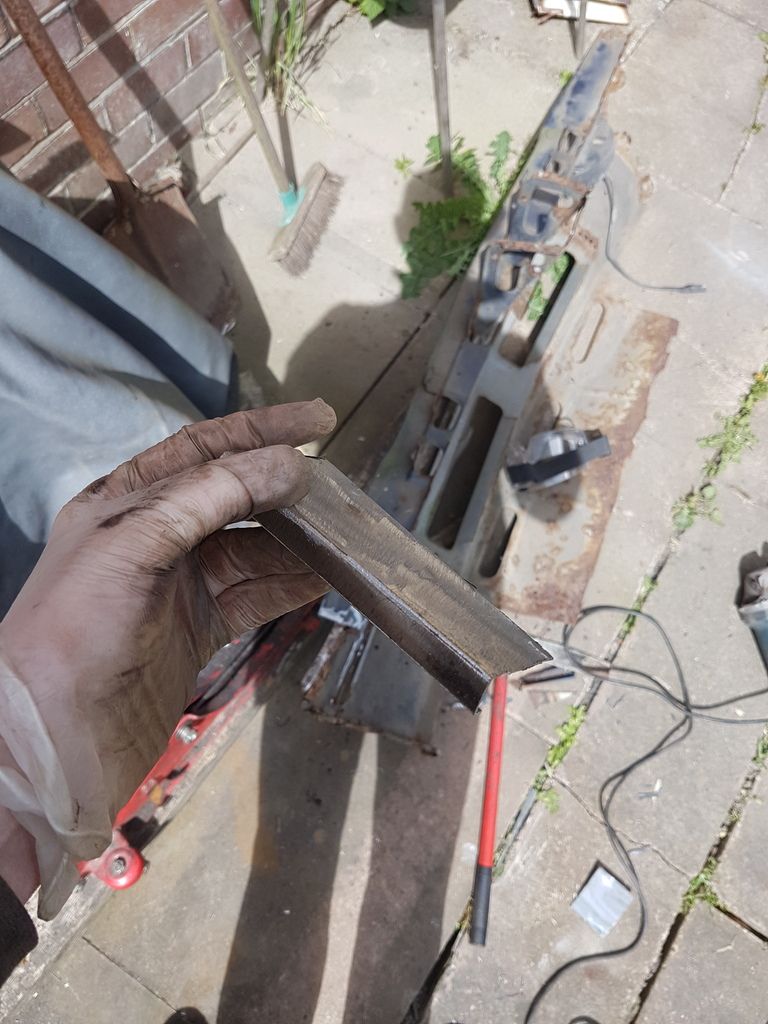
Then it was time for the wing rail
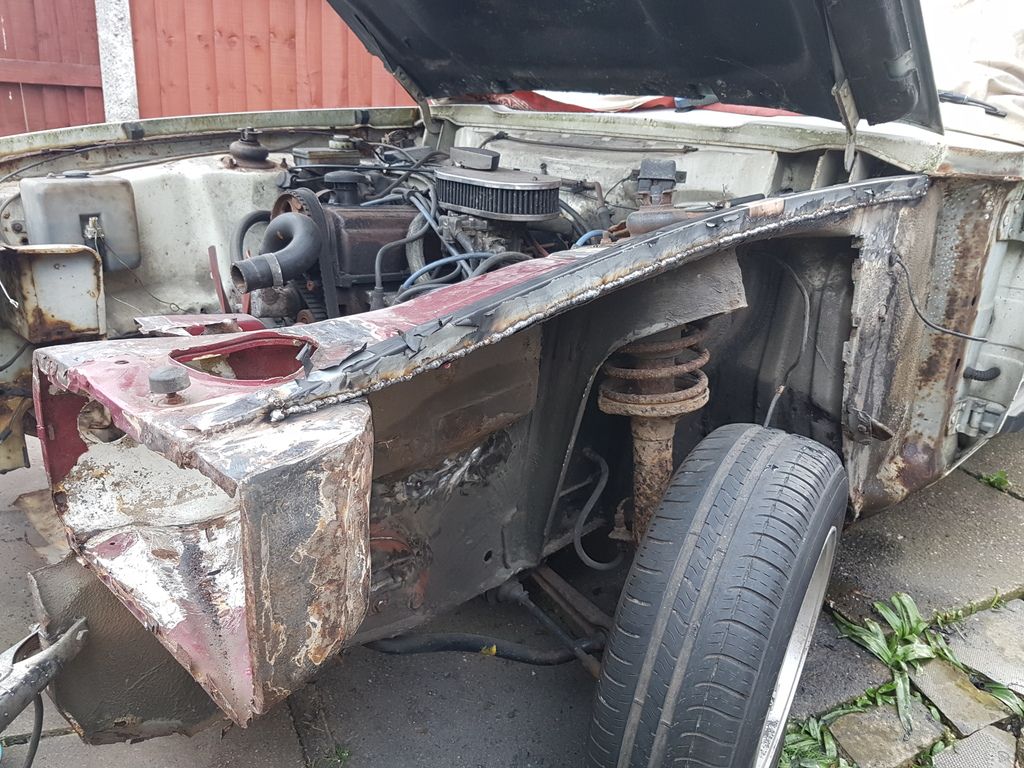
The rust marks you can see in the pictures on the crossmember etc are literally that, a tickle with the flap disk and its clean steel
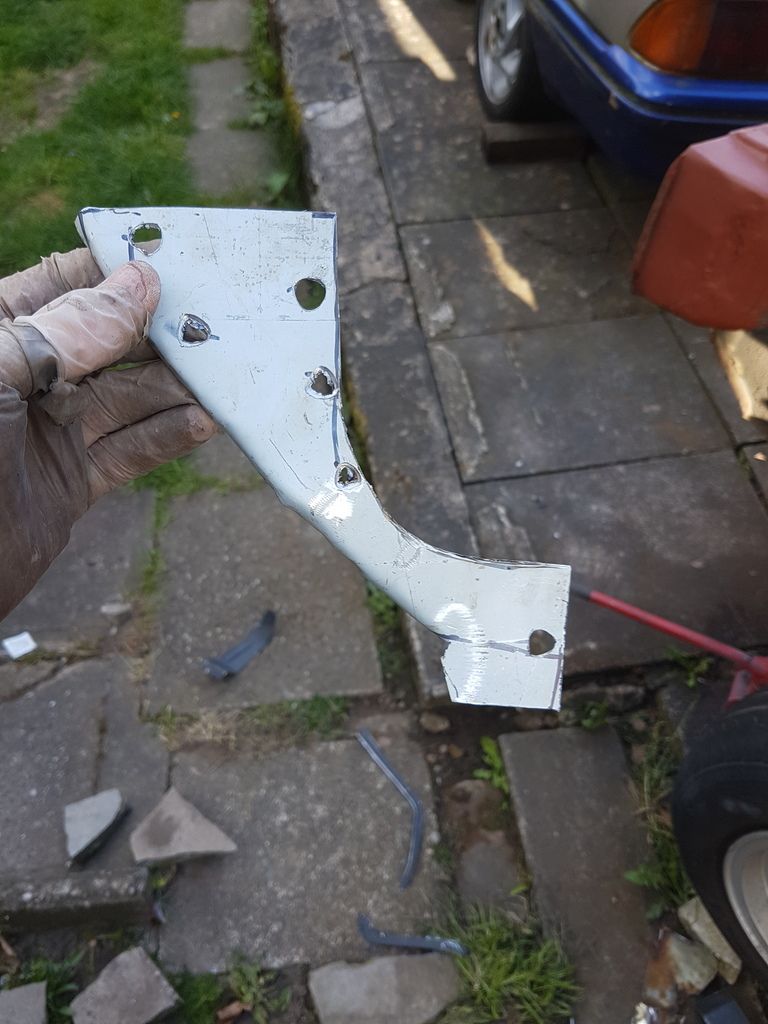
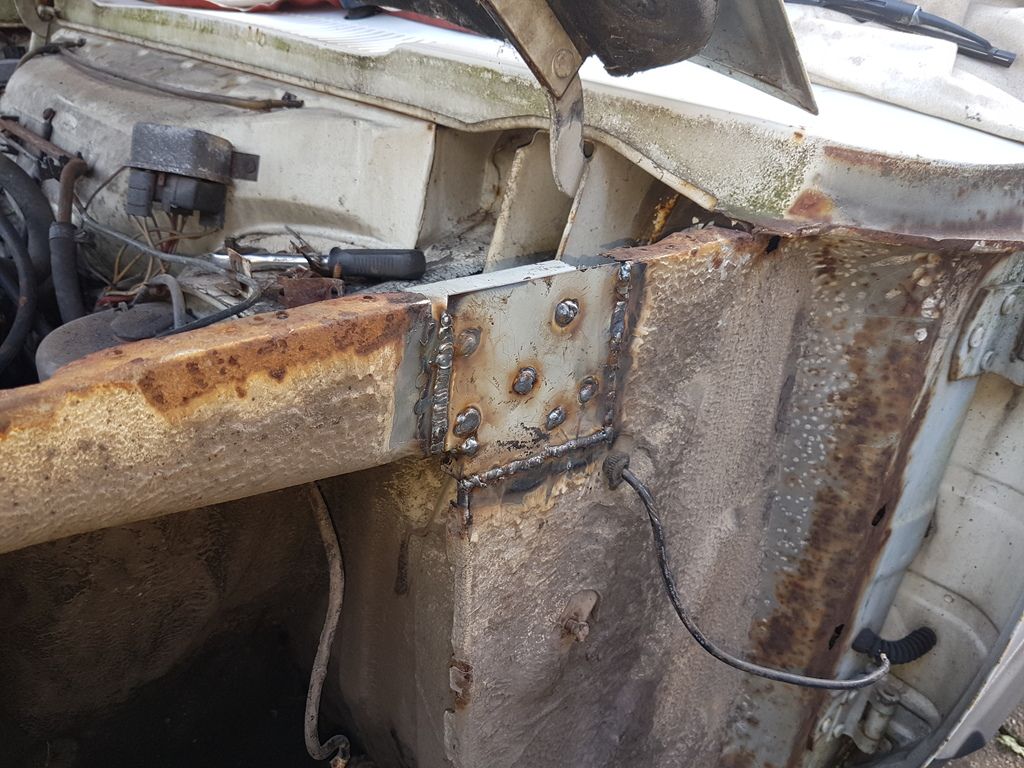
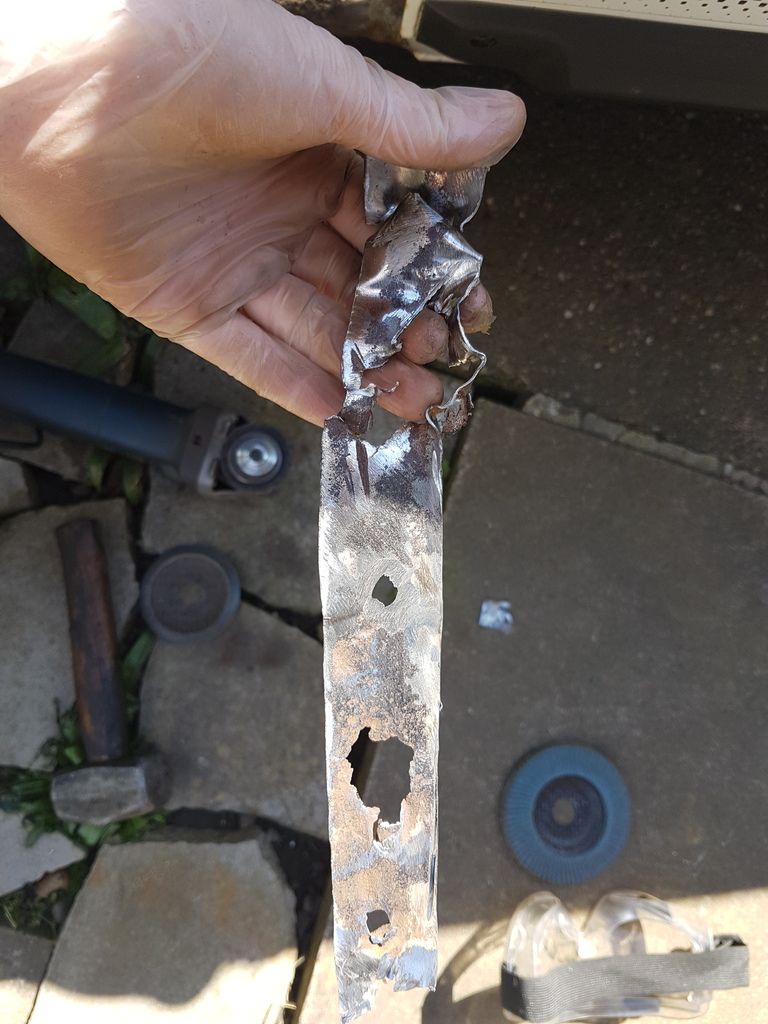
A couple of hours to kill so decided to do a bit on this, i made 1 or 2 small holes on the a pillar behind the wing so cut the area out
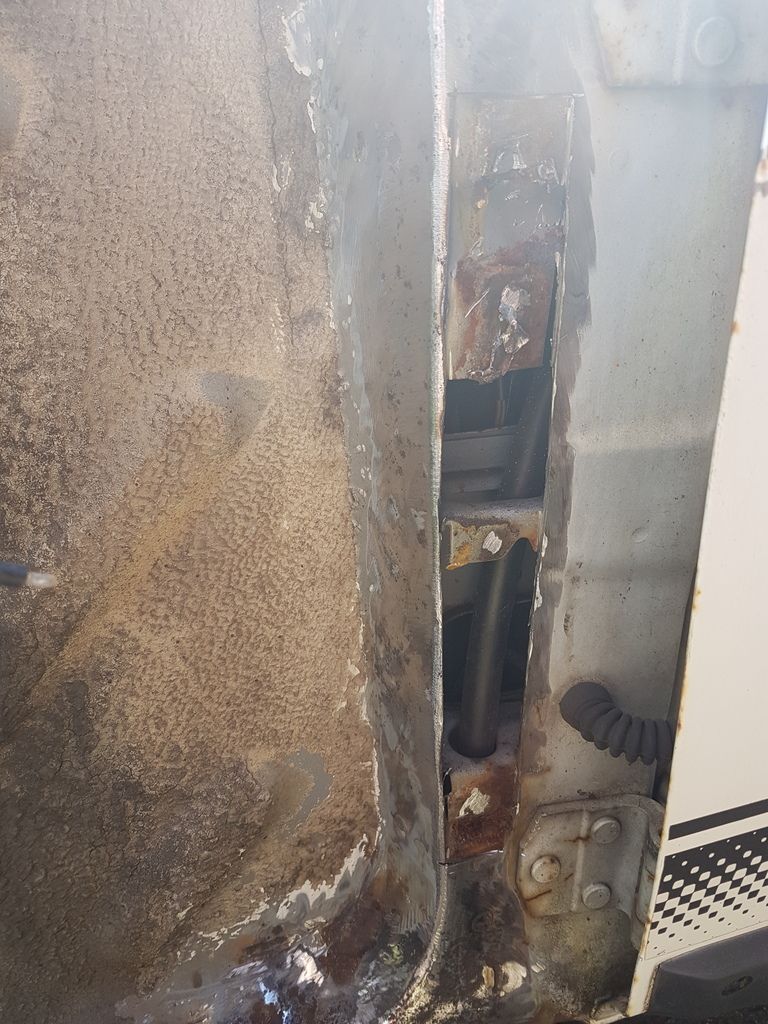
The inner structure cleaned up nice, most of the area i removed was shiney steel but there was a rust peppering
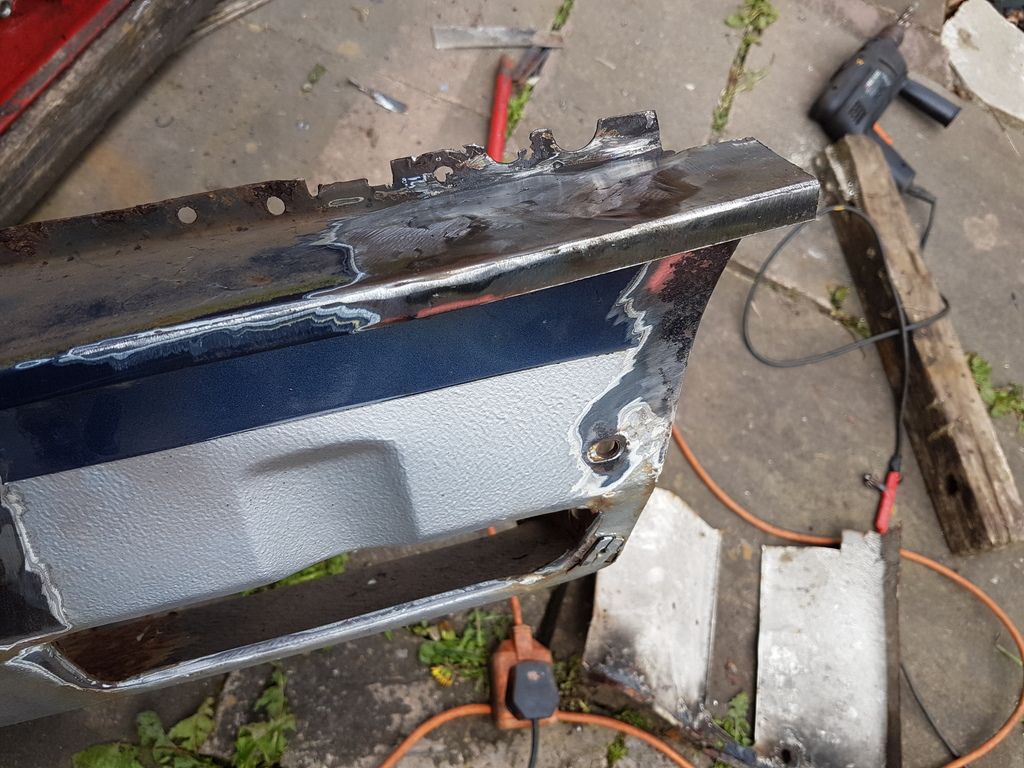
A bit of hot metal glue
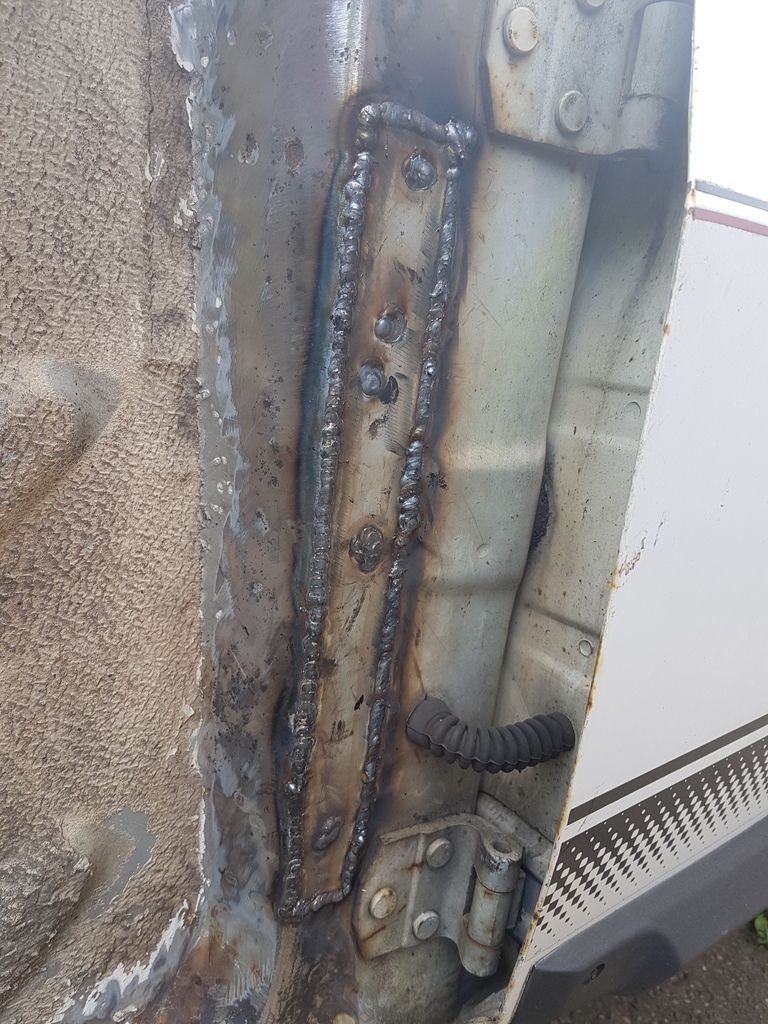
Welds flapped back a bit and primered, i havnt flushed them properly, this will get done at the prep and paint stage

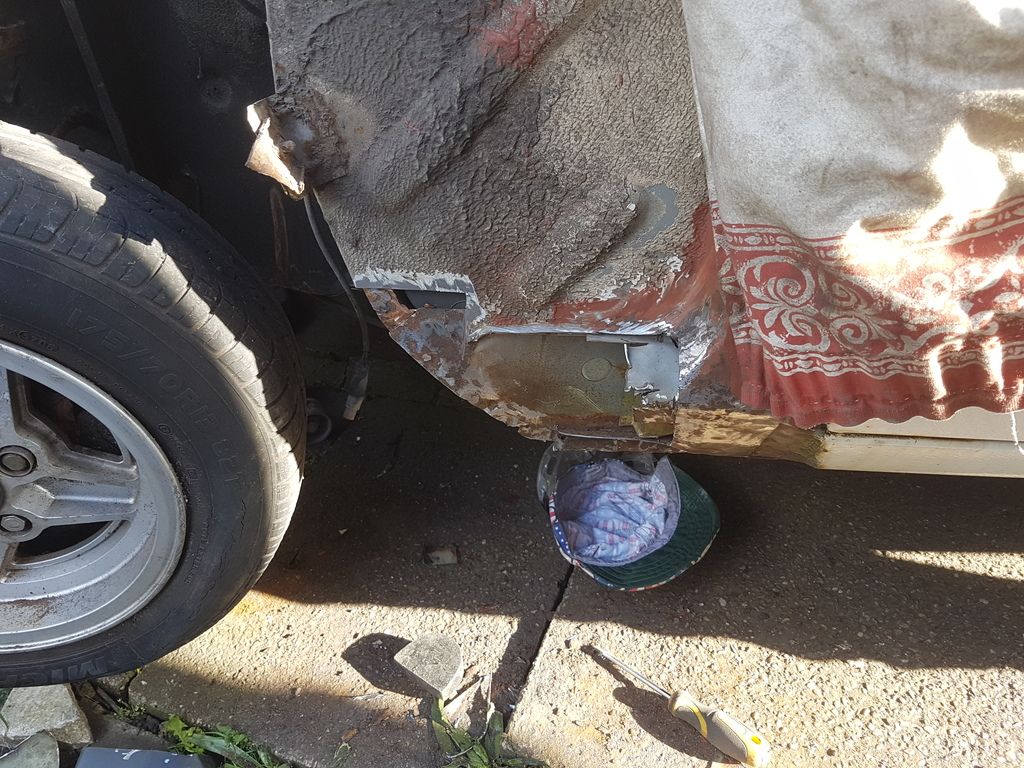
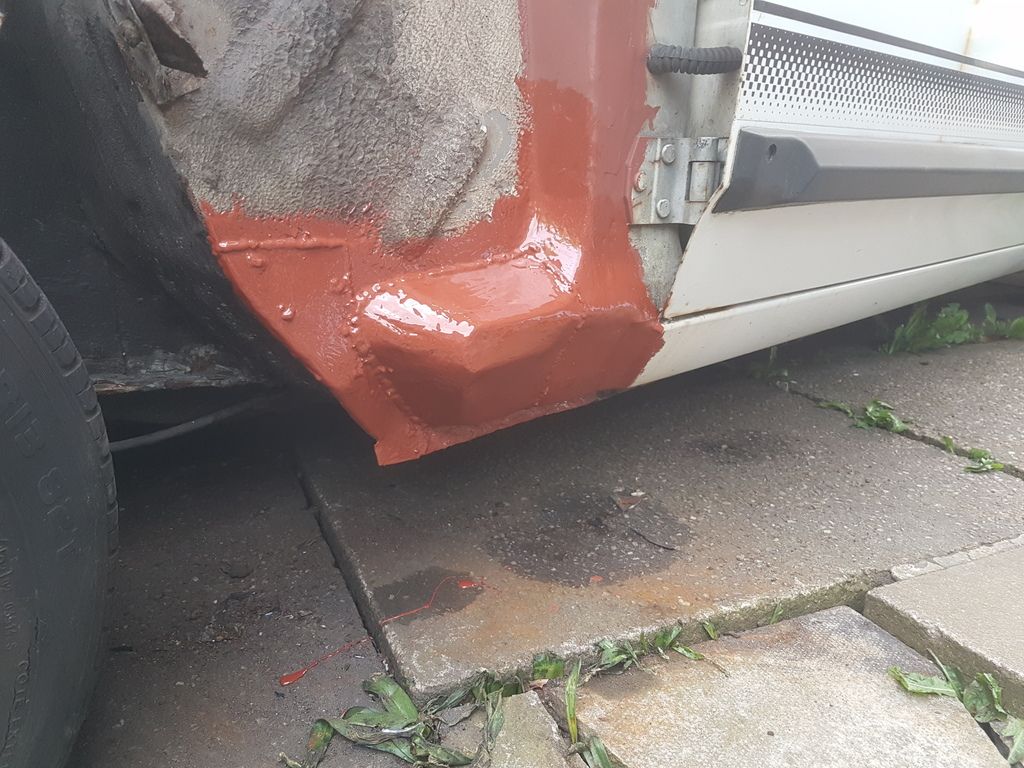
I also let a patch in just under the scuttle but it was that small its nothing to write home about, next up the bulge at the front of the sill, i hit it a few times with a hammer and made a hole but im in no way surprised they all rot there, i am surprised at how good the regular capri rot spots are though I expected to weld much more
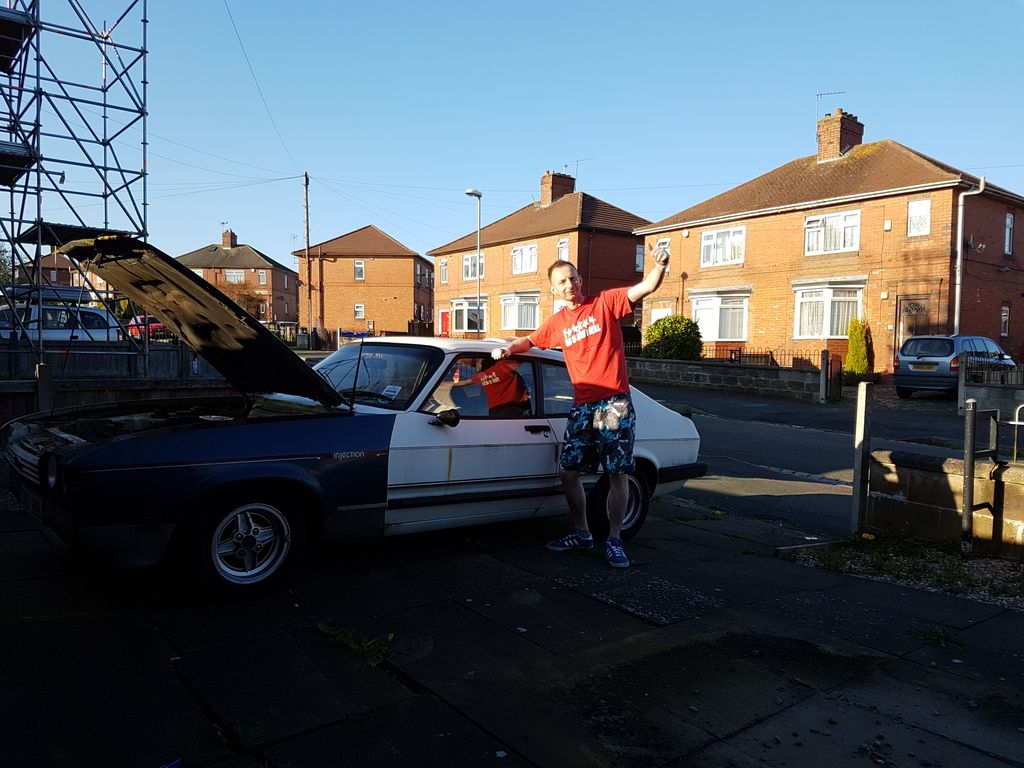
We're pretty much up to date with the repairs, i'll update when i can, when everything is done metalwork wise, im going to be doing an engine conversion to give it a little more go
I loved driving this car looking down that long bonnet
it was my daily car up until 4 years ago when i had an unfortunate accident, a roundabout was covered in diesel, i went around and understeered and hit a railing, there was nothing i could do
[url="
[url="
The accident crumpled the inner wing, headlamp bowl, wing, valance, bumper, it bent the steering arm, buggered the rack and arb mount, a good mate popped up and we heated the headlamp bowl and pulled it straighter with a chain and pulley on a telegraph pole, another mate whose a breaker raided his parts for replacements for me and i got it looking like a car again so i could drive it, my insurance cat c the car but i wasnt too fussed, i drove it up until the m.o.t ran out then parked it up at my mums to work on as i had no space, i started collecting as many new parts as i could for it, i even bought another to break in my neighbours drive which i cut the inner wing out of as a repair section, the only downfall is mum works nights so i cant start tin bashing in the day, so i mainly did mechanical things, she used to get no end of people door knocking to buy it, a week ago I decided to make some space and actually fire into it, so i popped up put a battery on and she fired into life, the brakess were still free, it's like it was just waiting to be saved
I then proceeded to strip it down, Look at the twist in that headlamp bowl
surgery begins
I also had to do a rust repair to the inner wing and the strengthener but havnt got a picture
Bring in the replacement
Grafted in
You notice the wing rail is rotten but before i could replace that i had to repair a common rot spot, i replicated all 3 skins as i wanted it to be spot on
Then it was time for the wing rail
The rust marks you can see in the pictures on the crossmember etc are literally that, a tickle with the flap disk and its clean steel
A couple of hours to kill so decided to do a bit on this, i made 1 or 2 small holes on the a pillar behind the wing so cut the area out
The inner structure cleaned up nice, most of the area i removed was shiney steel but there was a rust peppering
A bit of hot metal glue
Welds flapped back a bit and primered, i havnt flushed them properly, this will get done at the prep and paint stage
I also let a patch in just under the scuttle but it was that small its nothing to write home about, next up the bulge at the front of the sill, i hit it a few times with a hammer and made a hole but im in no way surprised they all rot there, i am surprised at how good the regular capri rot spots are though I expected to weld much more
We're pretty much up to date with the repairs, i'll update when i can, when everything is done metalwork wise, im going to be doing an engine conversion to give it a little more go