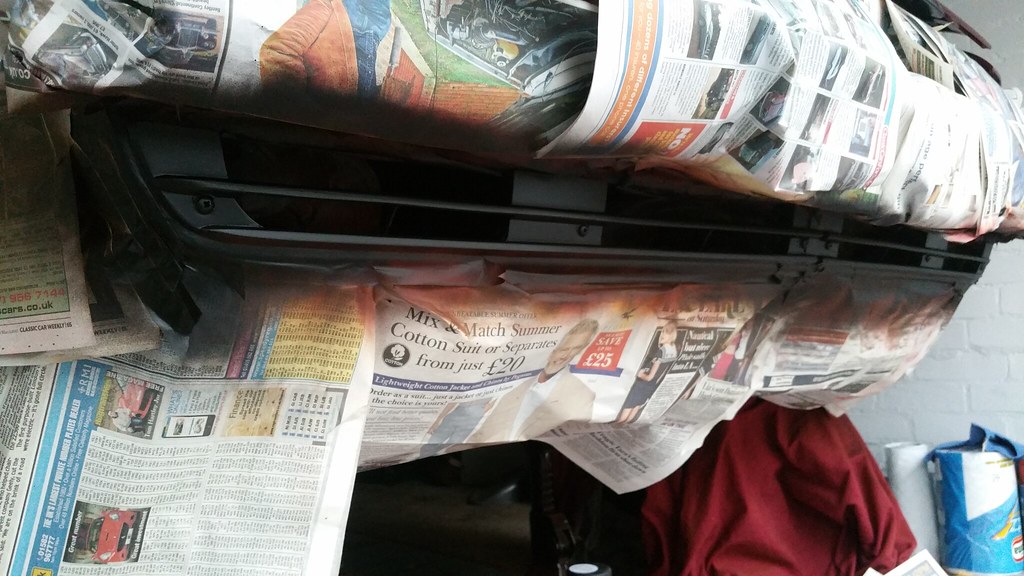
Some of you may know that I have been refurbishing my front valance due to spotting a couple of areas that needed attention sooner rather than later. Well I finally got the job finished yesterday as one thing lead to another and I ended up removing the bumper caps and over riders too and refurbishing/replacing these. Here's how I got on...
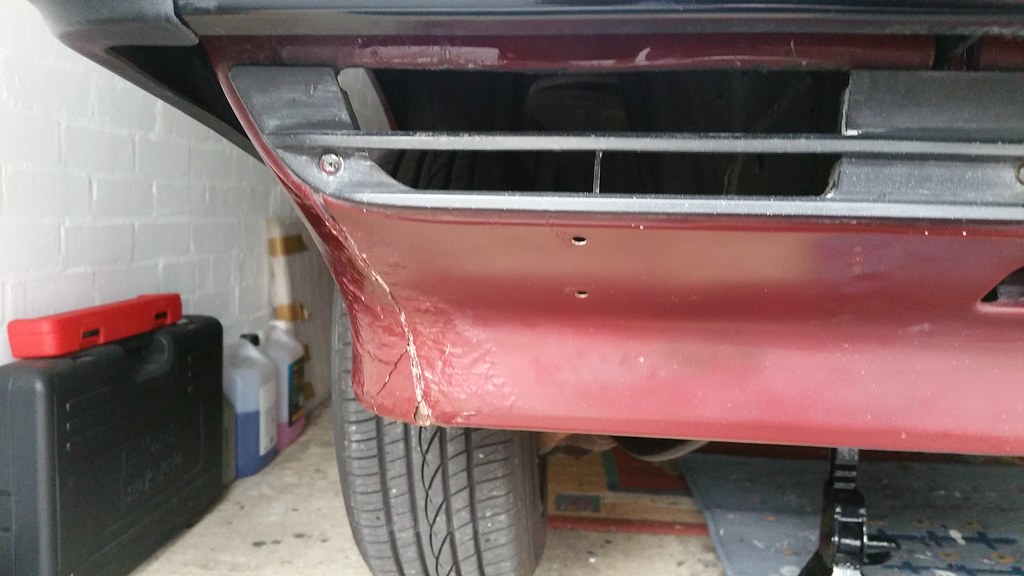
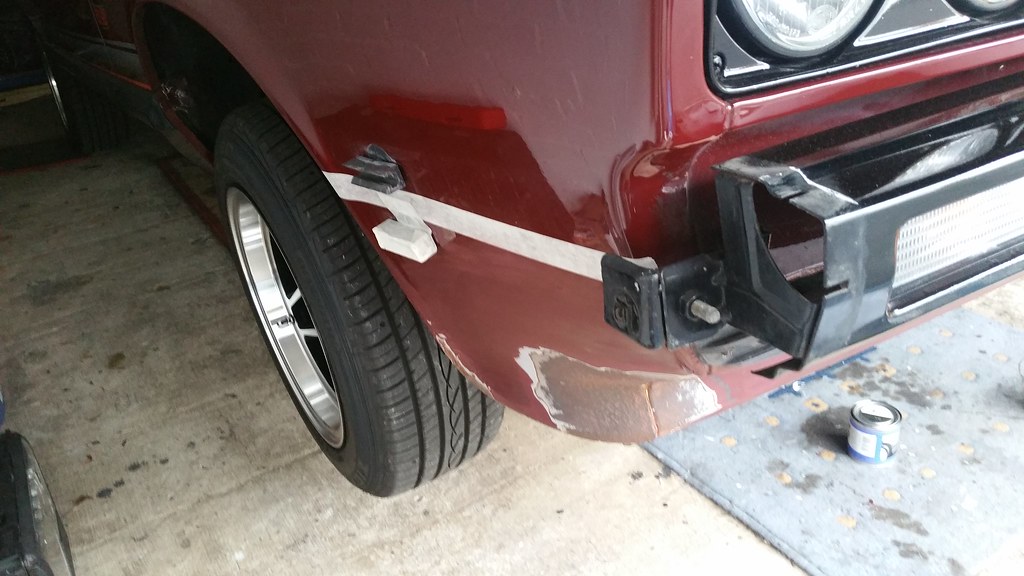
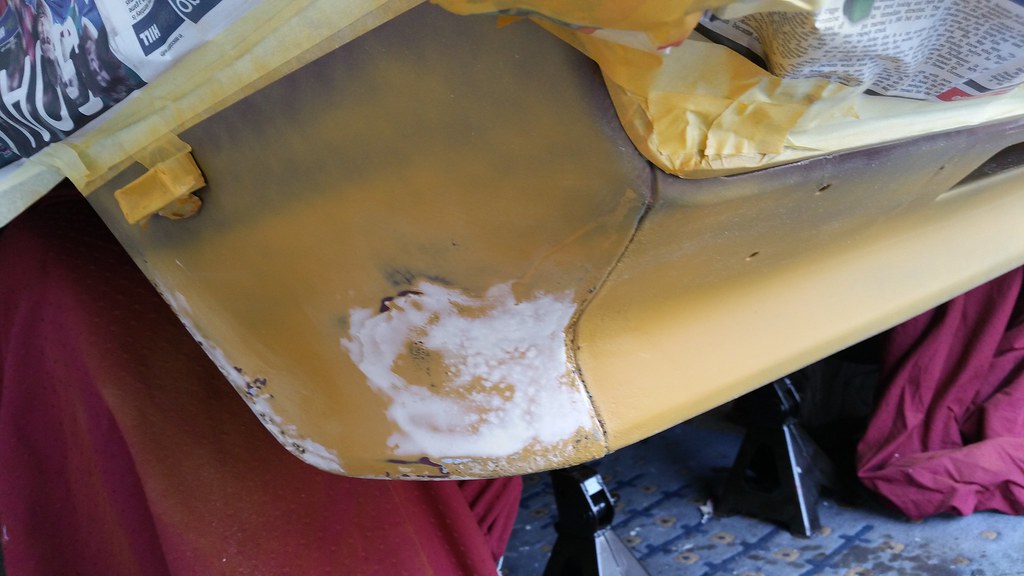
This was the area of my valance that concerned me the most. Blistering and loose paintwork. The other side was not as bad but still needed attention so rather than just 'patch up' I decided after advice from John, to refurbish the complete valance...
 20170328_162351 by nicholas bowler, on Flickr
I was very worried what I may find underneath after scraping off the bad stuff but to my relief the valance was completely solid. Thankfully I had caught it I'm time.
 20170328_164432 by nicholas bowler, on Flickr
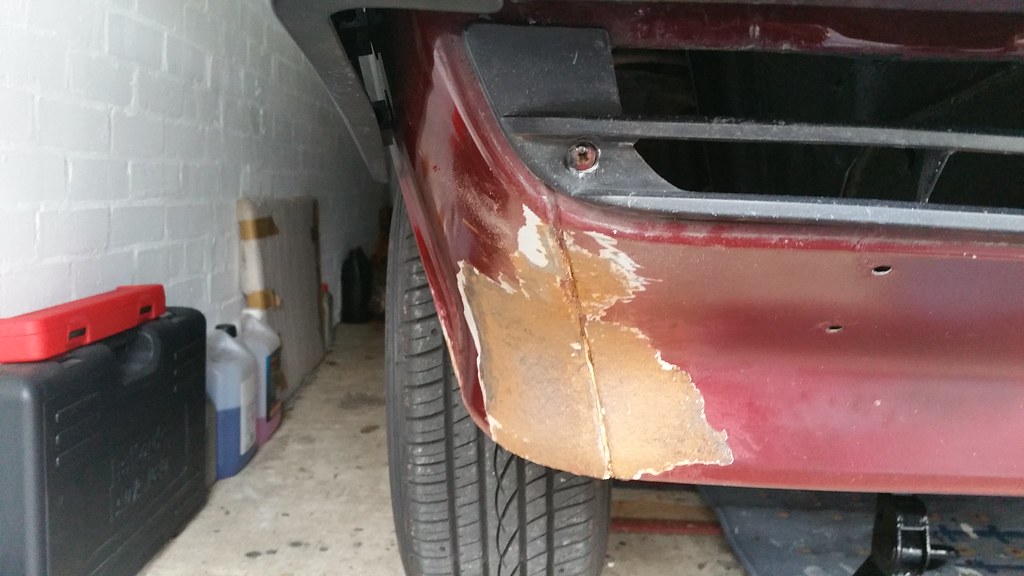
The other side was not as bad but again was still a relief to see a perfectly solid valance underneath the flaking paintwork
 20170328_181032 by nicholas bowler, on Flickr
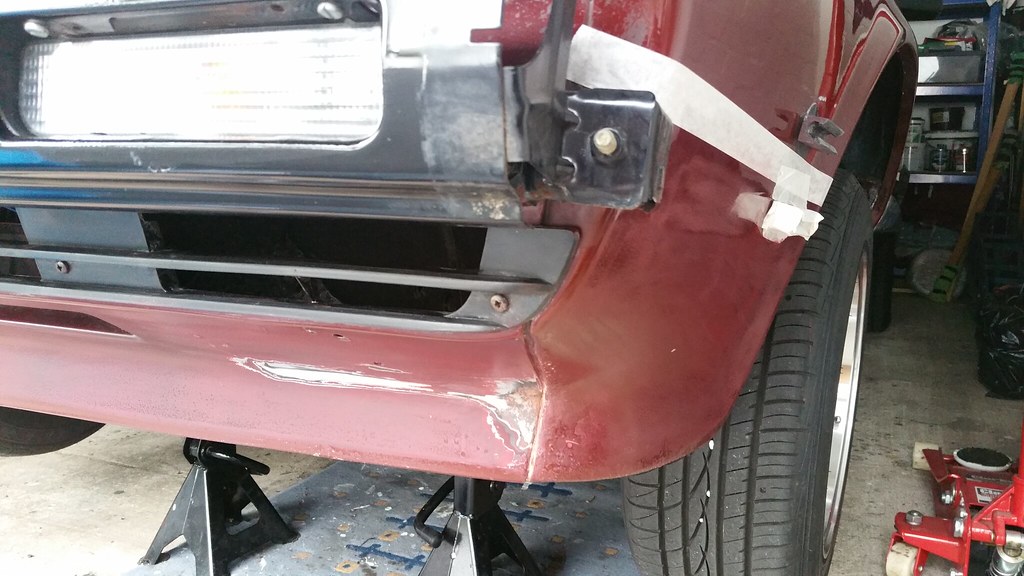
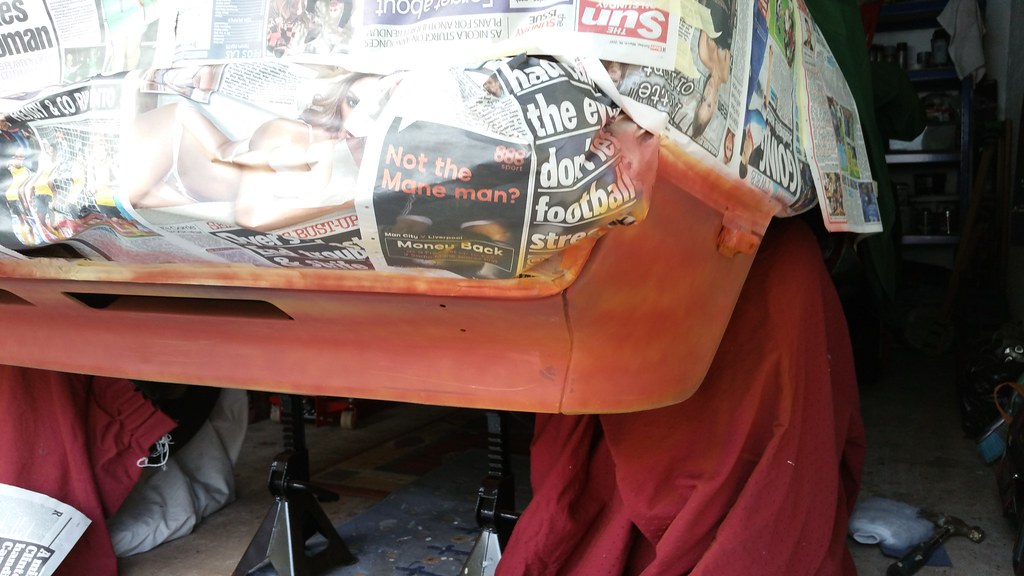
As I am not a professional sparyer and was going to be using rattle cans I wanted the 'join' to be hidden by the bumper end caps so this was a perfect place to work from. Removed the other side too
 20170328_181023 by nicholas bowler, on Flickr
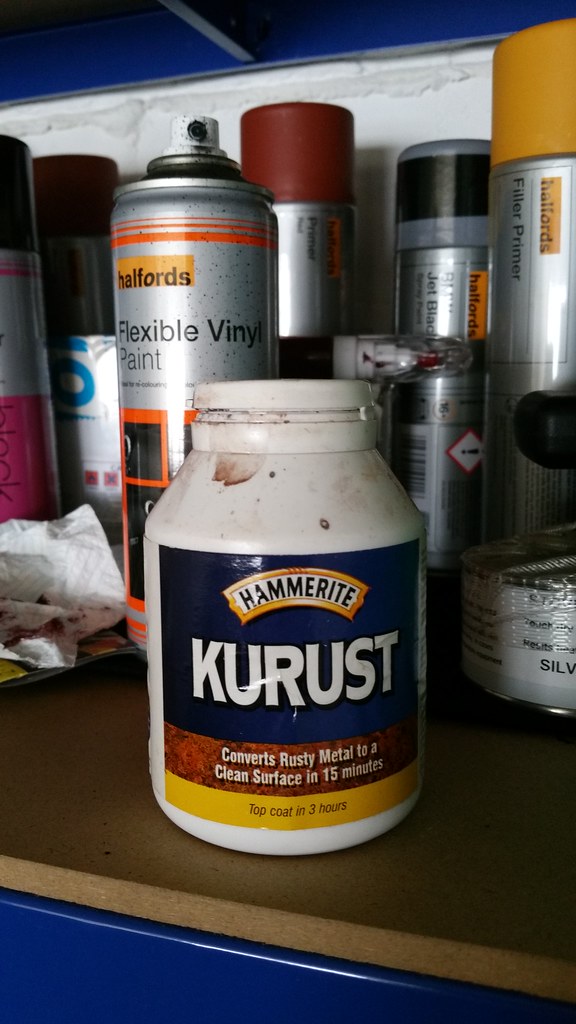
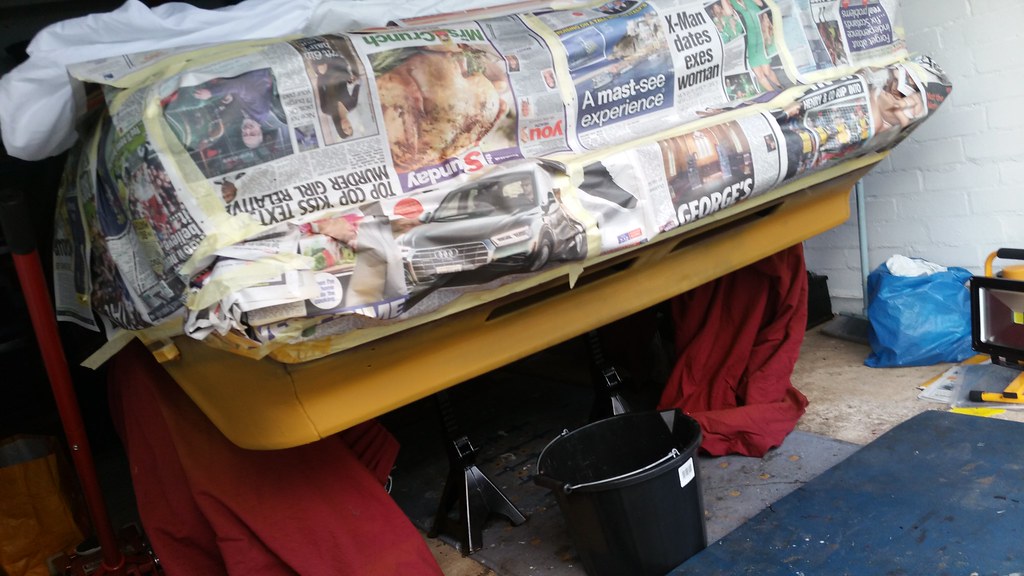
So after treating the bad areas with a rust treatment paint I then applied some Halfords Filler Primer, designed to cover any imperfections
 20170402_184028 by nicholas bowler, on Flickr
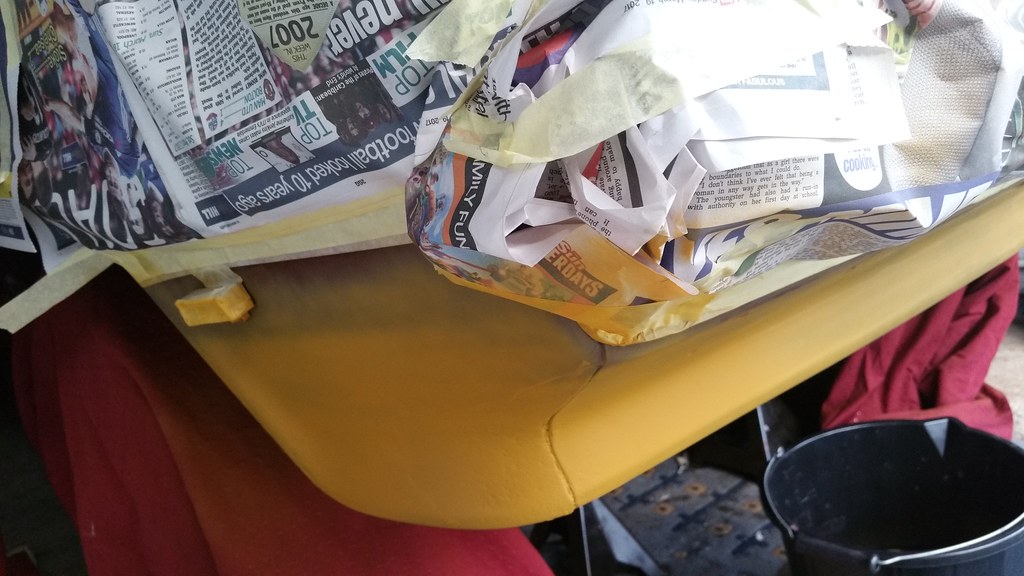 20170402_184054 by nicholas bowler, on Flickr
A few coats later...starting to look much better already
 20170402_184040 by nicholas bowler, on Flickr
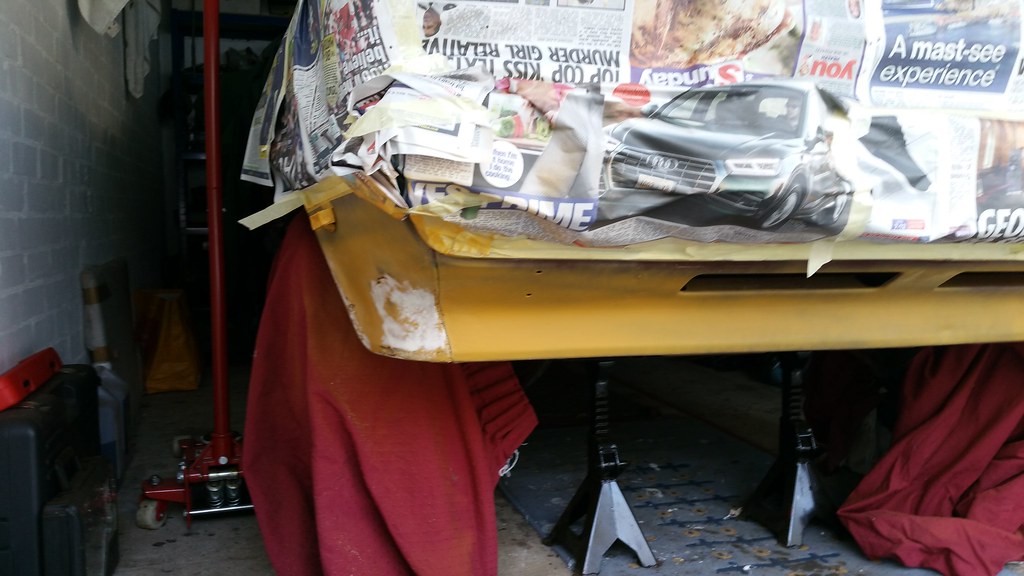
Whilst the filler primer did a grand job I was not completely happy that the impertions had been covered so applied a very fine layer of easy sand two pack filler to give me a better base surface before continuing
 20170407_173802 by nicholas bowler, on Flickr
Whilst it might not look it in this pic sanding down the filler did give me the result I wanted, a much better smoother surface.
 20170407_173812 by nicholas bowler, on Flickr
Now to start building up the light coats of red primer
 20170407_180037 by nicholas bowler, on Flickr
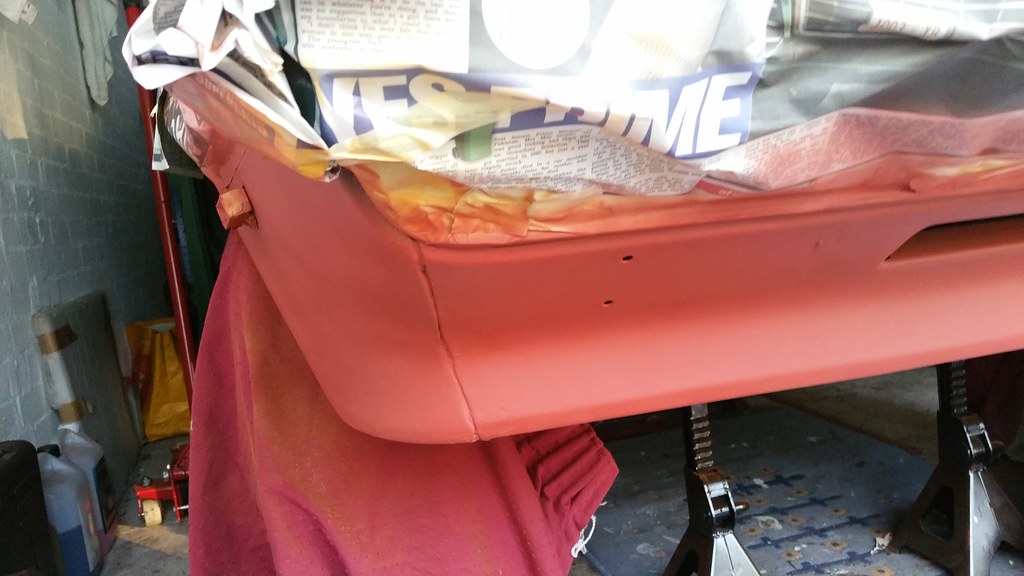
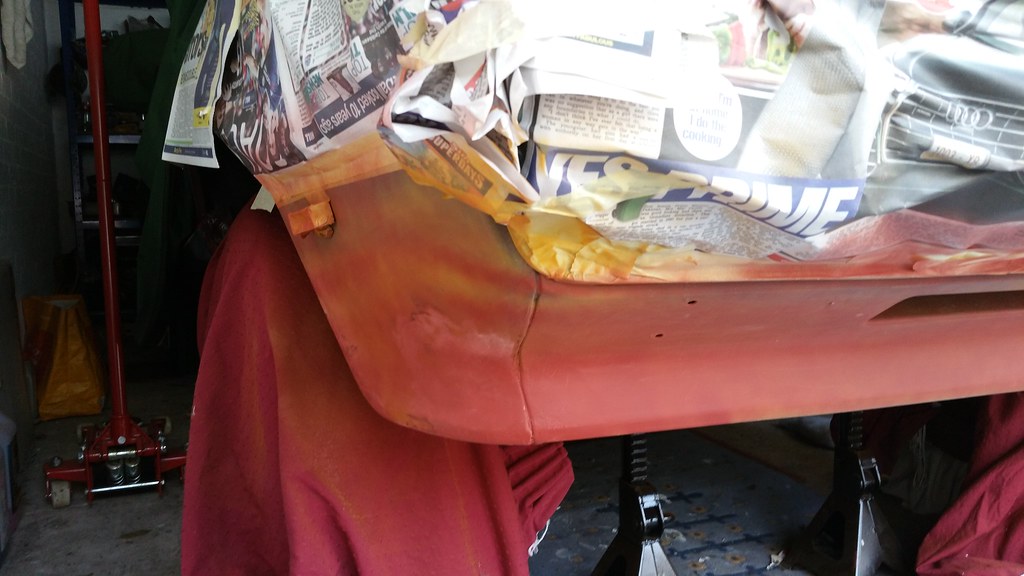 20170407_180020 by nicholas bowler, on Flickr
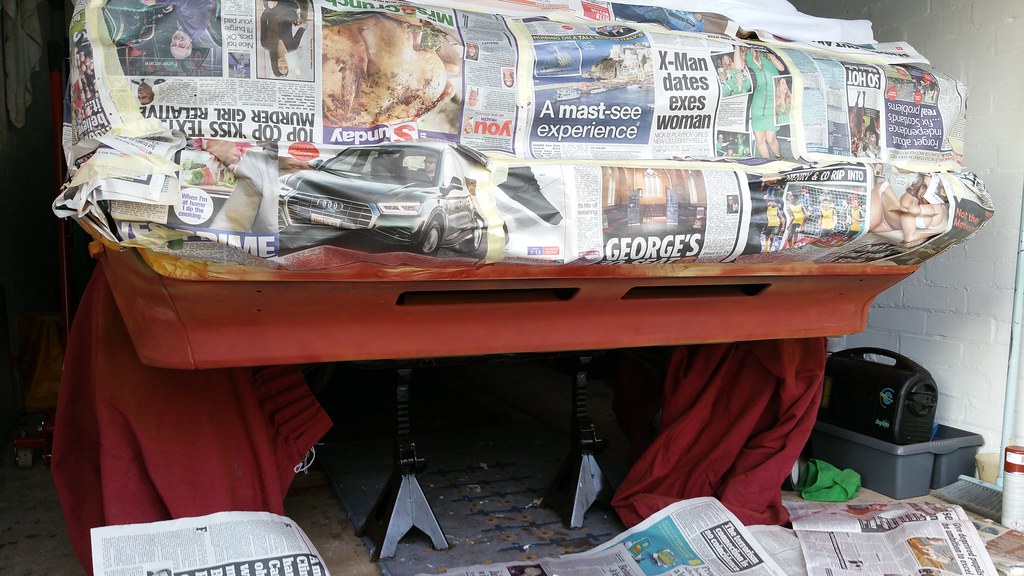 20170407_180027 by nicholas bowler, on Flickr
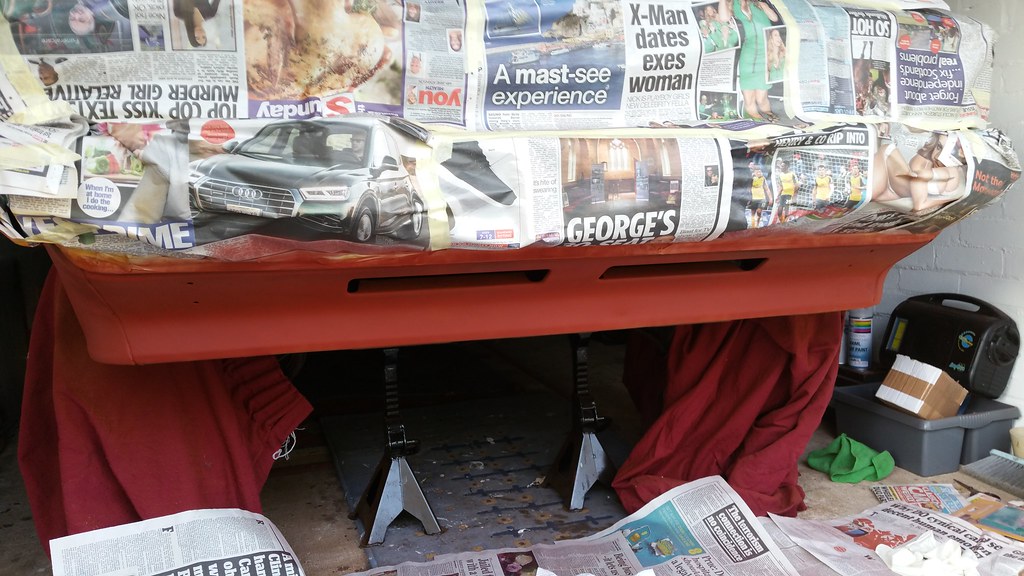 20170407_181202 by nicholas bowler, on Flickr
I took my time and slowly built up the layers...looking even better now
 20170407_183527 by nicholas bowler, on Flickr
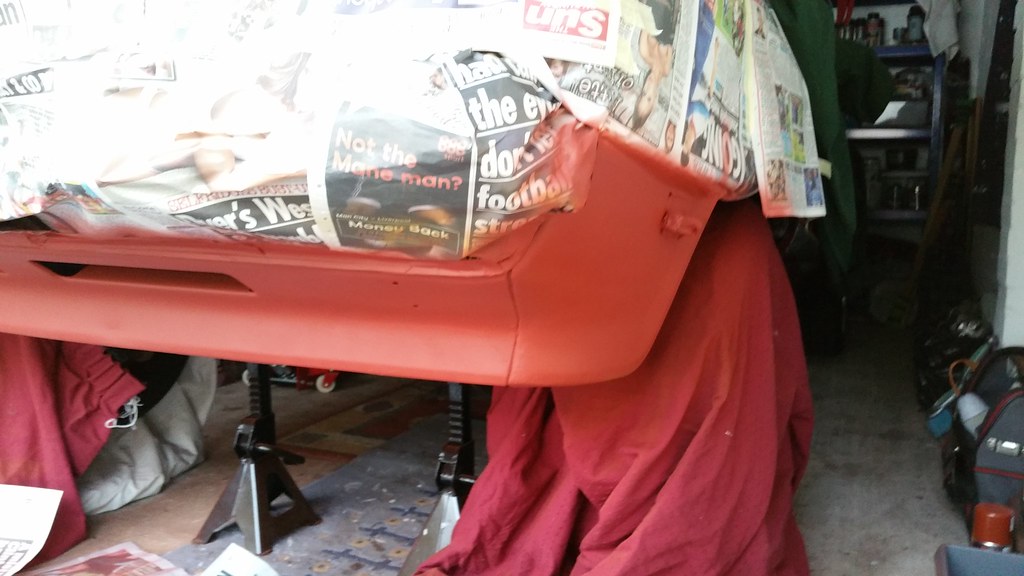 20170407_190207 by nicholas bowler, on Flickr
Until I was happy with the primed surface
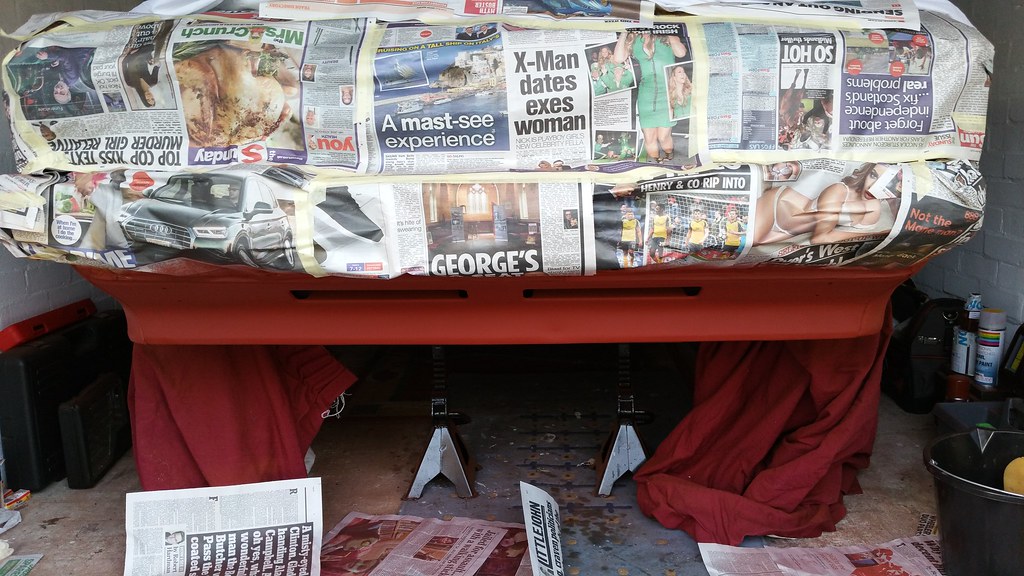 20170407_190200 by nicholas bowler, on Flickr
You can see the finished top coats later
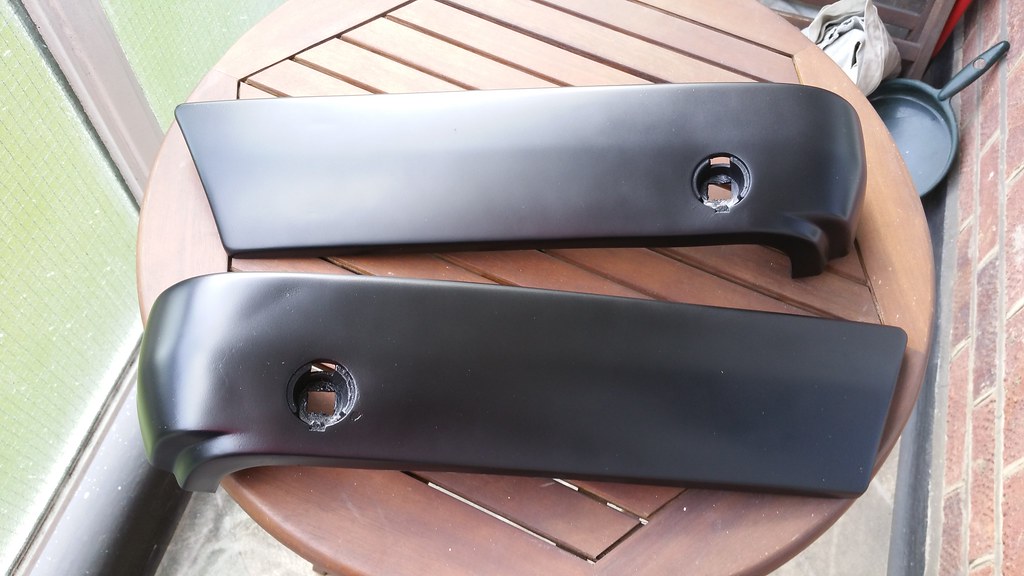
Waited a couple of days for the primed surface to harden then set about refurbishing the plastic 'trim' on the valance with Halfords Matt Black rattle can. Turned out really nice
 20170420_191459 by nicholas bowler, on Flickr
While I was waiting for the plastic trim to harden I set about refurbishing the end caps too
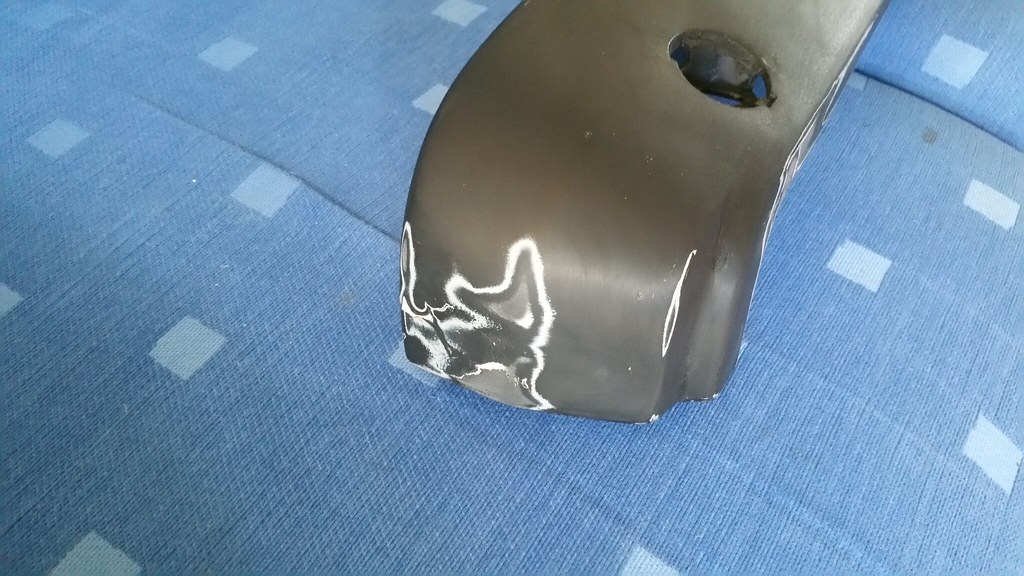
 20170413_100405 by nicholas bowler, on Flickr
Sanded down with 800 the 1200 wet/dry paper to sort the bad patches. But of course sanded the whole end cap to get an even surface. Did the same with the other one
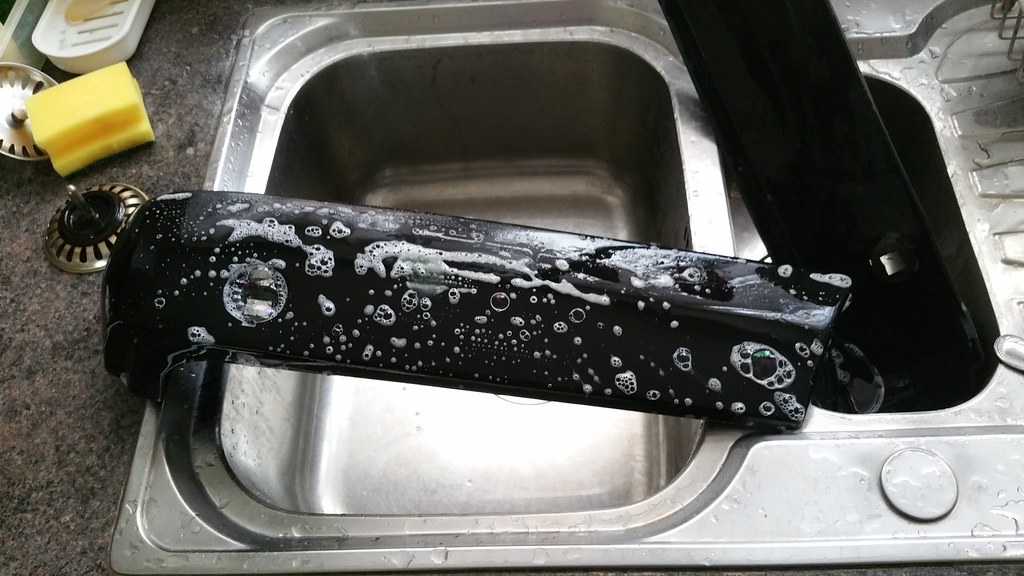
 20170413_100351 by nicholas bowler, on Flickr
Washed them in warm soapy water before applying the new paint
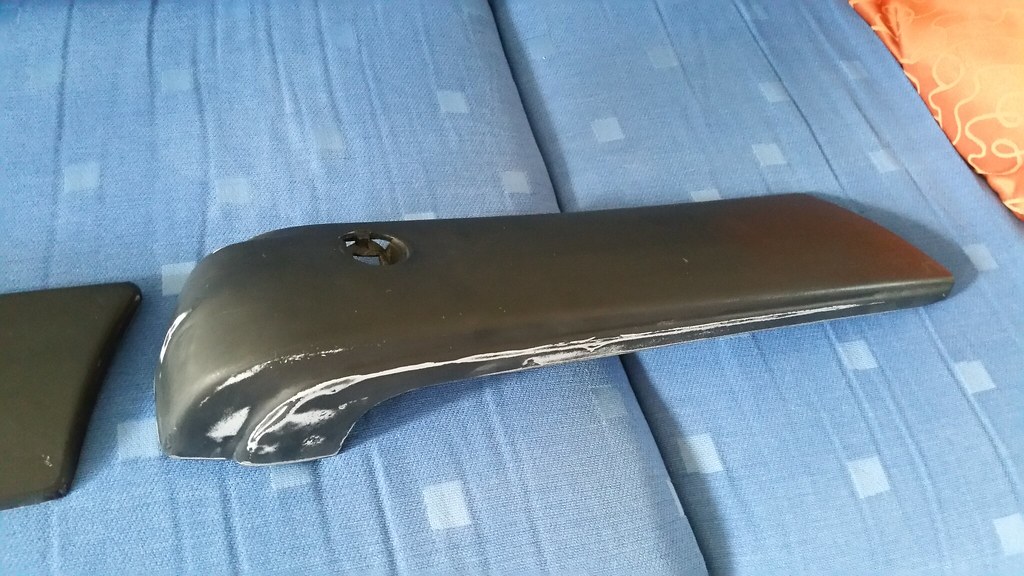
 20170413_102435 by nicholas bowler, on Flickr
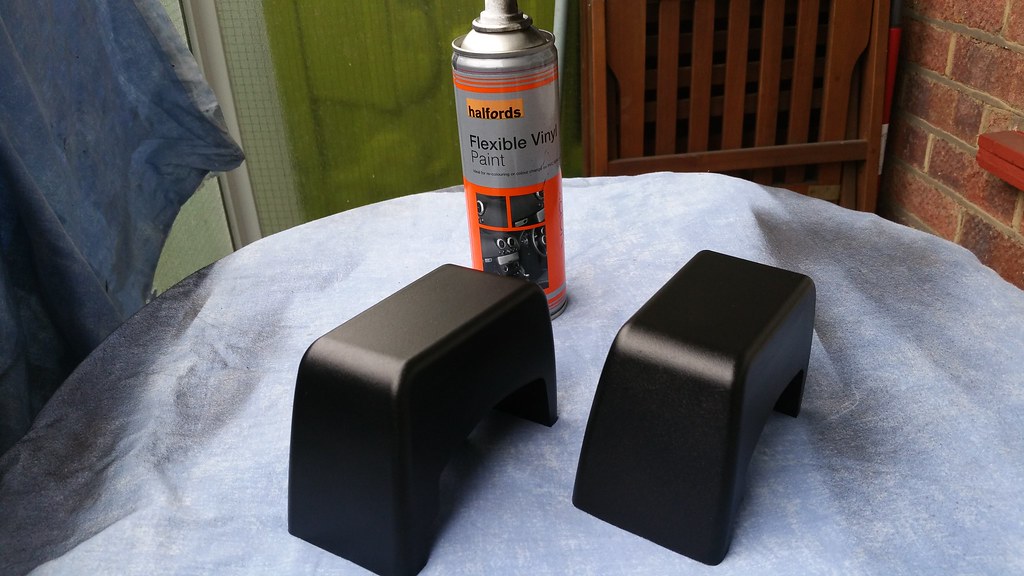
I used Halfords Plastic Bumper Paint and again applied in very light coats until I achieved the finish I wanted. The light reflection makes it look a bit pale but they did turn out really nice in my opinion
 20170413_110604 by nicholas bowler, on Flickr
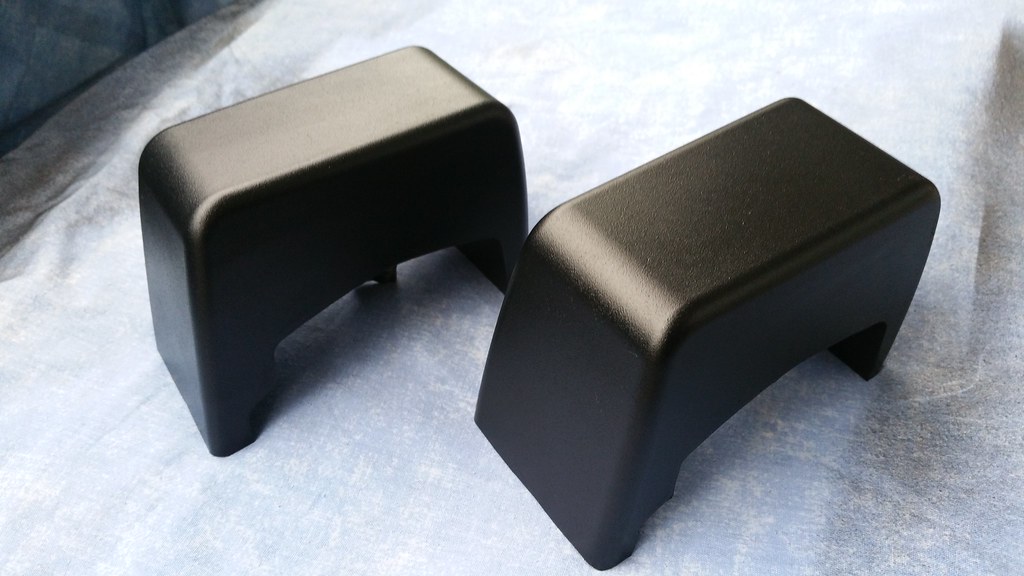
Now my over riders were in a poor way so I decided to treat myself to a set of new ones from CCI. Even though brand new they were still a tad to 'faded' looking to me so I decided to try to 'darken' them which I knew would look much better, so I treated them to a few light coats of......Halfords Flexible Vinyl Paint Black
 20170421_185448 by nicholas bowler, on Flickr
They turned out really nice indeed. Sorry I forgot to take a pic of them 'before' but trust me they did look faded and patchy even though new
 20170421_185535 by nicholas bowler, on Flickr
Now I turned my attention to the rear bumper end caps and refurbished them in the same way as the front ones. The over riders on the rear were in a better condition than the fronts so thought to save money I would try a refurb on these. Here is a pic of one that I did against one I had prepared using wet/dry paper again so you can see how well they turned out
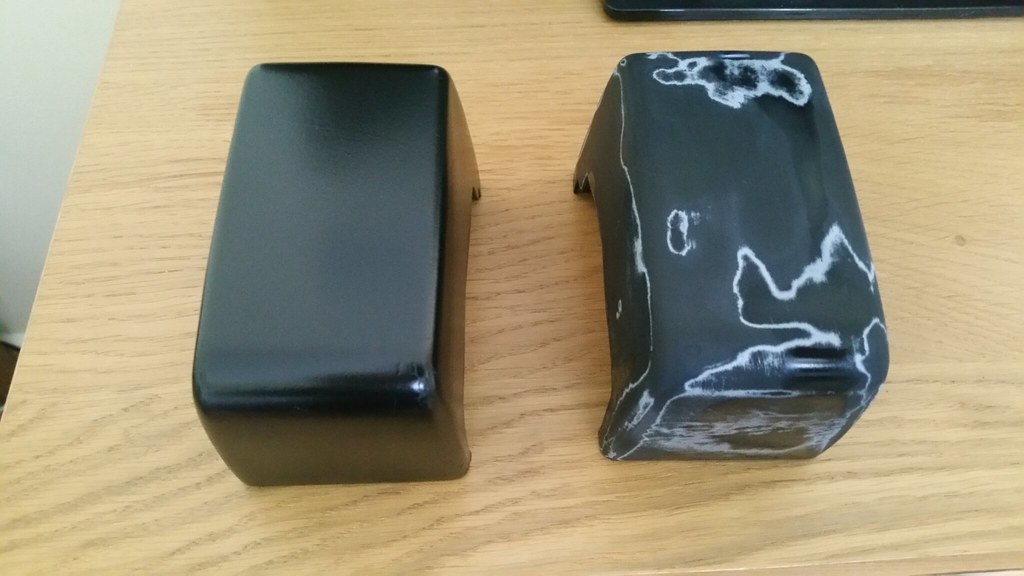 20170425_120634 by nicholas bowler, on Flickr
Time to fit it all back together...but first I whipped off the grill and gave that some attention too
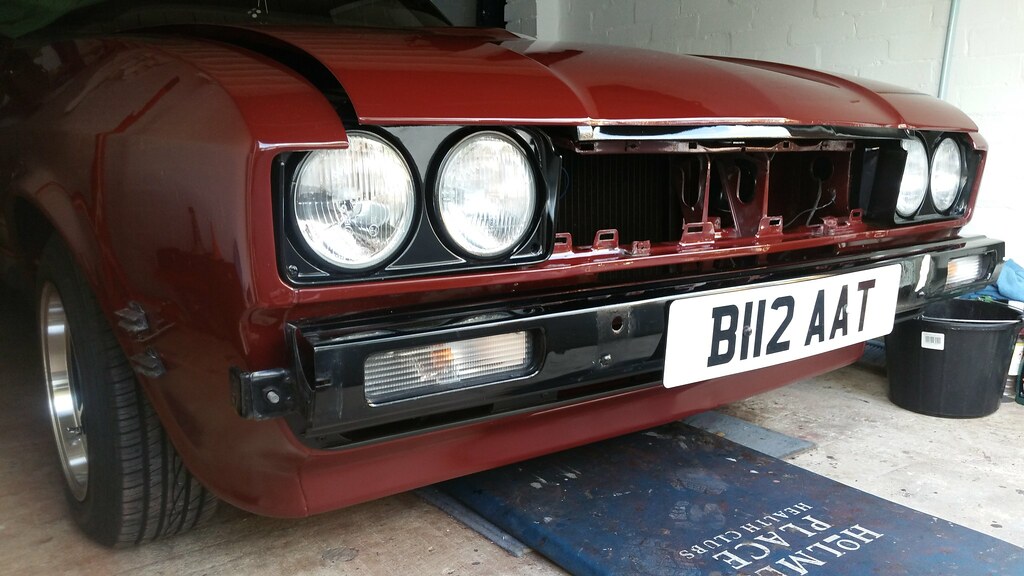 20170422_183228 by nicholas bowler, on Flickr
The bit I enjoy...fitting it back then standing back to see how it turned out
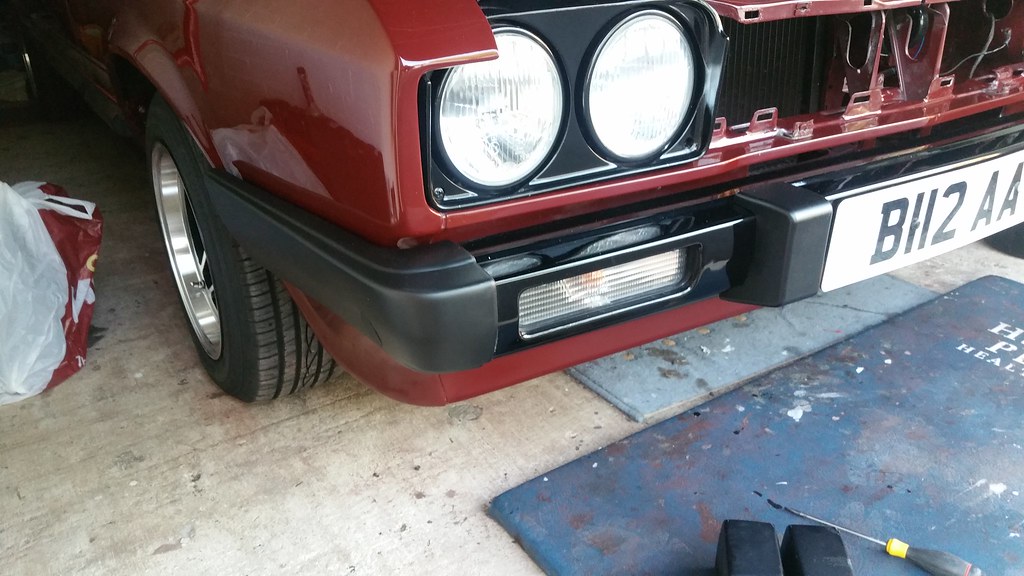 20170423_185633 by nicholas bowler, on Flickr
I am really chuffed with the end result. Yep, it may have taken me a while to do this but definitely worth it as the front end (and back) looks so much better than it did before
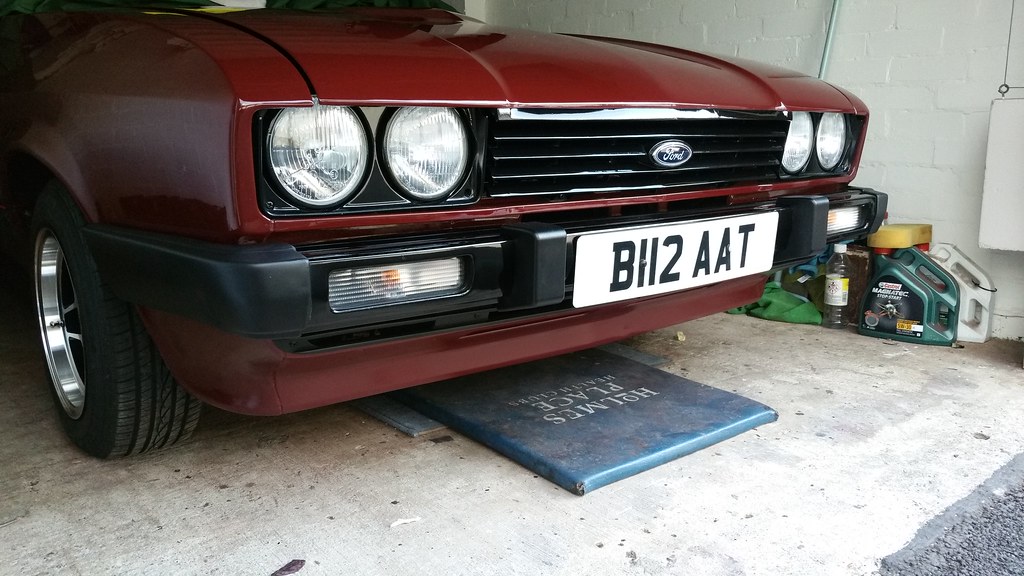 20170426_184249 by nicholas bowler, on Flickr
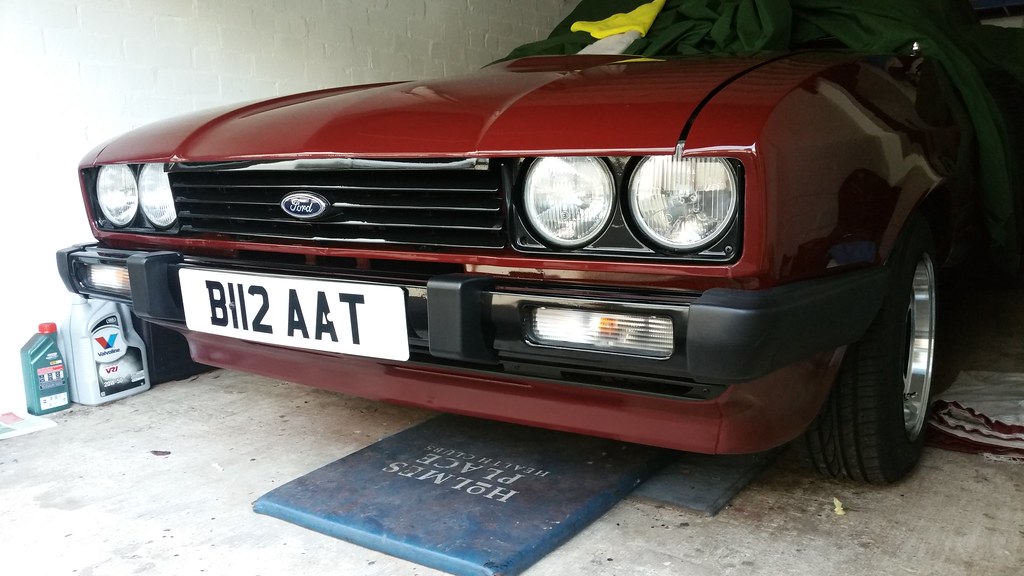 20170426_184323 by nicholas bowler, on Flickr
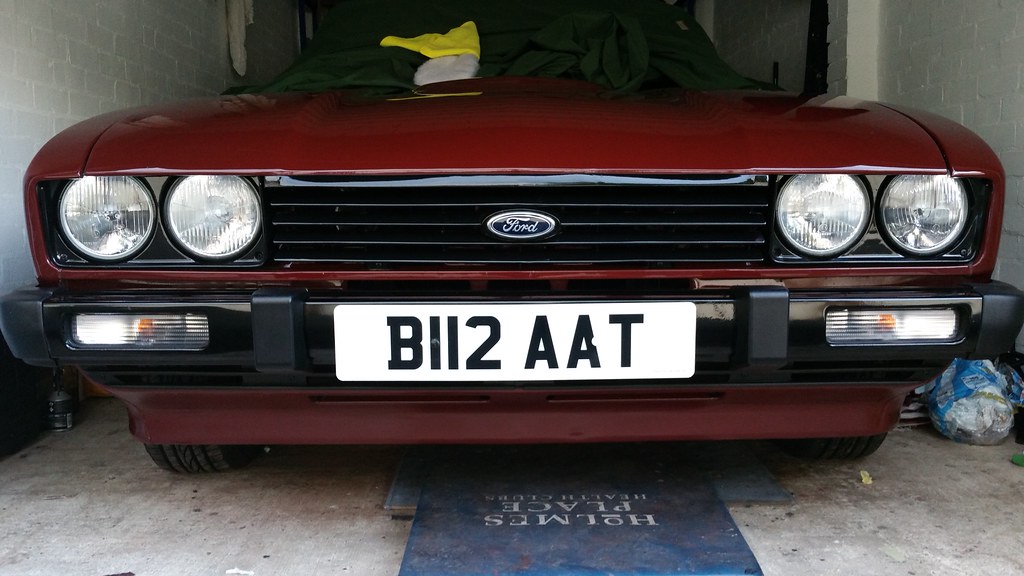 20170426_184308 by nicholas bowler, on Flickr
The top coat paint I got from an online company I use that mix up the Ford Lacquer Red L5. They supply in rattle cans with a 'wide' angle spray pattern so not a cheap basic nozzle. I attached my faithful trigger gun to give me more control over the spraying. I know rattle cans are not highly thought of but theses ones really are pretty decent. Now in these pics the way the light is its not really showing that the colour blend is actually pretty good indeed
I hope you enjoyed reading through refurbishment Project Front Valance...and some more
All the best
Nick