Project: Metal Polishing
Posted: Sat Dec 05, 2015 3:30 pm
Hi All,
I thought I'd write a brief guide to inspire some of you to give metal polishing a go. I don't do this professionally, I'm simply an enthusiastic amateur, however, I can pass on some hits and tips that I've picked up along the way.
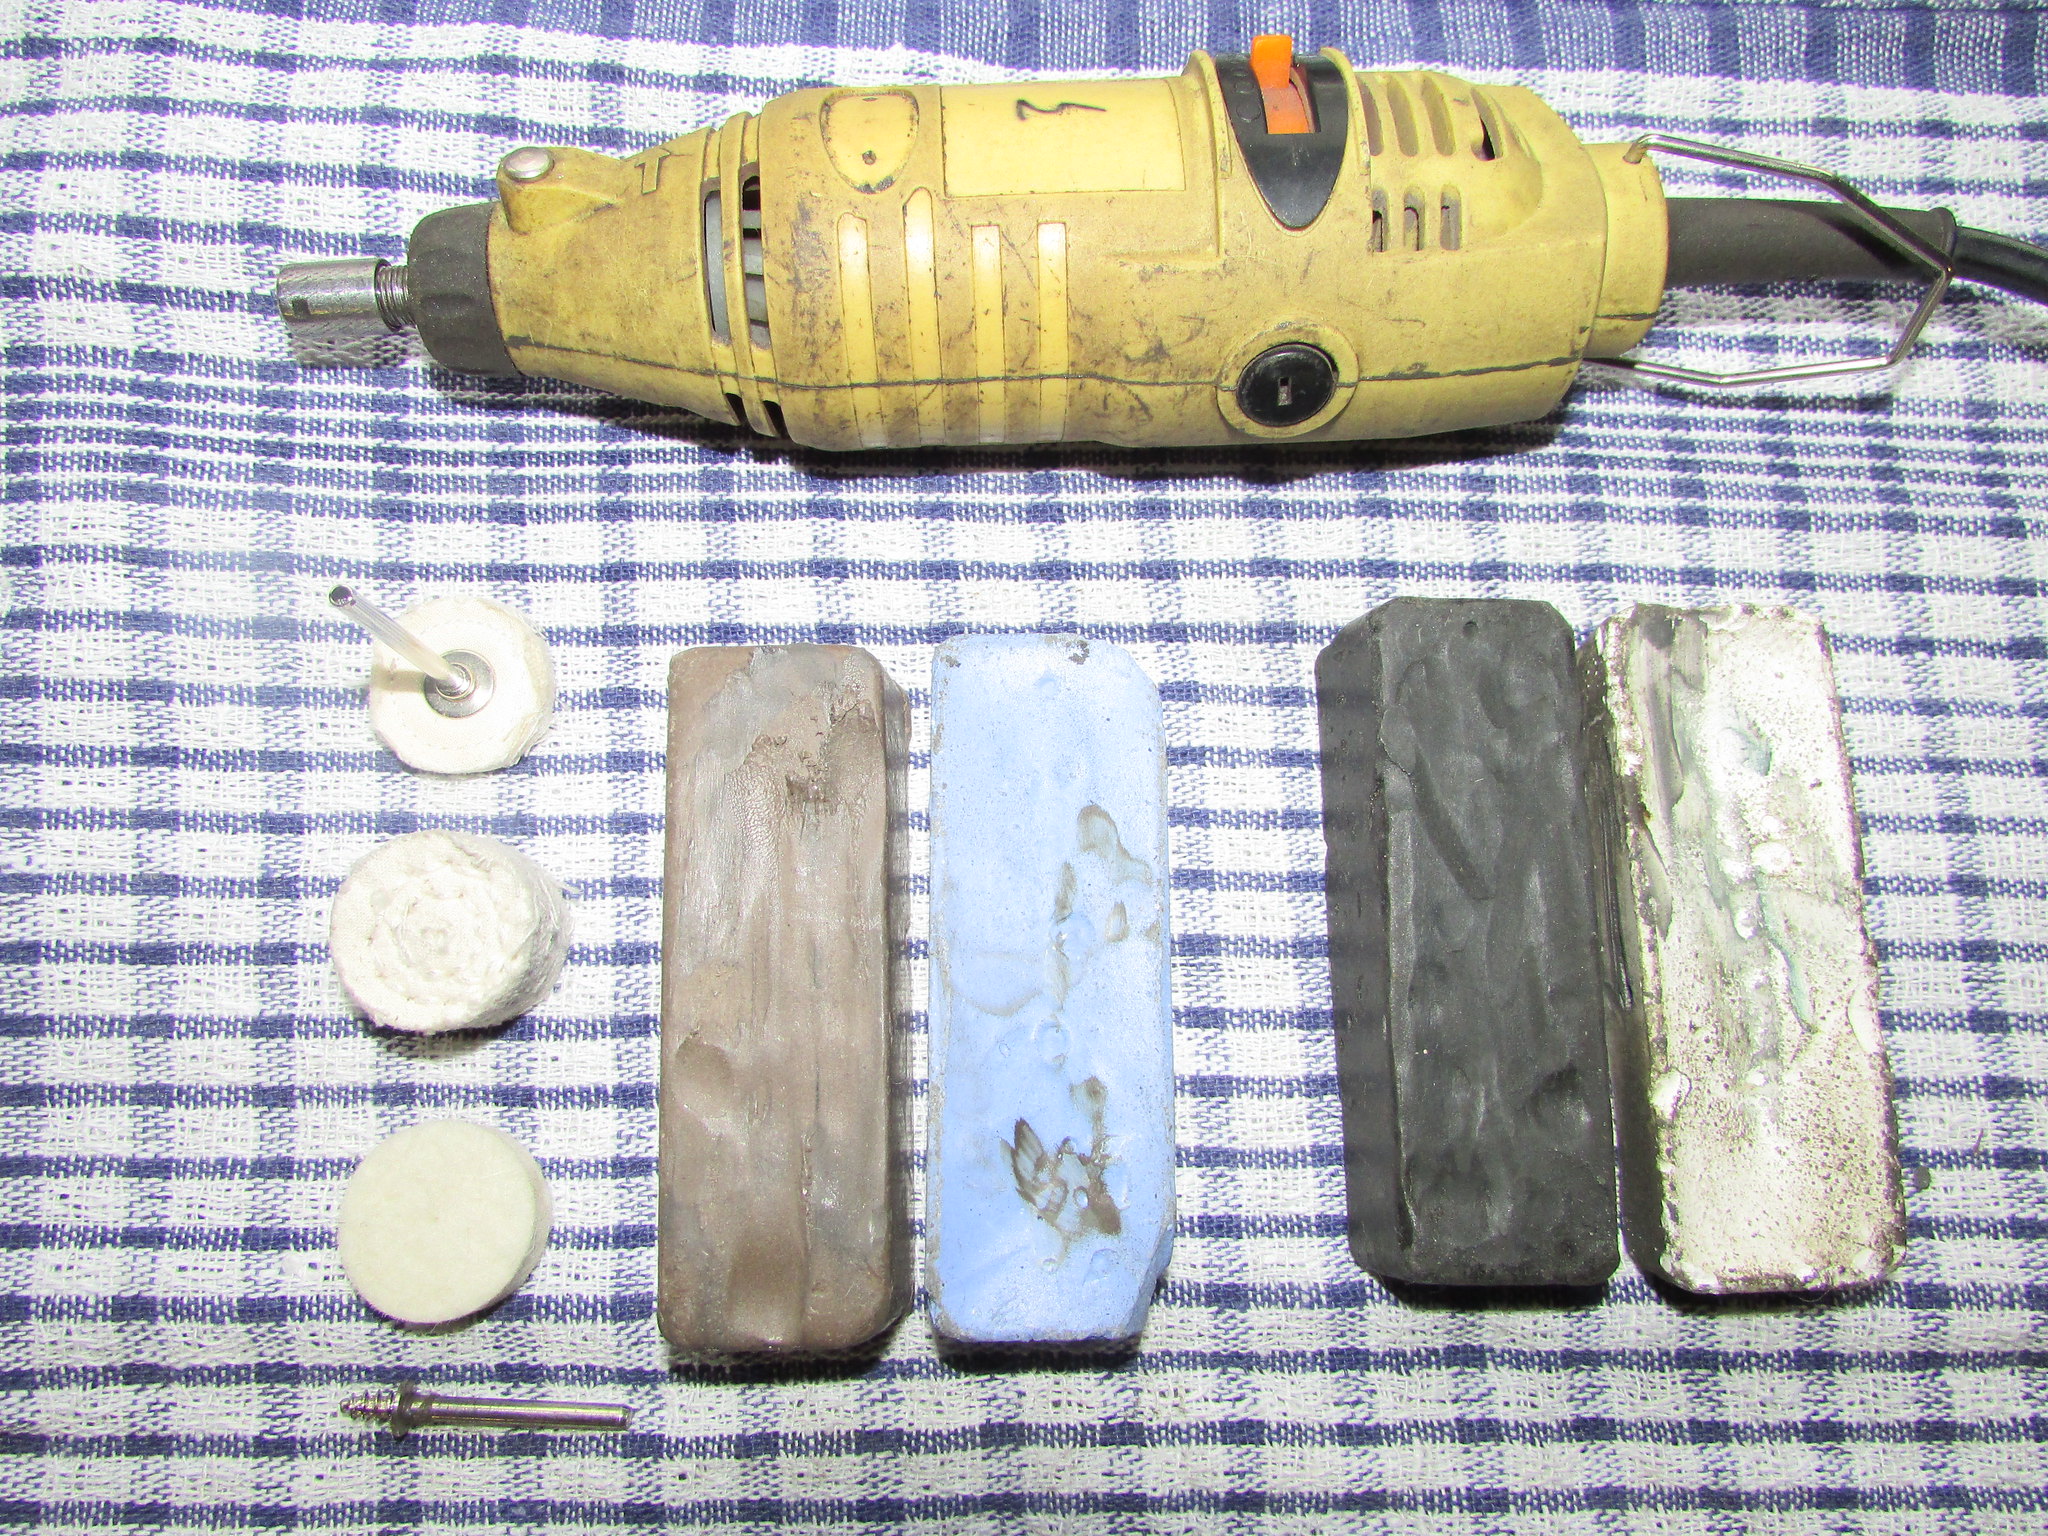
Firstly, you will need a small amount of equipment. For small projects a hobby rotary tool will do the job, like my well-used Rotacraft shown in the photo below. Even if you don't use it for metal polishing, this tool has a multitude of uses and I can't recommend one highly enough if you don't already own one.
You will also need some polishing compound. Shown in the photo are four different types, each has their own specific use. From left to right, brown is a coarse compound for using on heavily tarnished softer metals such as copper or aluminium. Blue is for finer final polishing of the same metals. Black is a coarse compound for using on heavily tarnished harder metal/alloys such as steel or iron. The white one is used for final polishing of those metals.
The technique is to use the coarse compound if the object you are polishing is heavily tarnished. Once the tarnishing is removed, you can switch to the finer compound to give the item a final polish. One tip here is to use one felt wheel for each type of compound, don't be tempted to contaminate the felt polishing wheel with different compounds.
Depending on how much tarnishing or rust is on the item that is to be polished, you will need different polishing wheels. The three shown to the right of the photo, in order of harshness, are a felt wheel, a stitch mop and a dolly, or dollie, mop. The idea here is to use the dolly mop first to remove rusty deposits, then use the stitch mop and finally use the felt wheel for the final polishing.
The equipment:
Now, the fun begins....
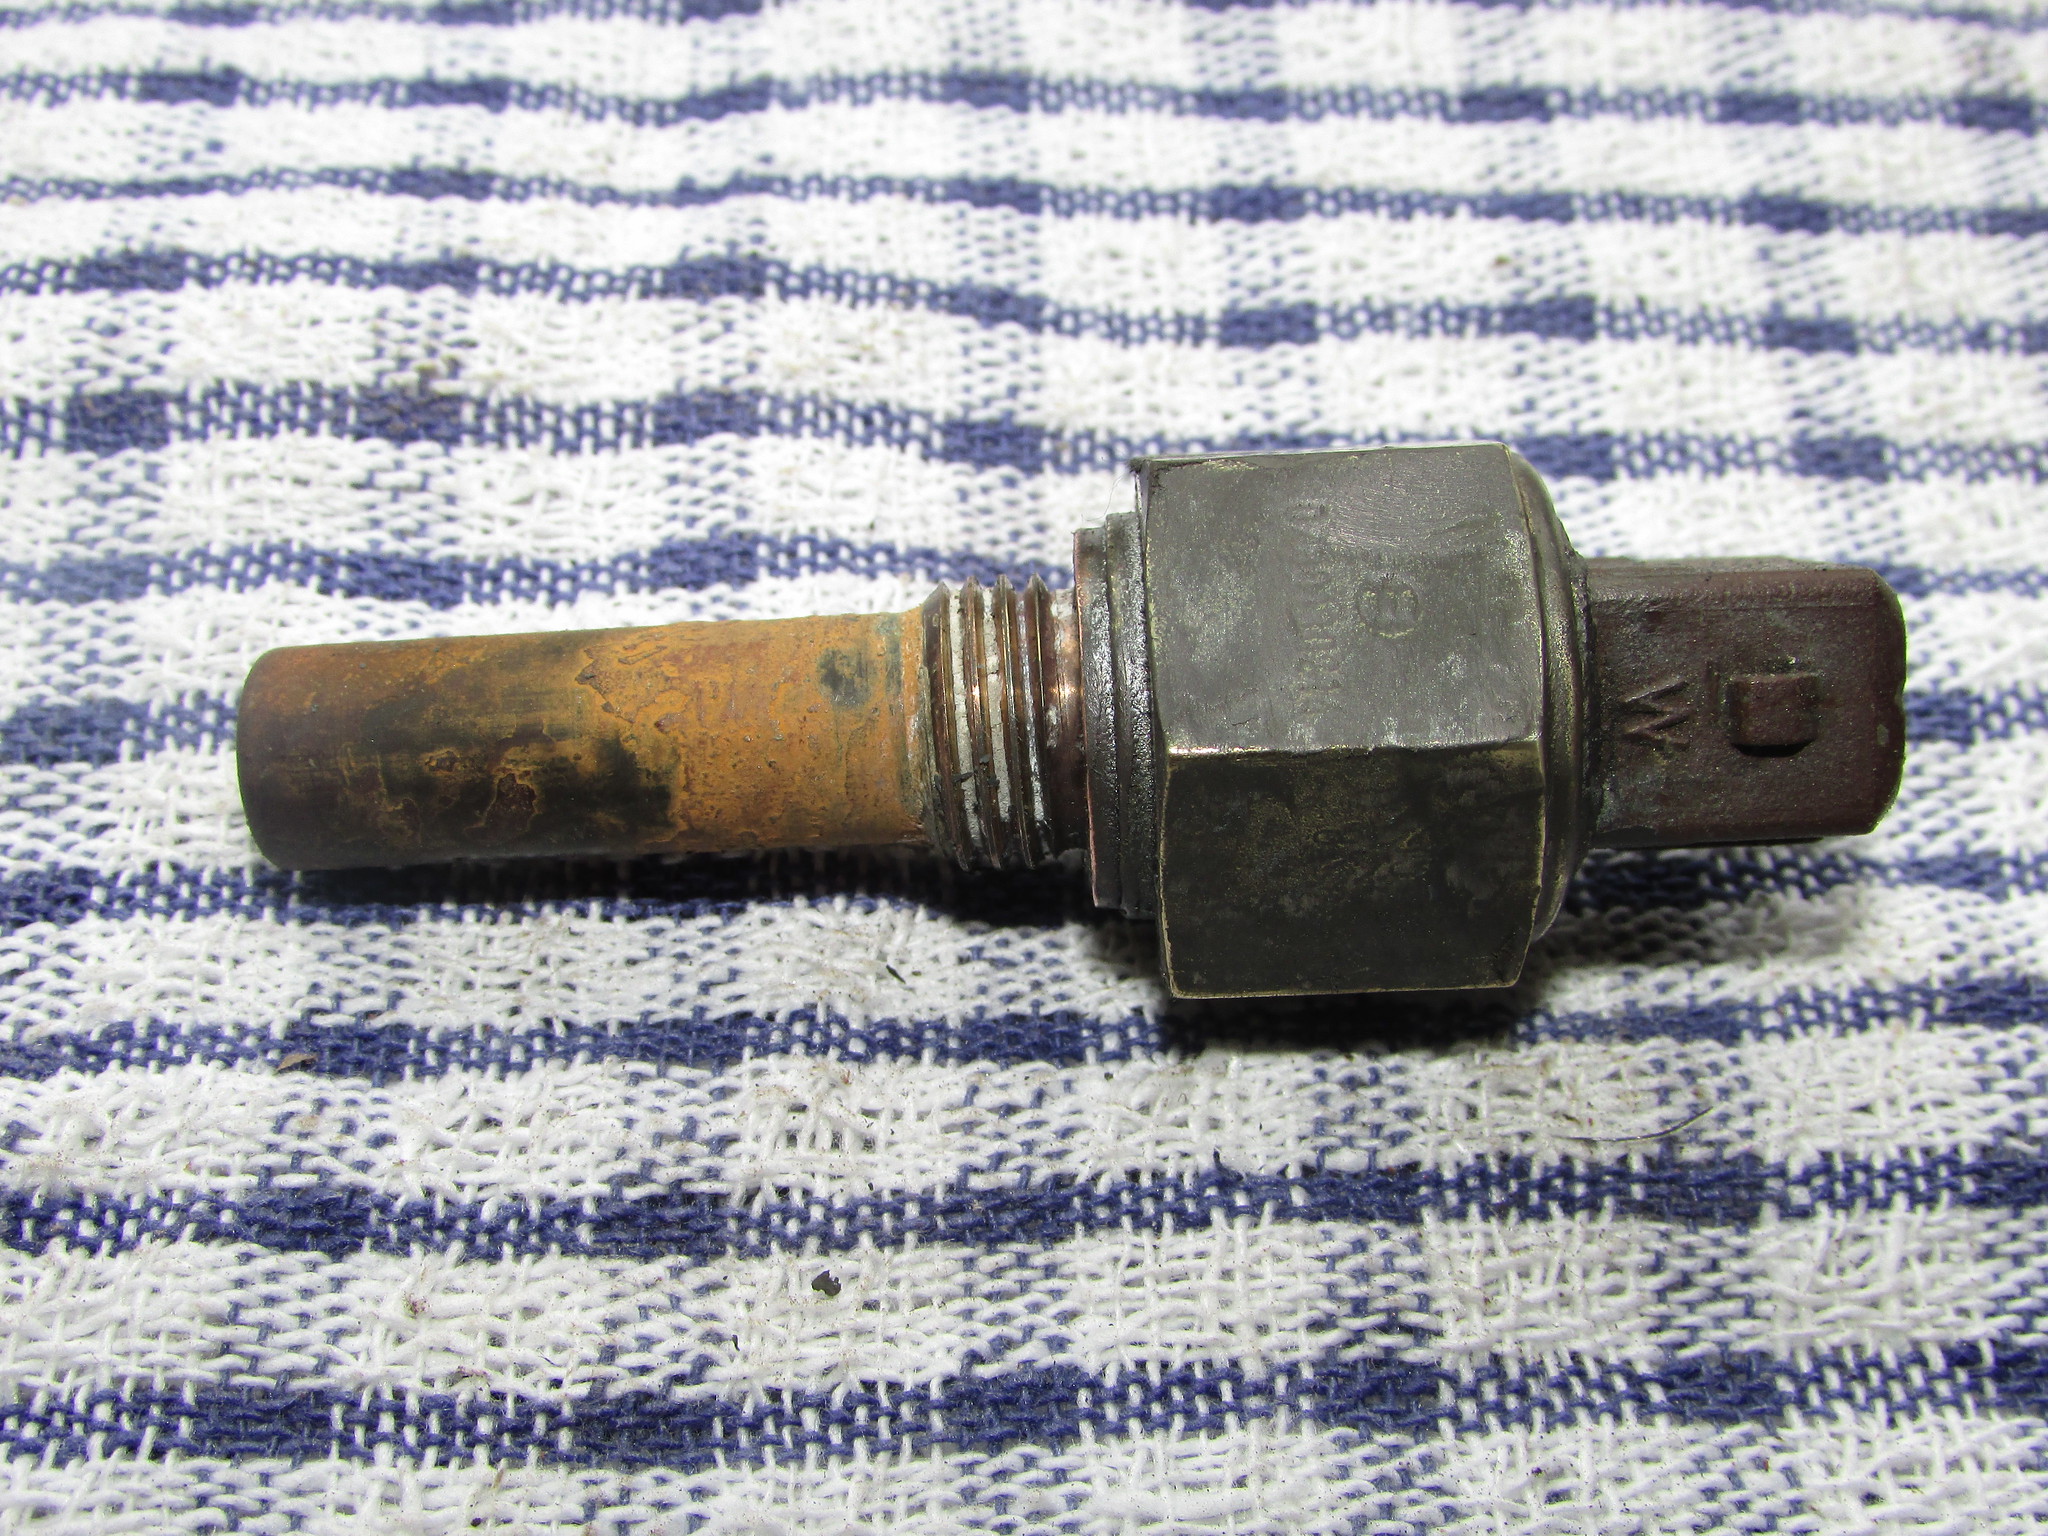
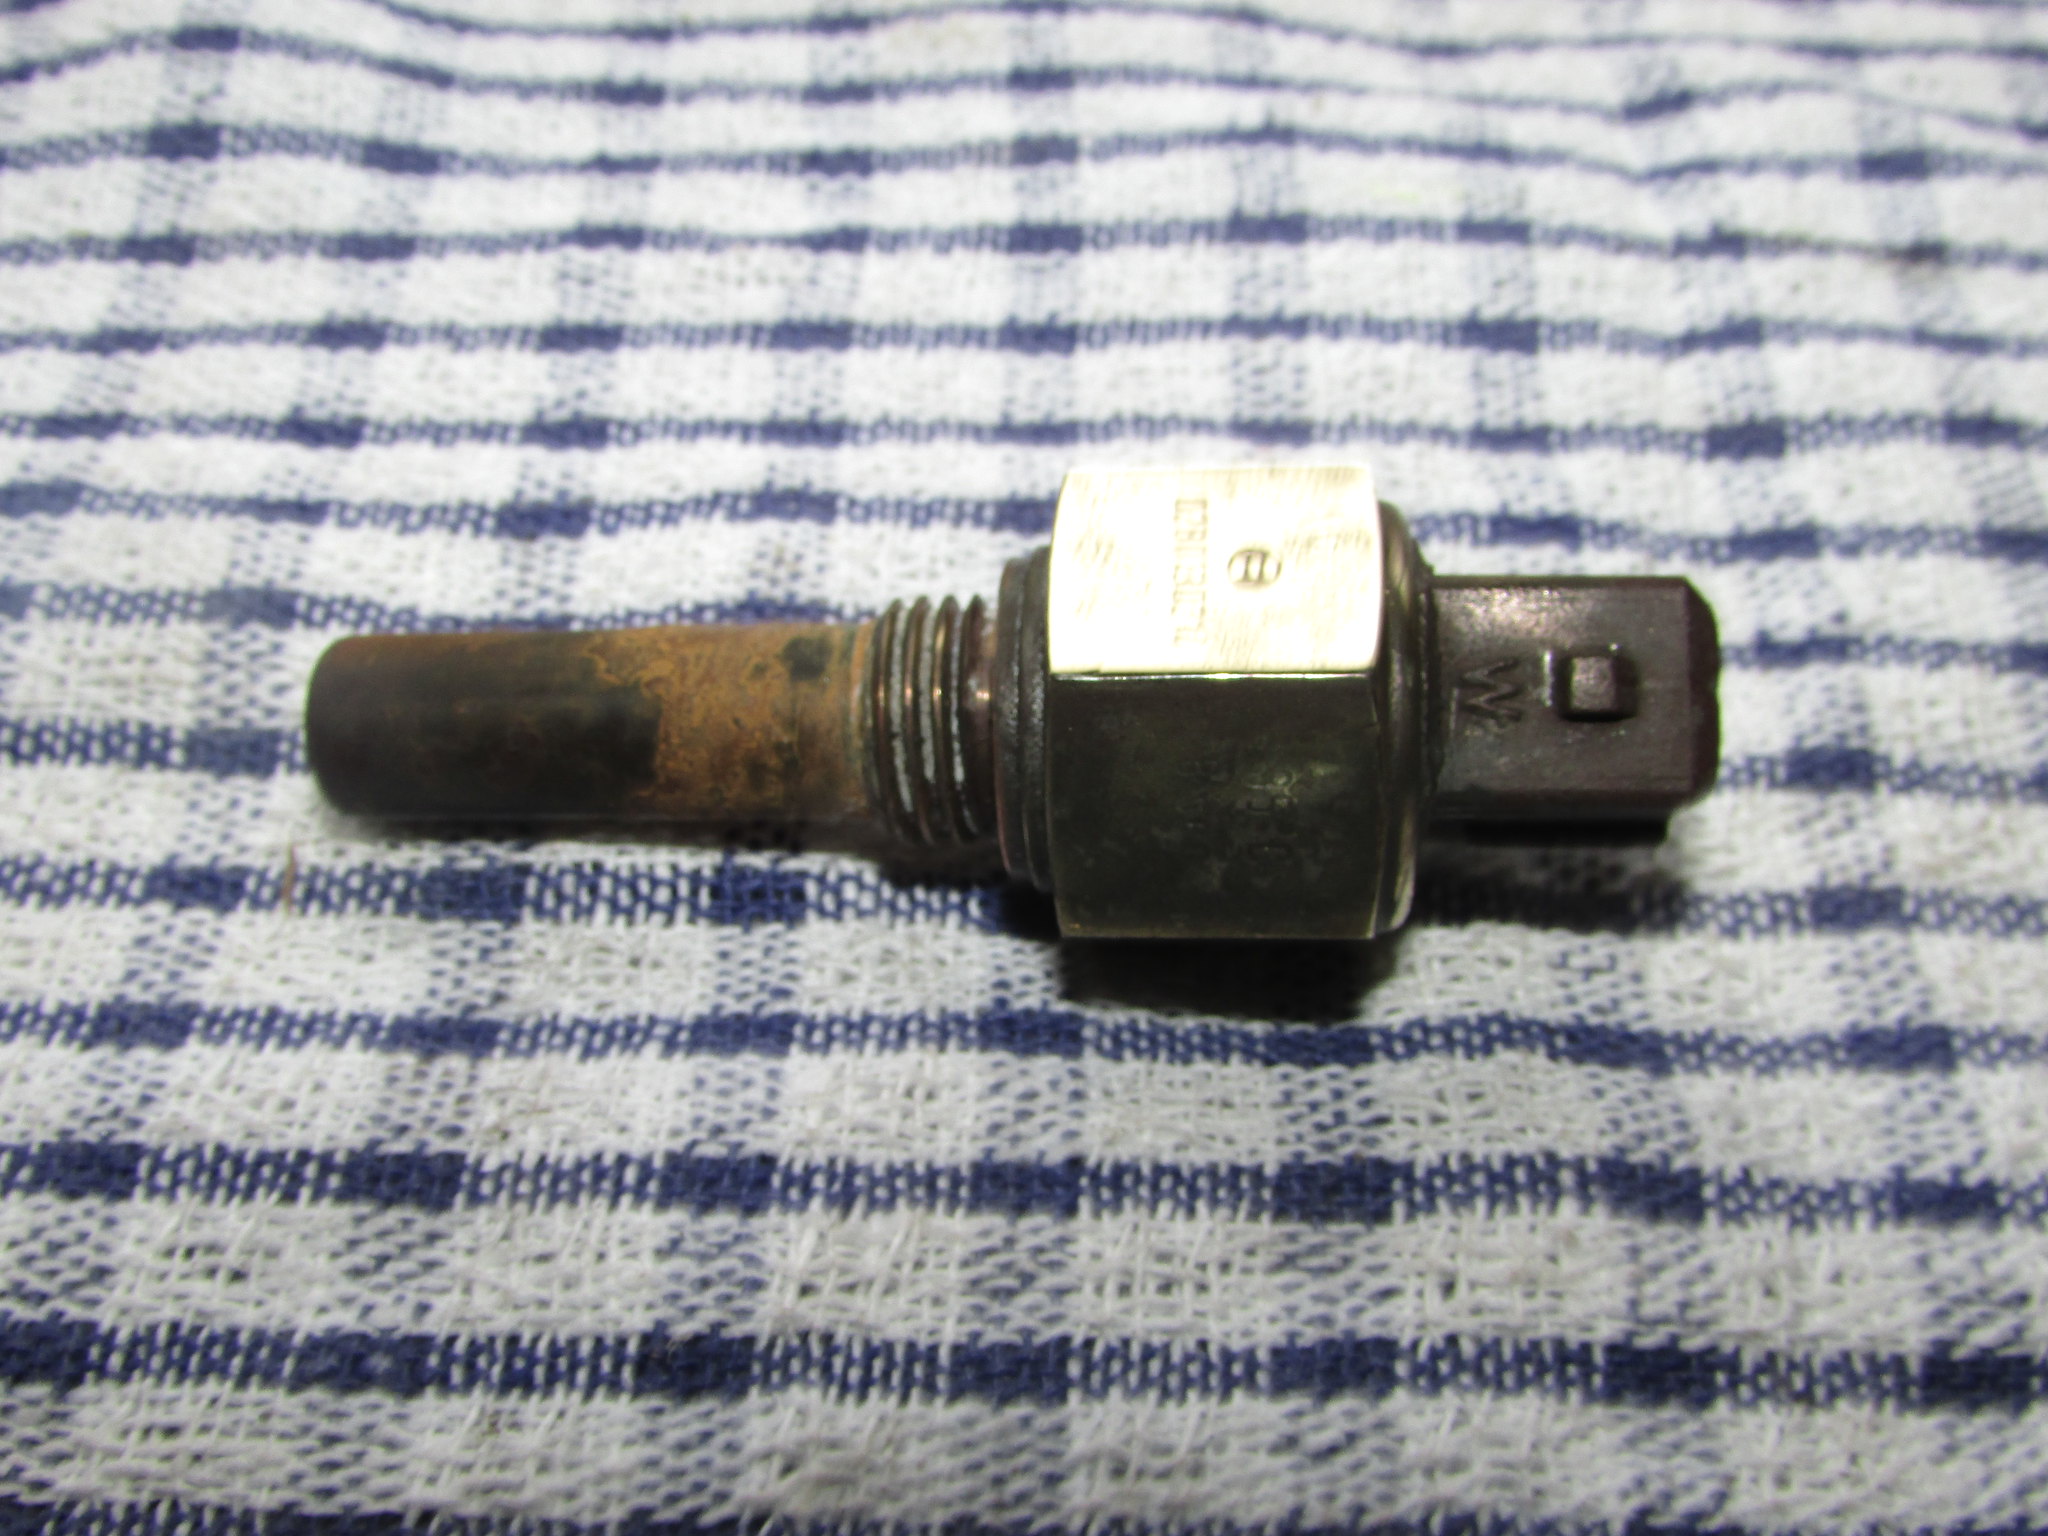
Select your item to be polished, I'm going to use this thermotime switch:
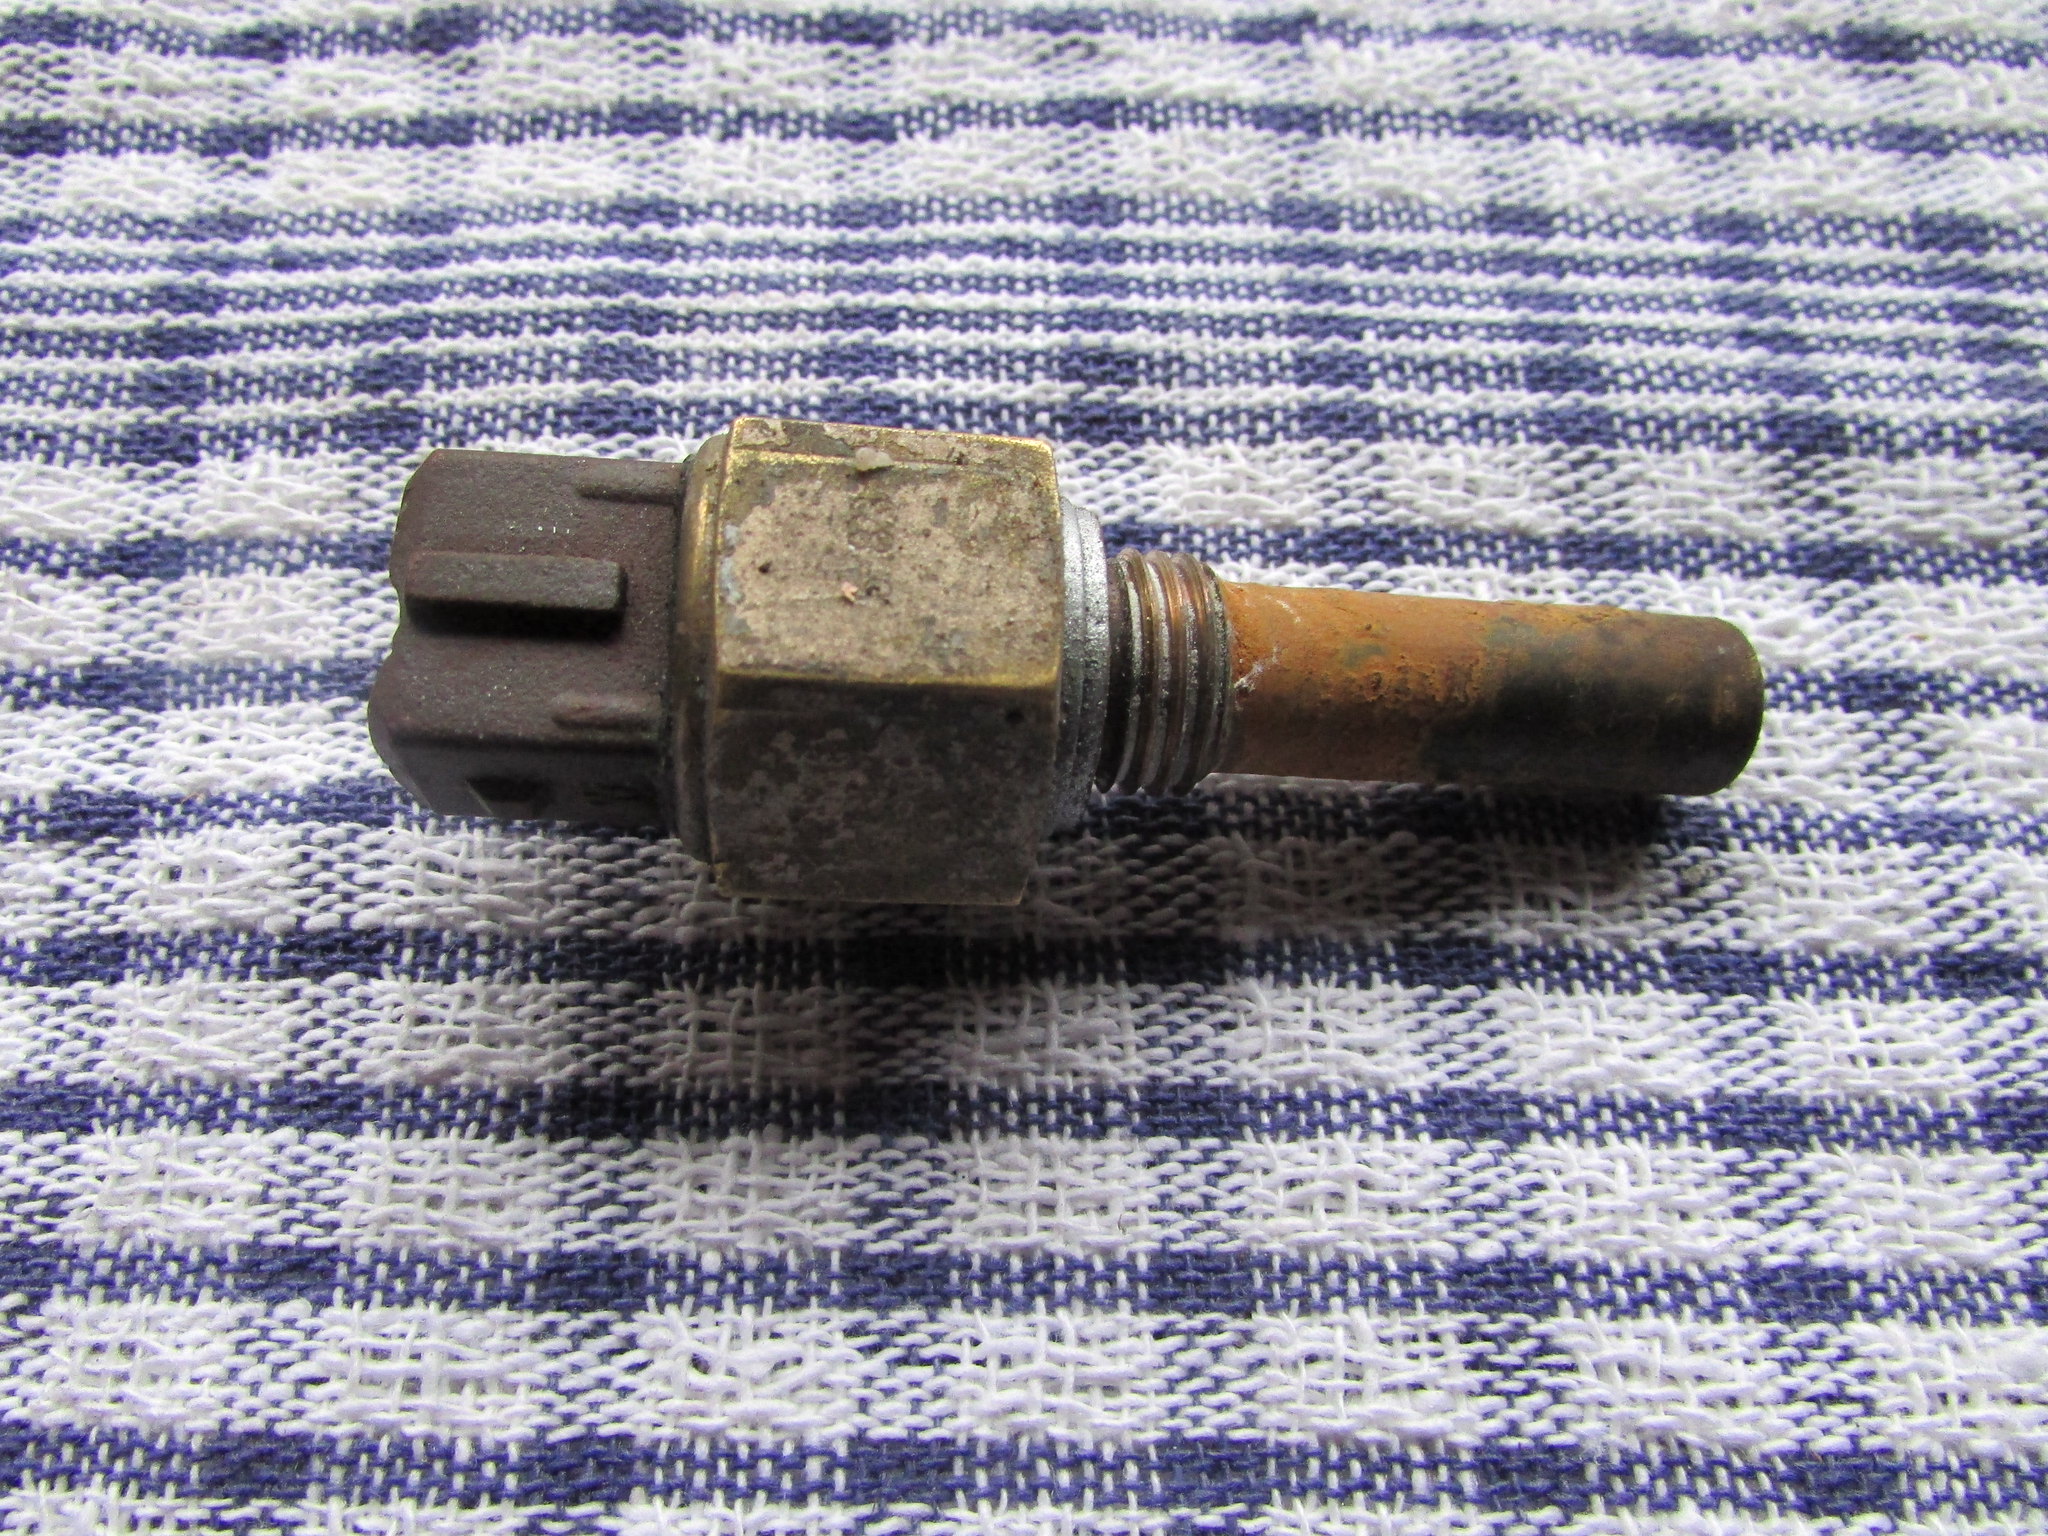
This particular item is only lightly rusty/tarnished, so I'm skipping the steps of first polishing with a coarse compound and stitch/dolly mops and simply giving the item a final polish using the fine blue compound, firstly with a stitch mop and then the felt wheel. Don't panic, the technique for each compound is identical, so you can still follow this guide.
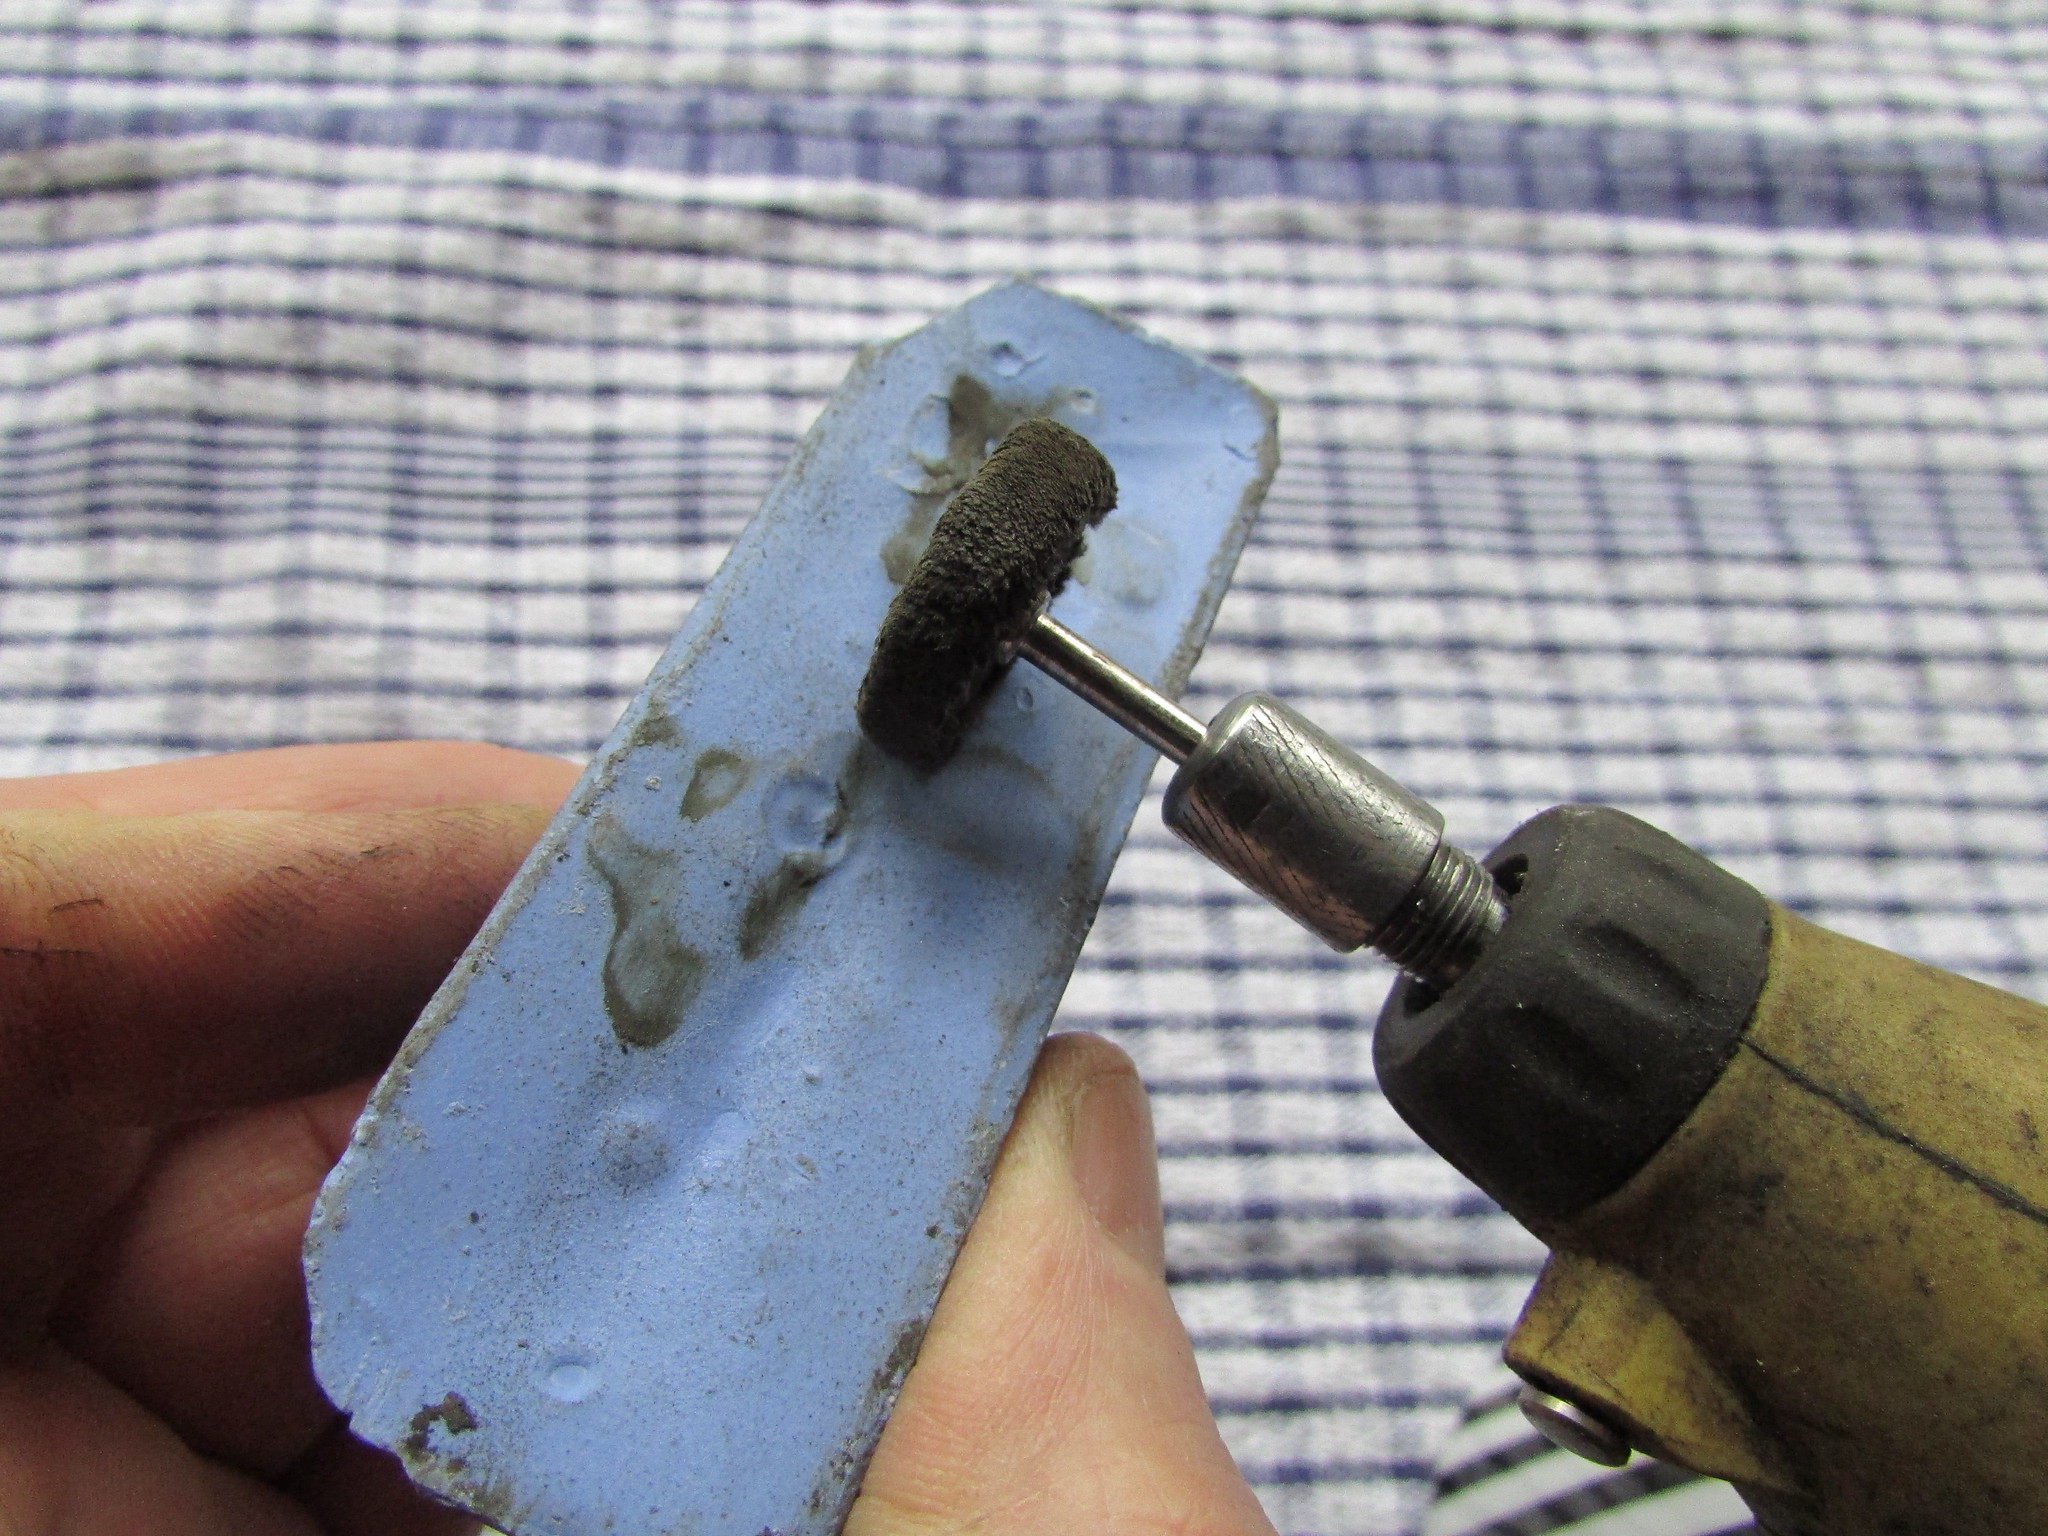
The first stage is to lightly load your polishing wheel with the compound. It's only necessary to use a little amount, just a quick dab of the rotating felt wheel on the compound will suffice. If you apply too much compound, it will just take you longer to buff it all off. Here I am using the stitch mop on the fine blue compound.
Then, on to the polishing....
Use the rotary tool on a slow speed and lightly hold the wheel against the object.
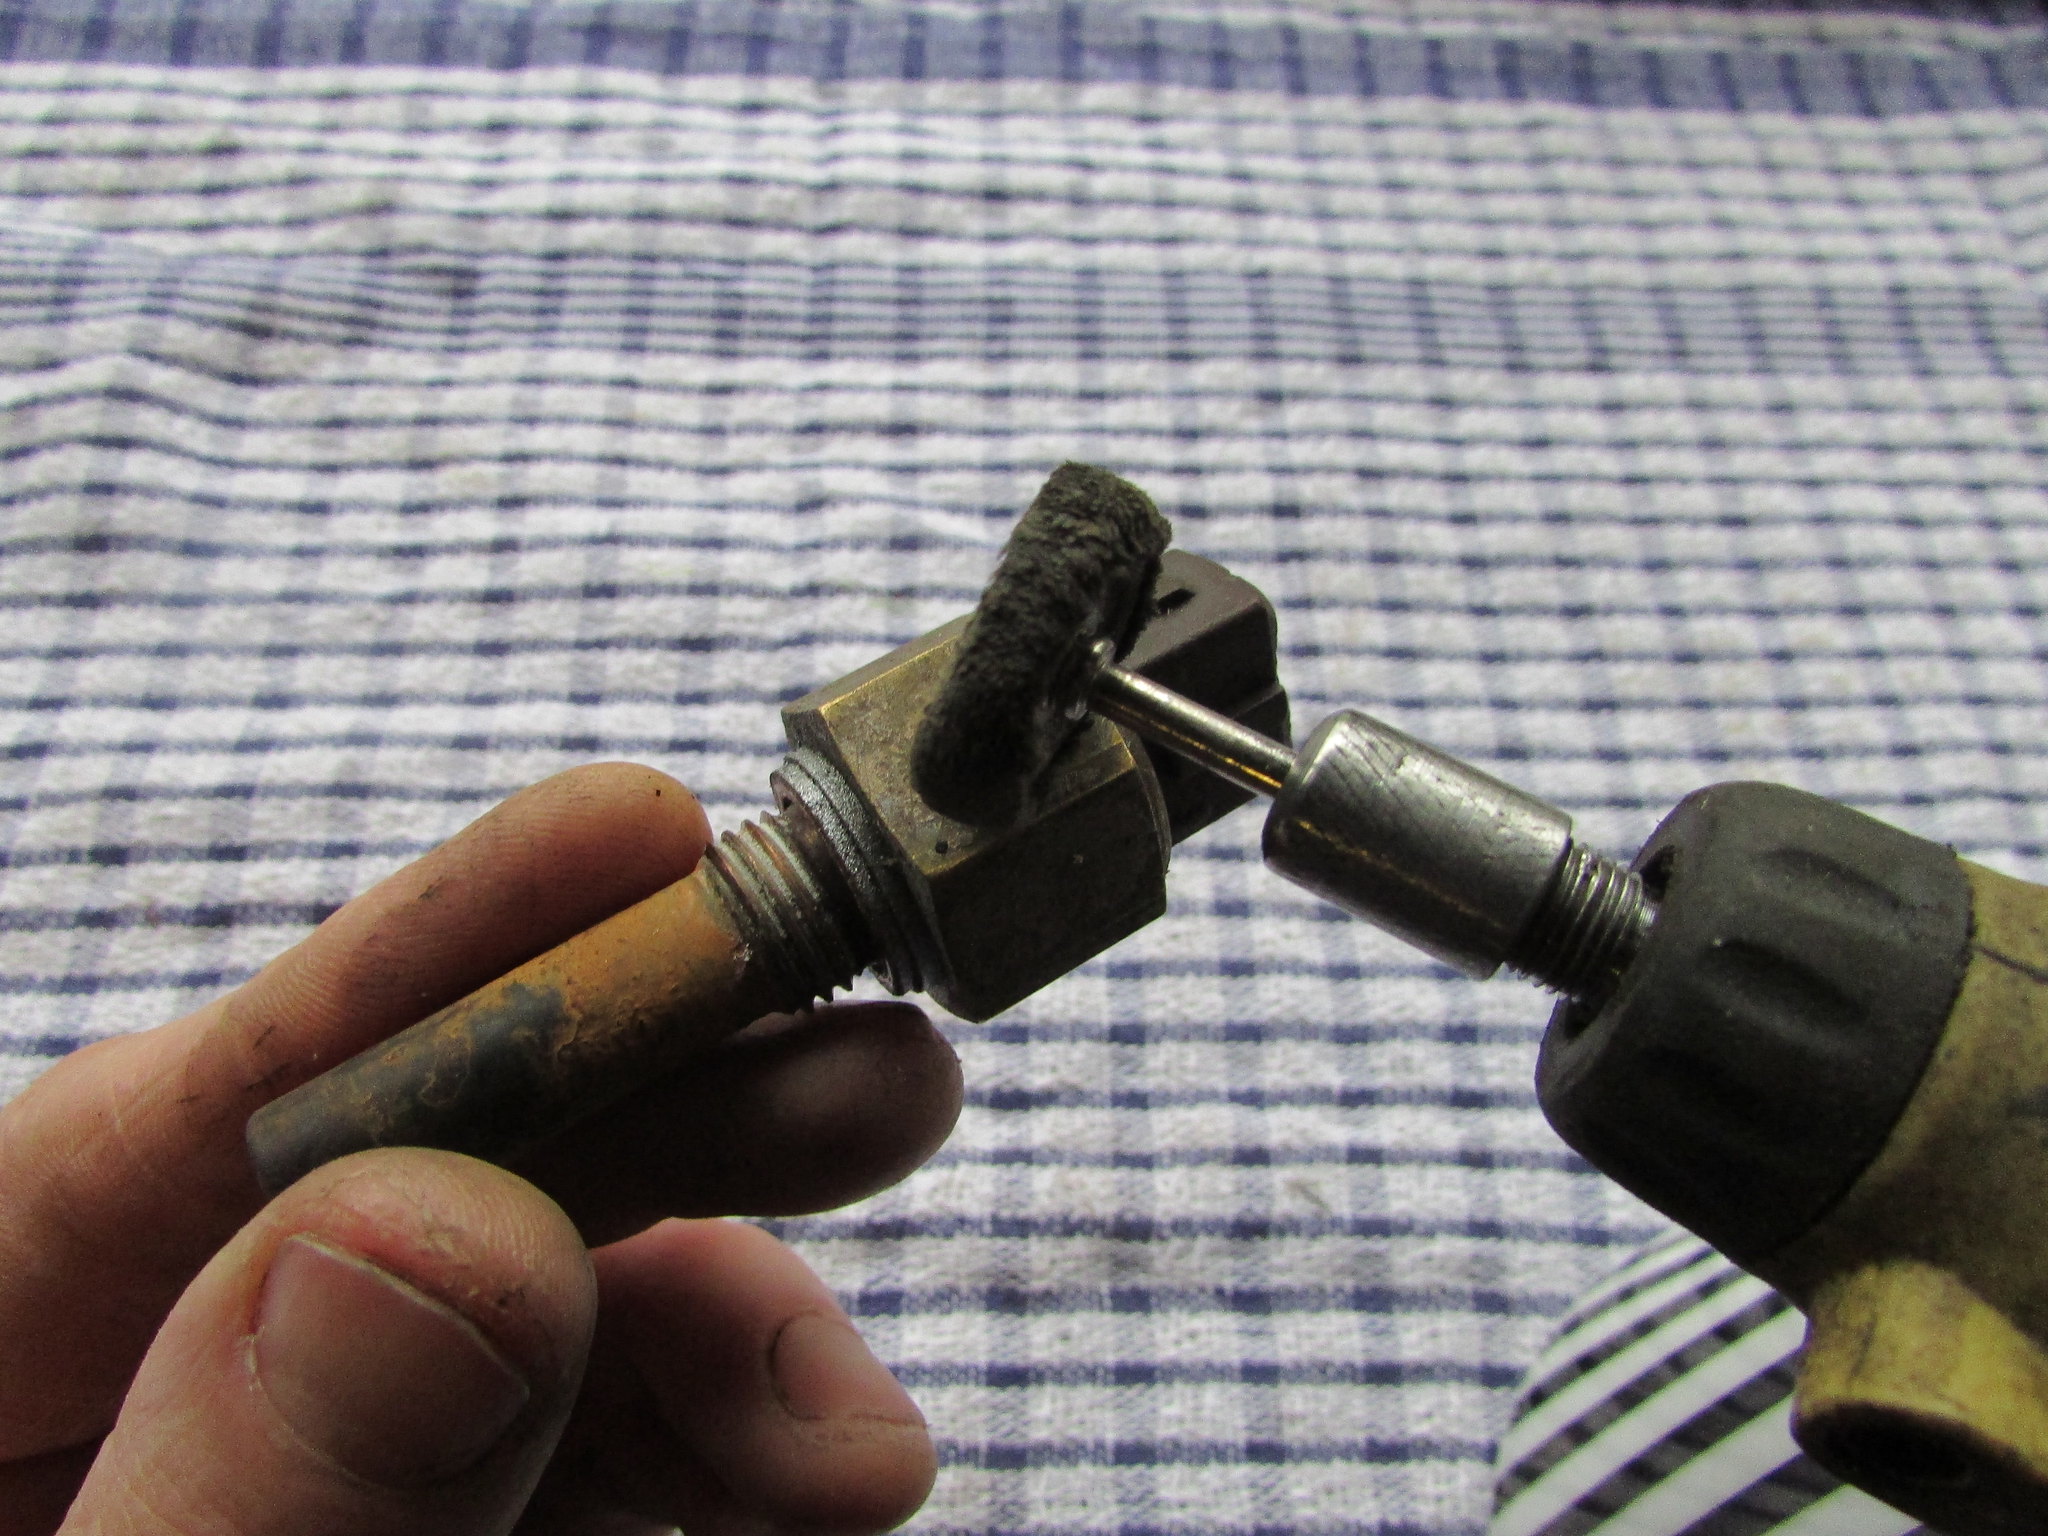
Using the tool on a high speed or pressing the wheel too firmly against the object will result in the item getting extremely hot. This is not good for two reasons. The object will quickly become too holt to hold, but also the compound becomes sticky and difficult to polish. Make sure you thoroughly go over the whole surface before you go on the next stage. Don't worry if the part looks worse than when you started.
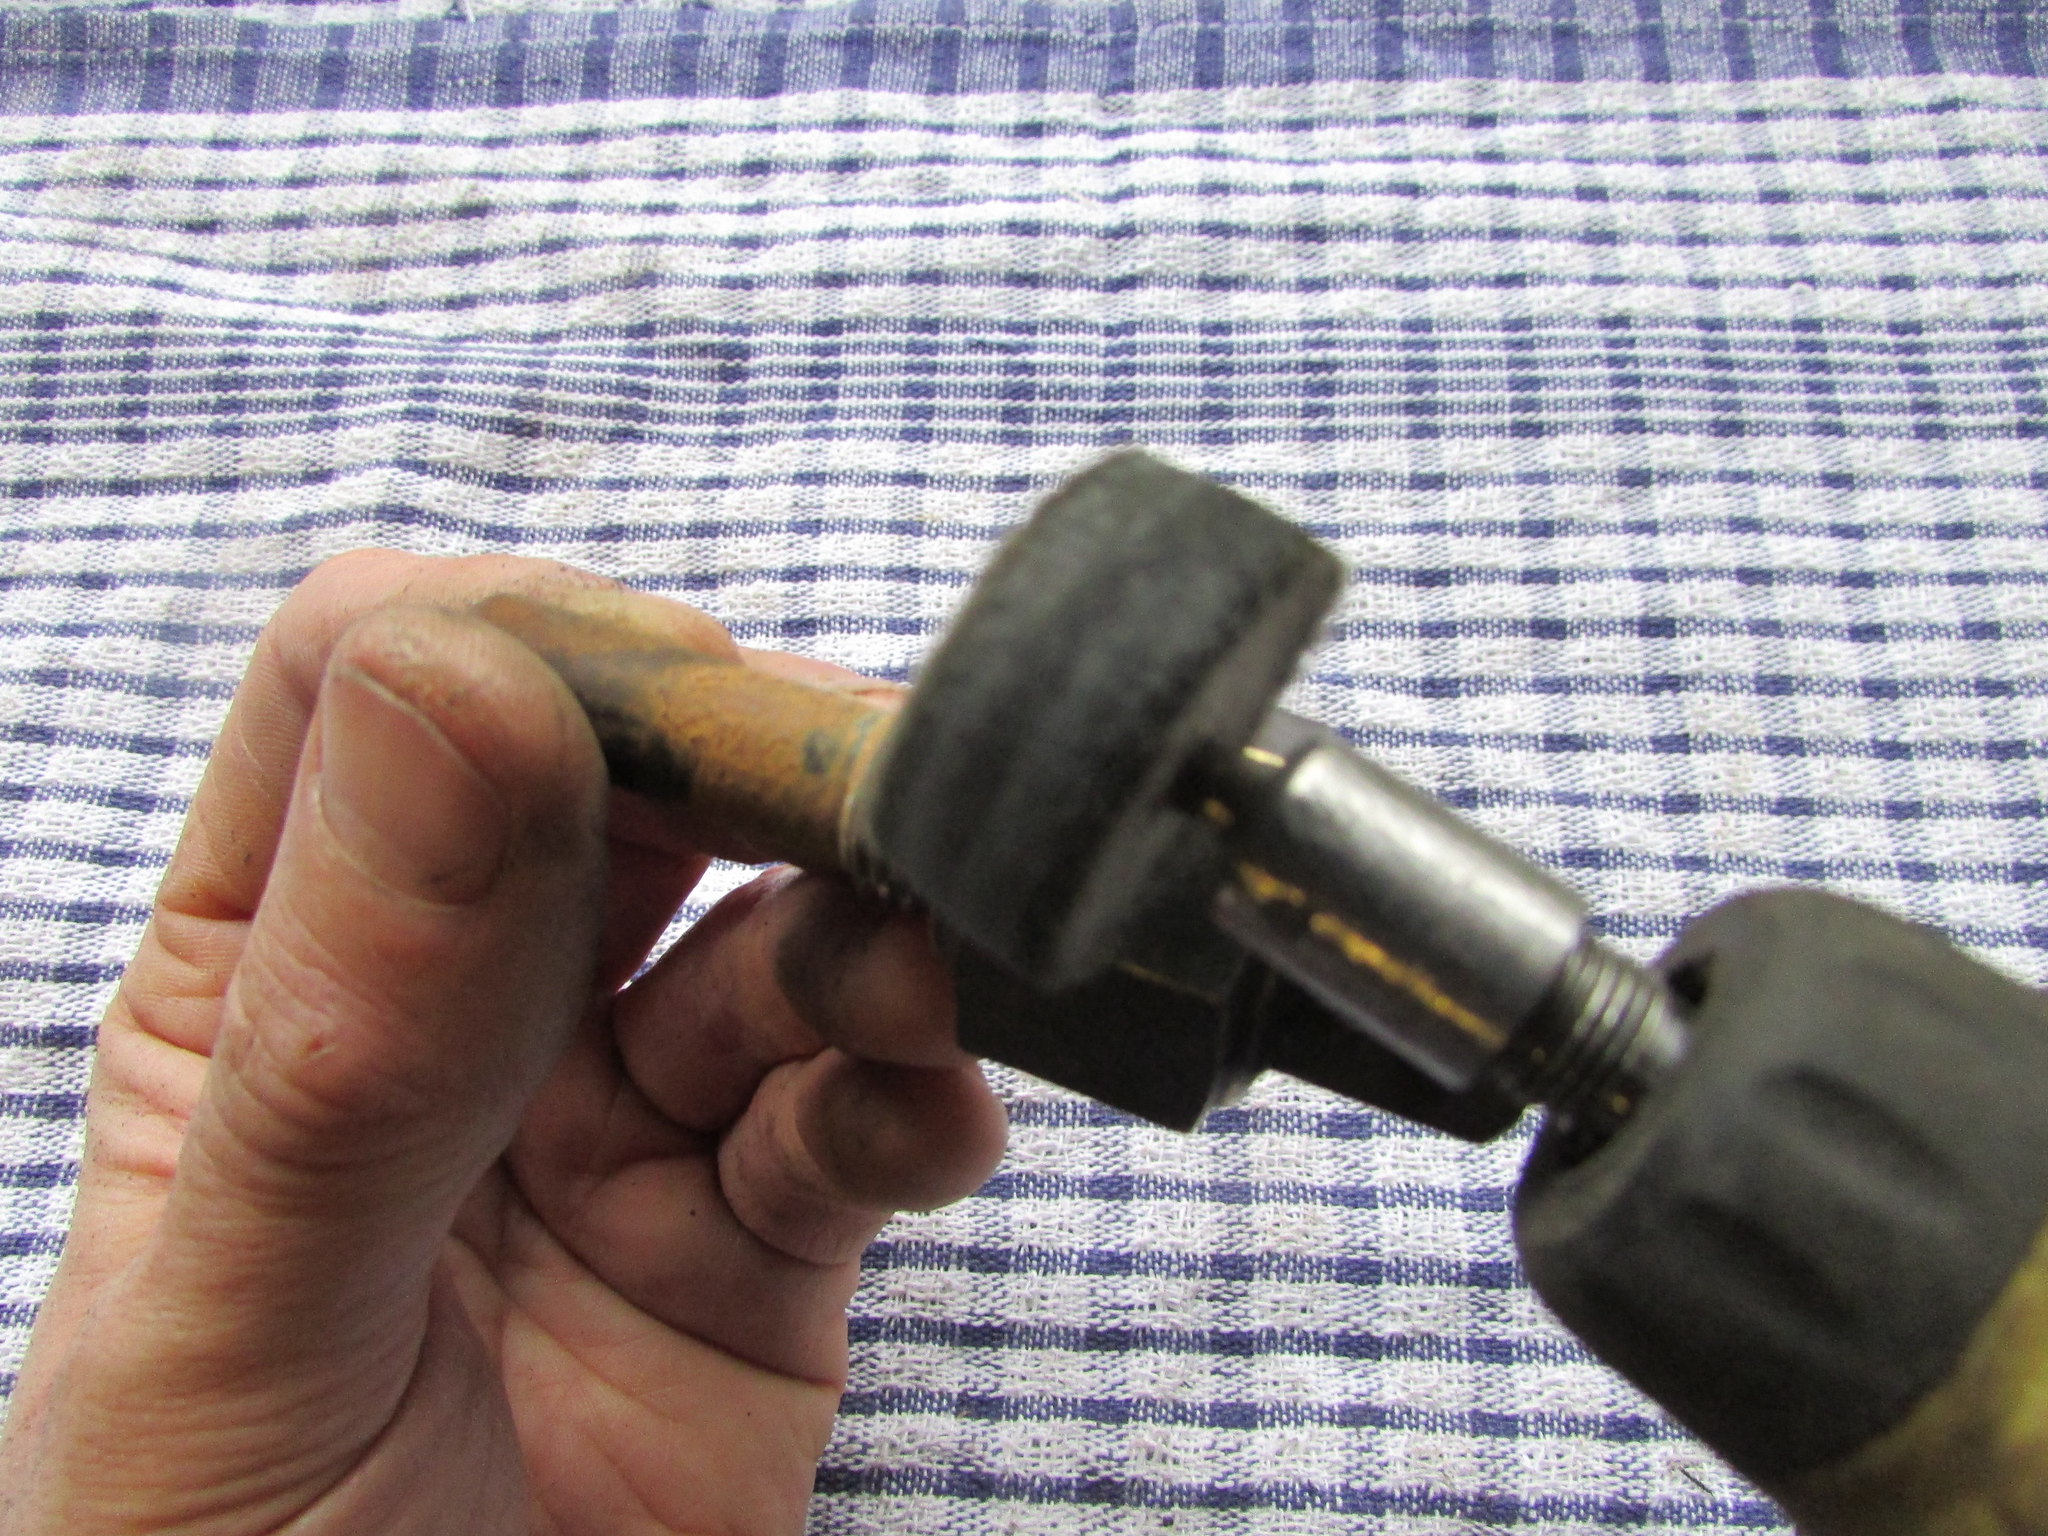
When you're happy that the tarnishing has been removed, you're ready to move onto the final polishing. Change the stitch mop for the felt wheel and off you go again....
There's no shortcuts here, the longer you spend on each stage of the polishing, the better the final finish will be. I rushed the polishing a bit, for the purposes of this demonstration, I only spent about 20 minutes in total on this thermotime switch. Obviously, the time taken will also depend on the condition of the item at the start of the process.
Getting there:
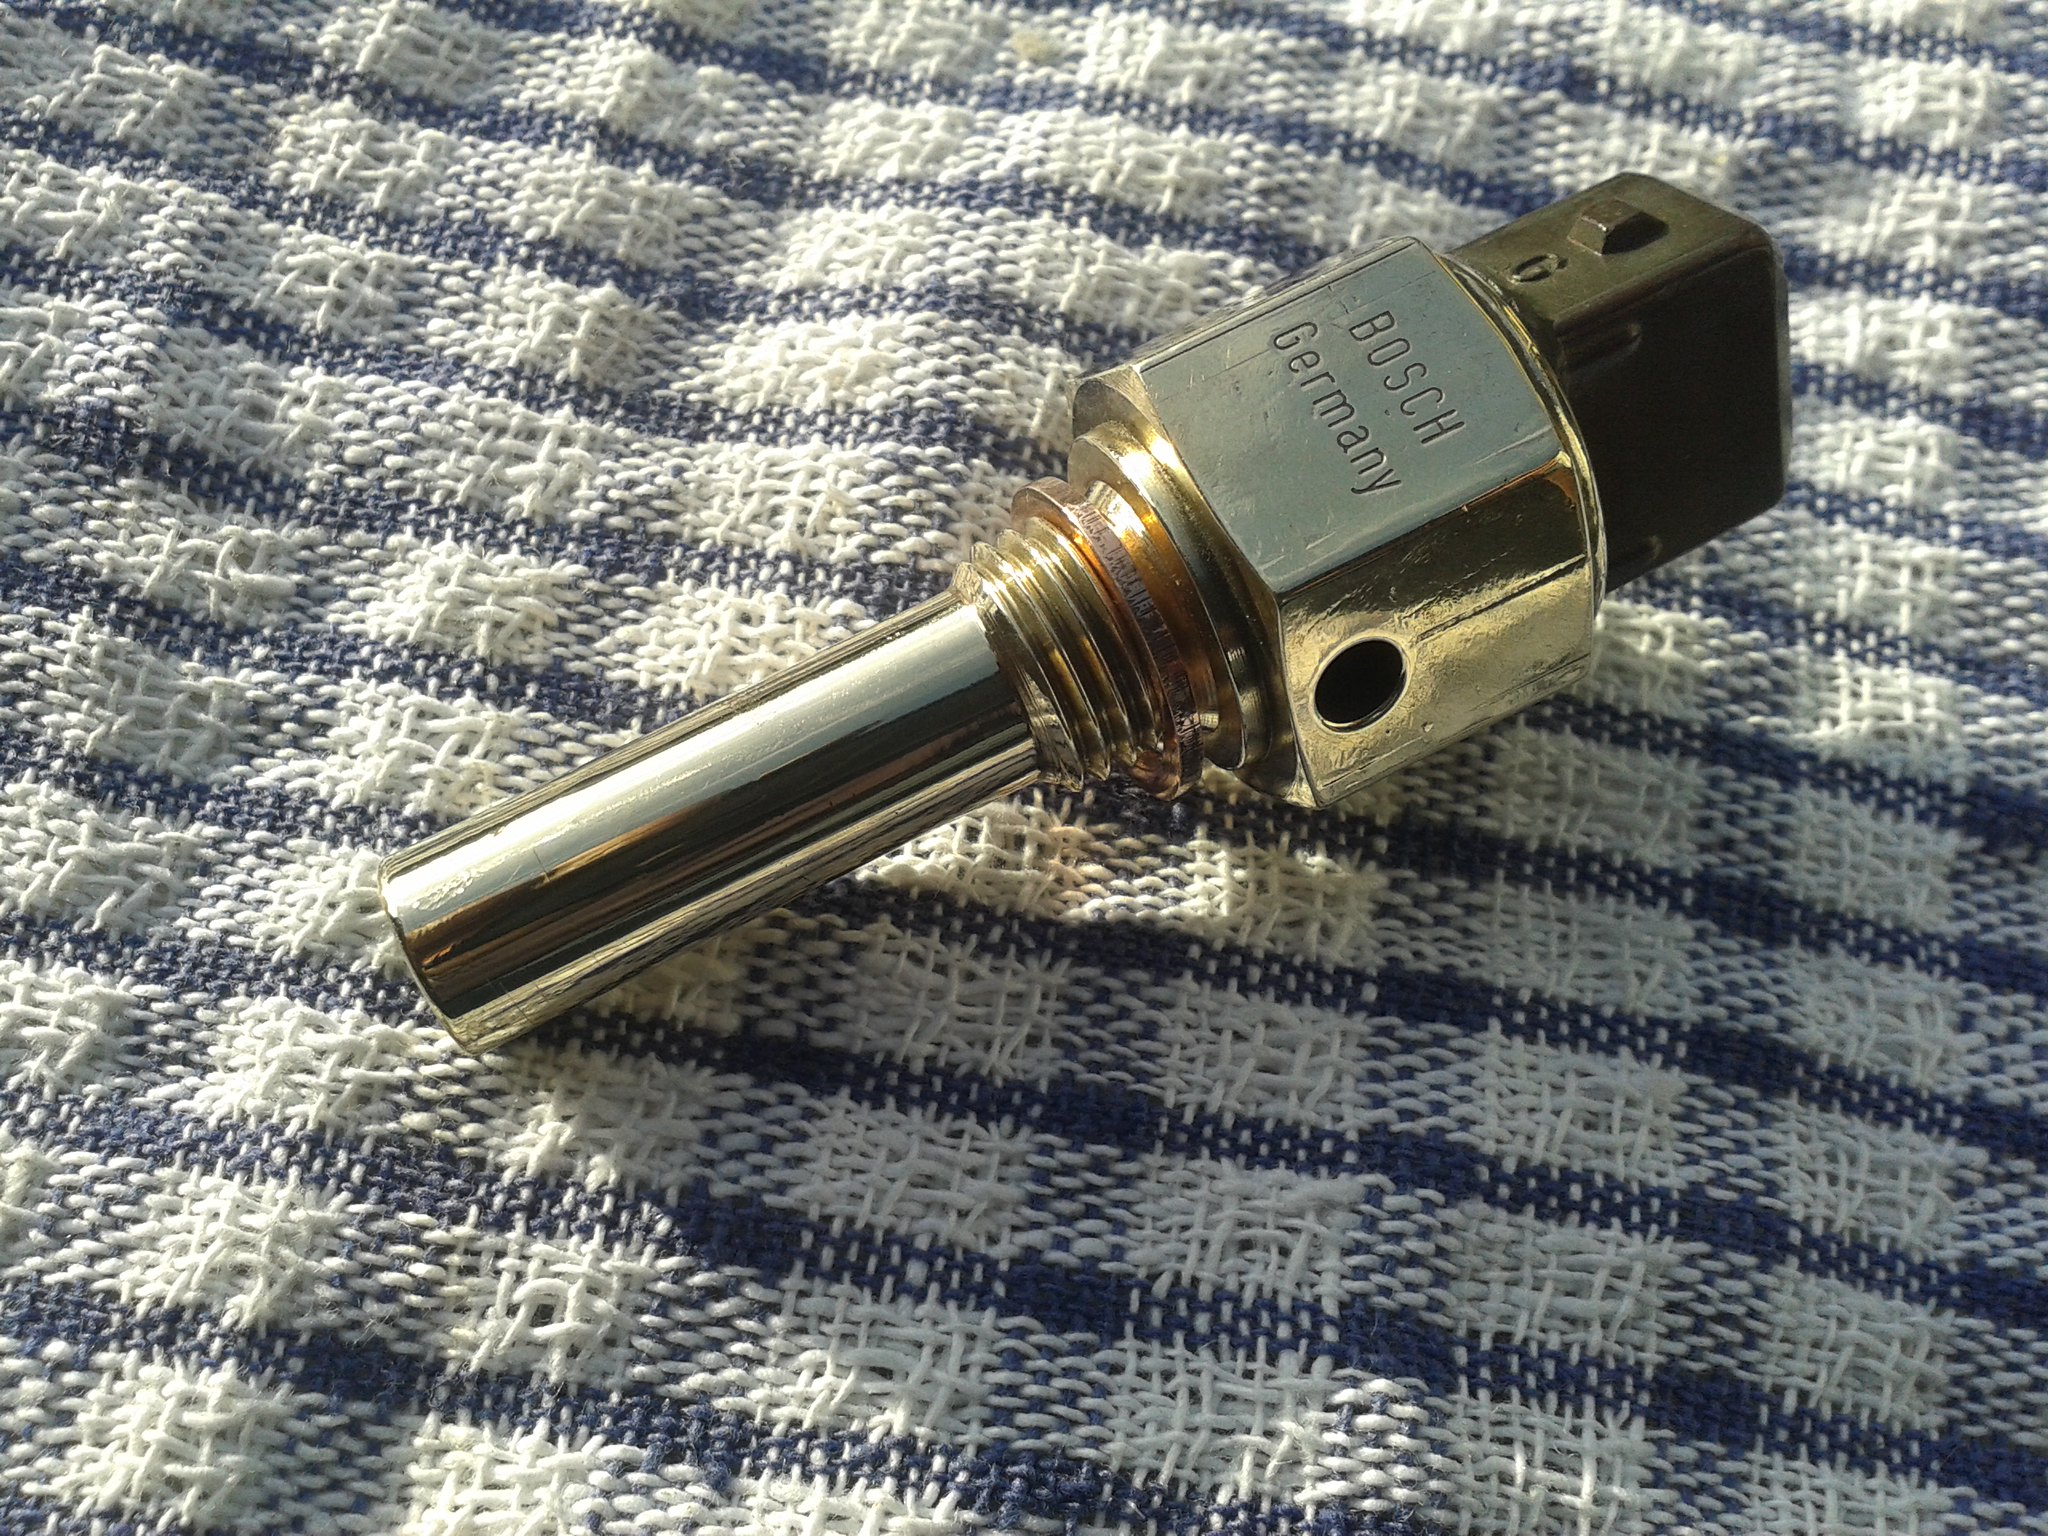
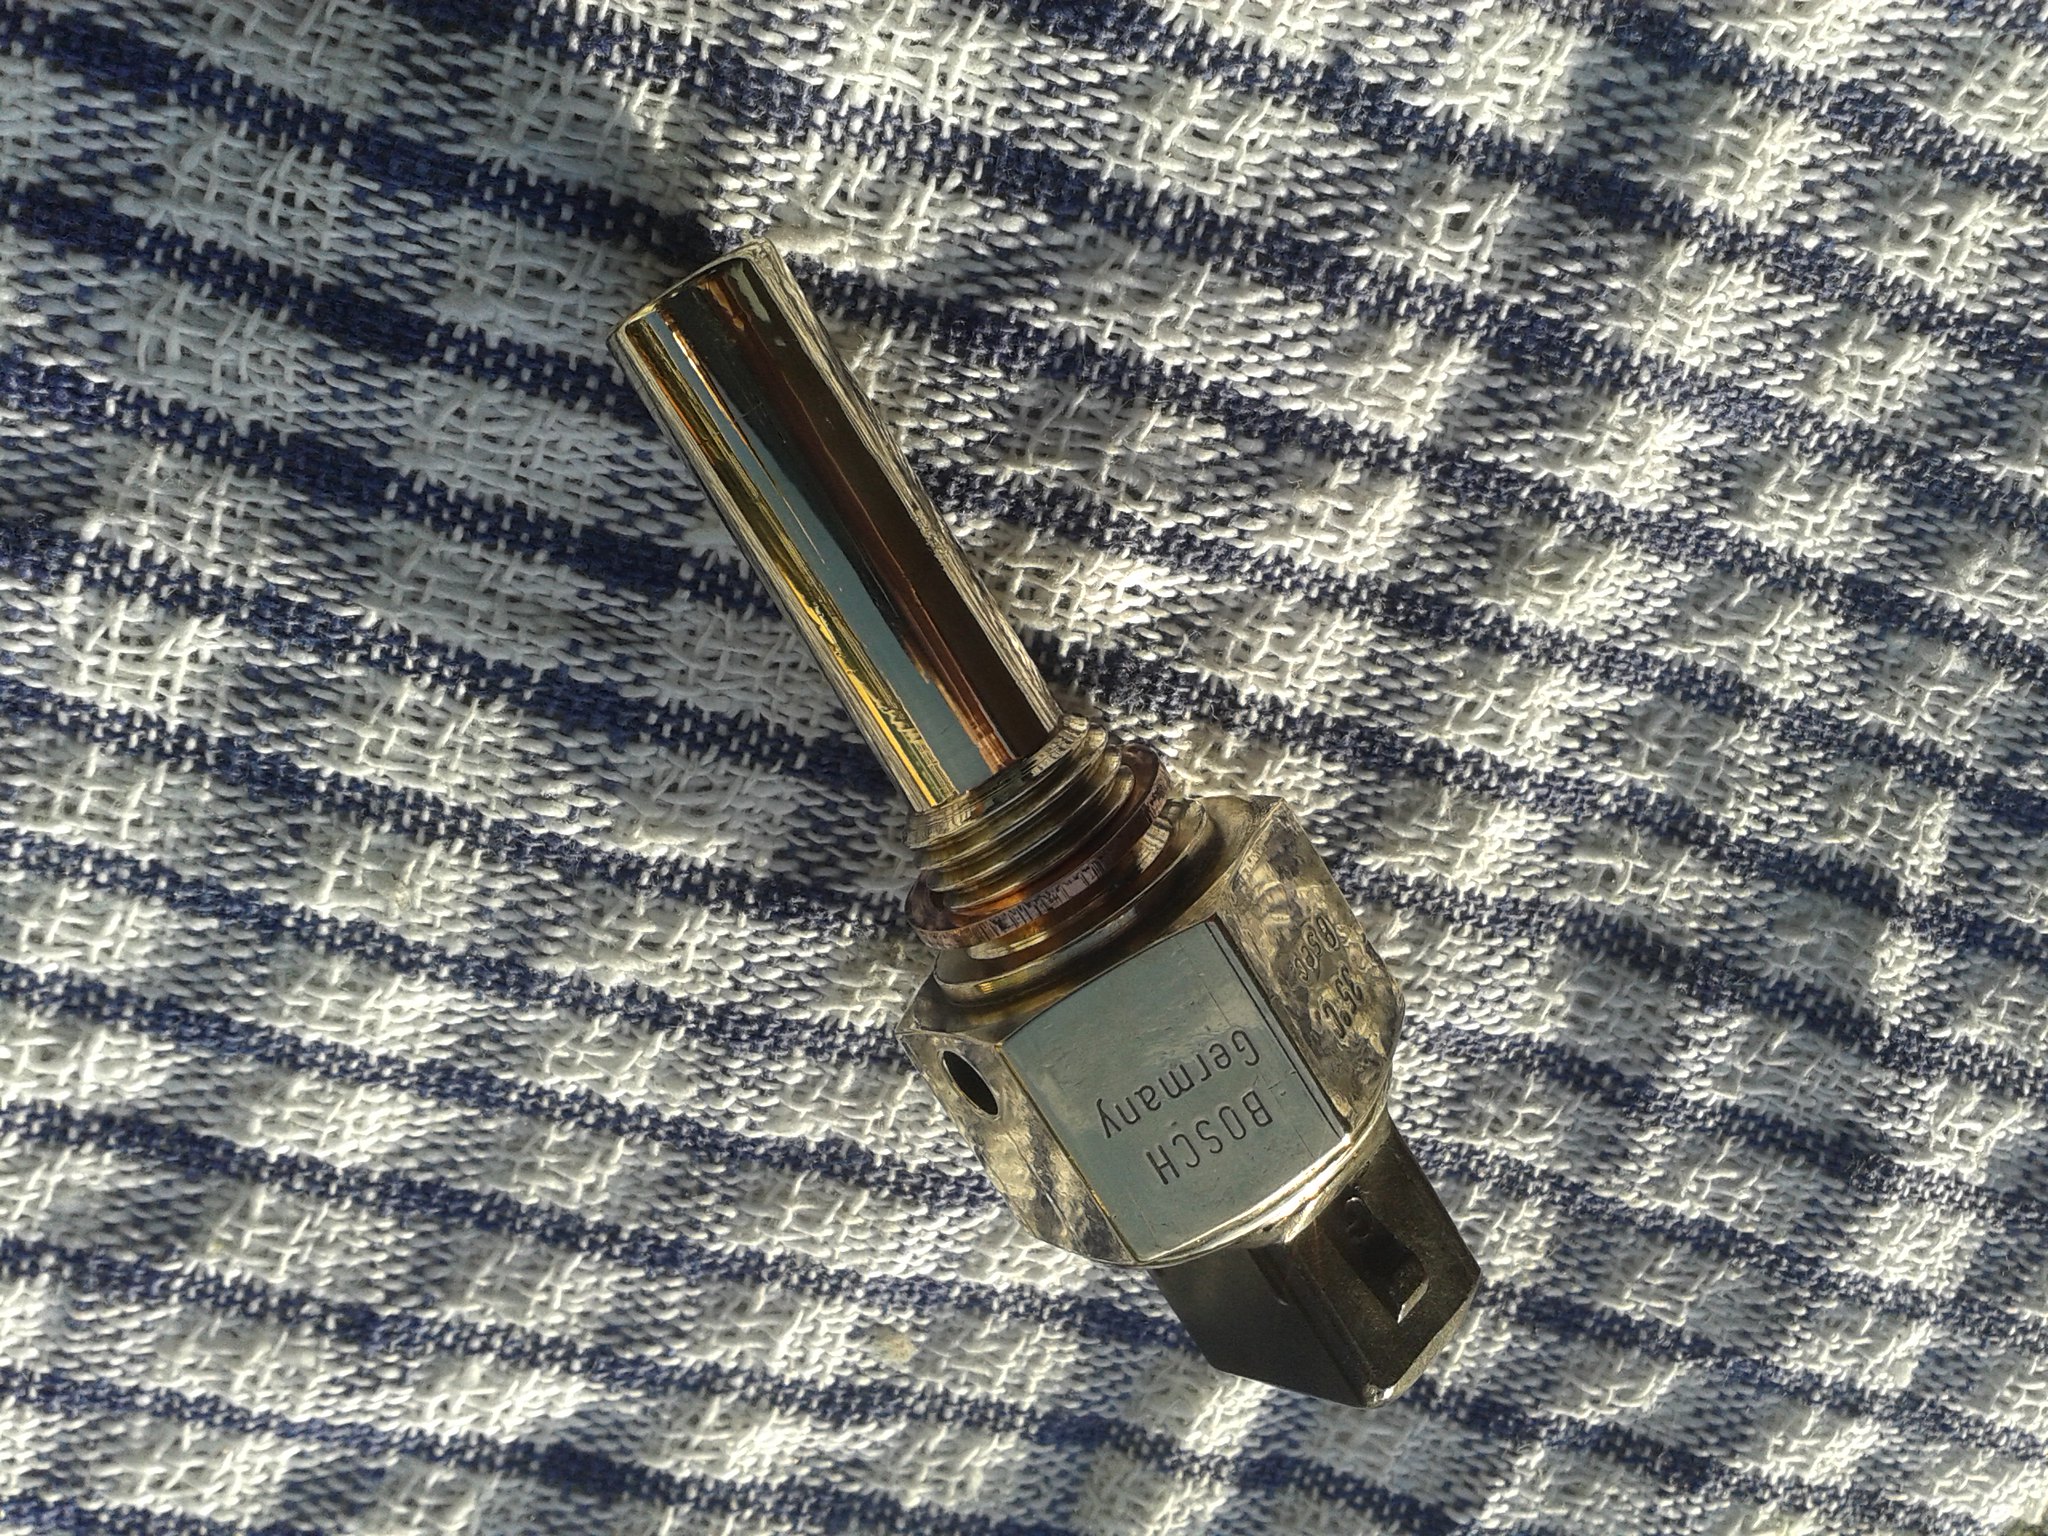
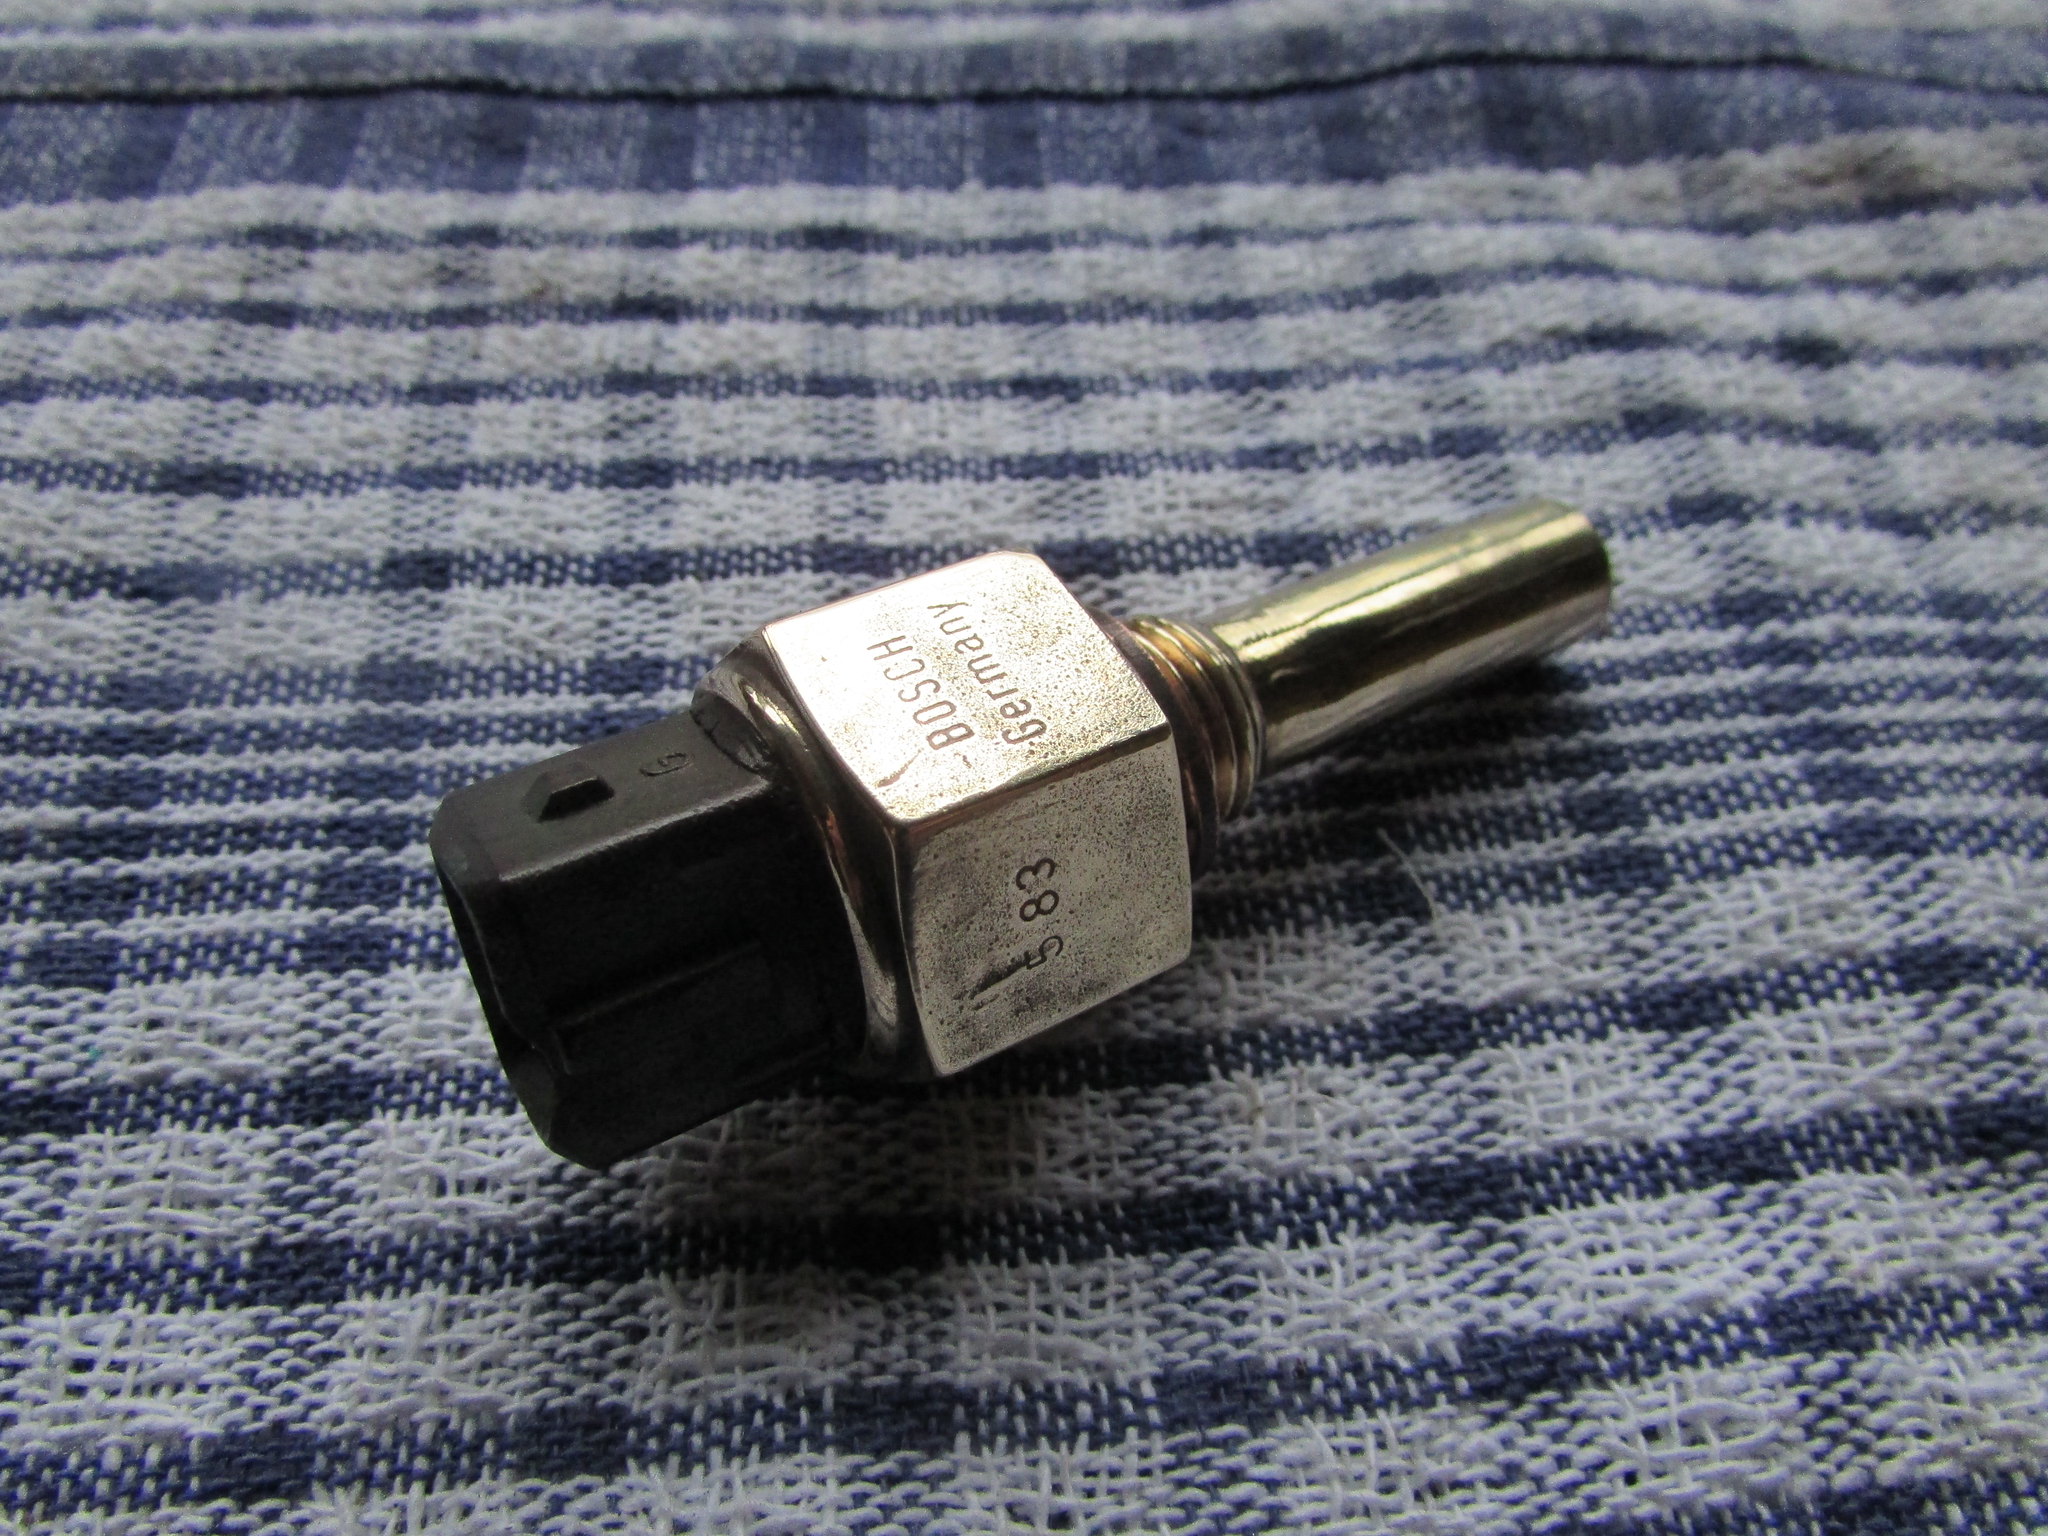
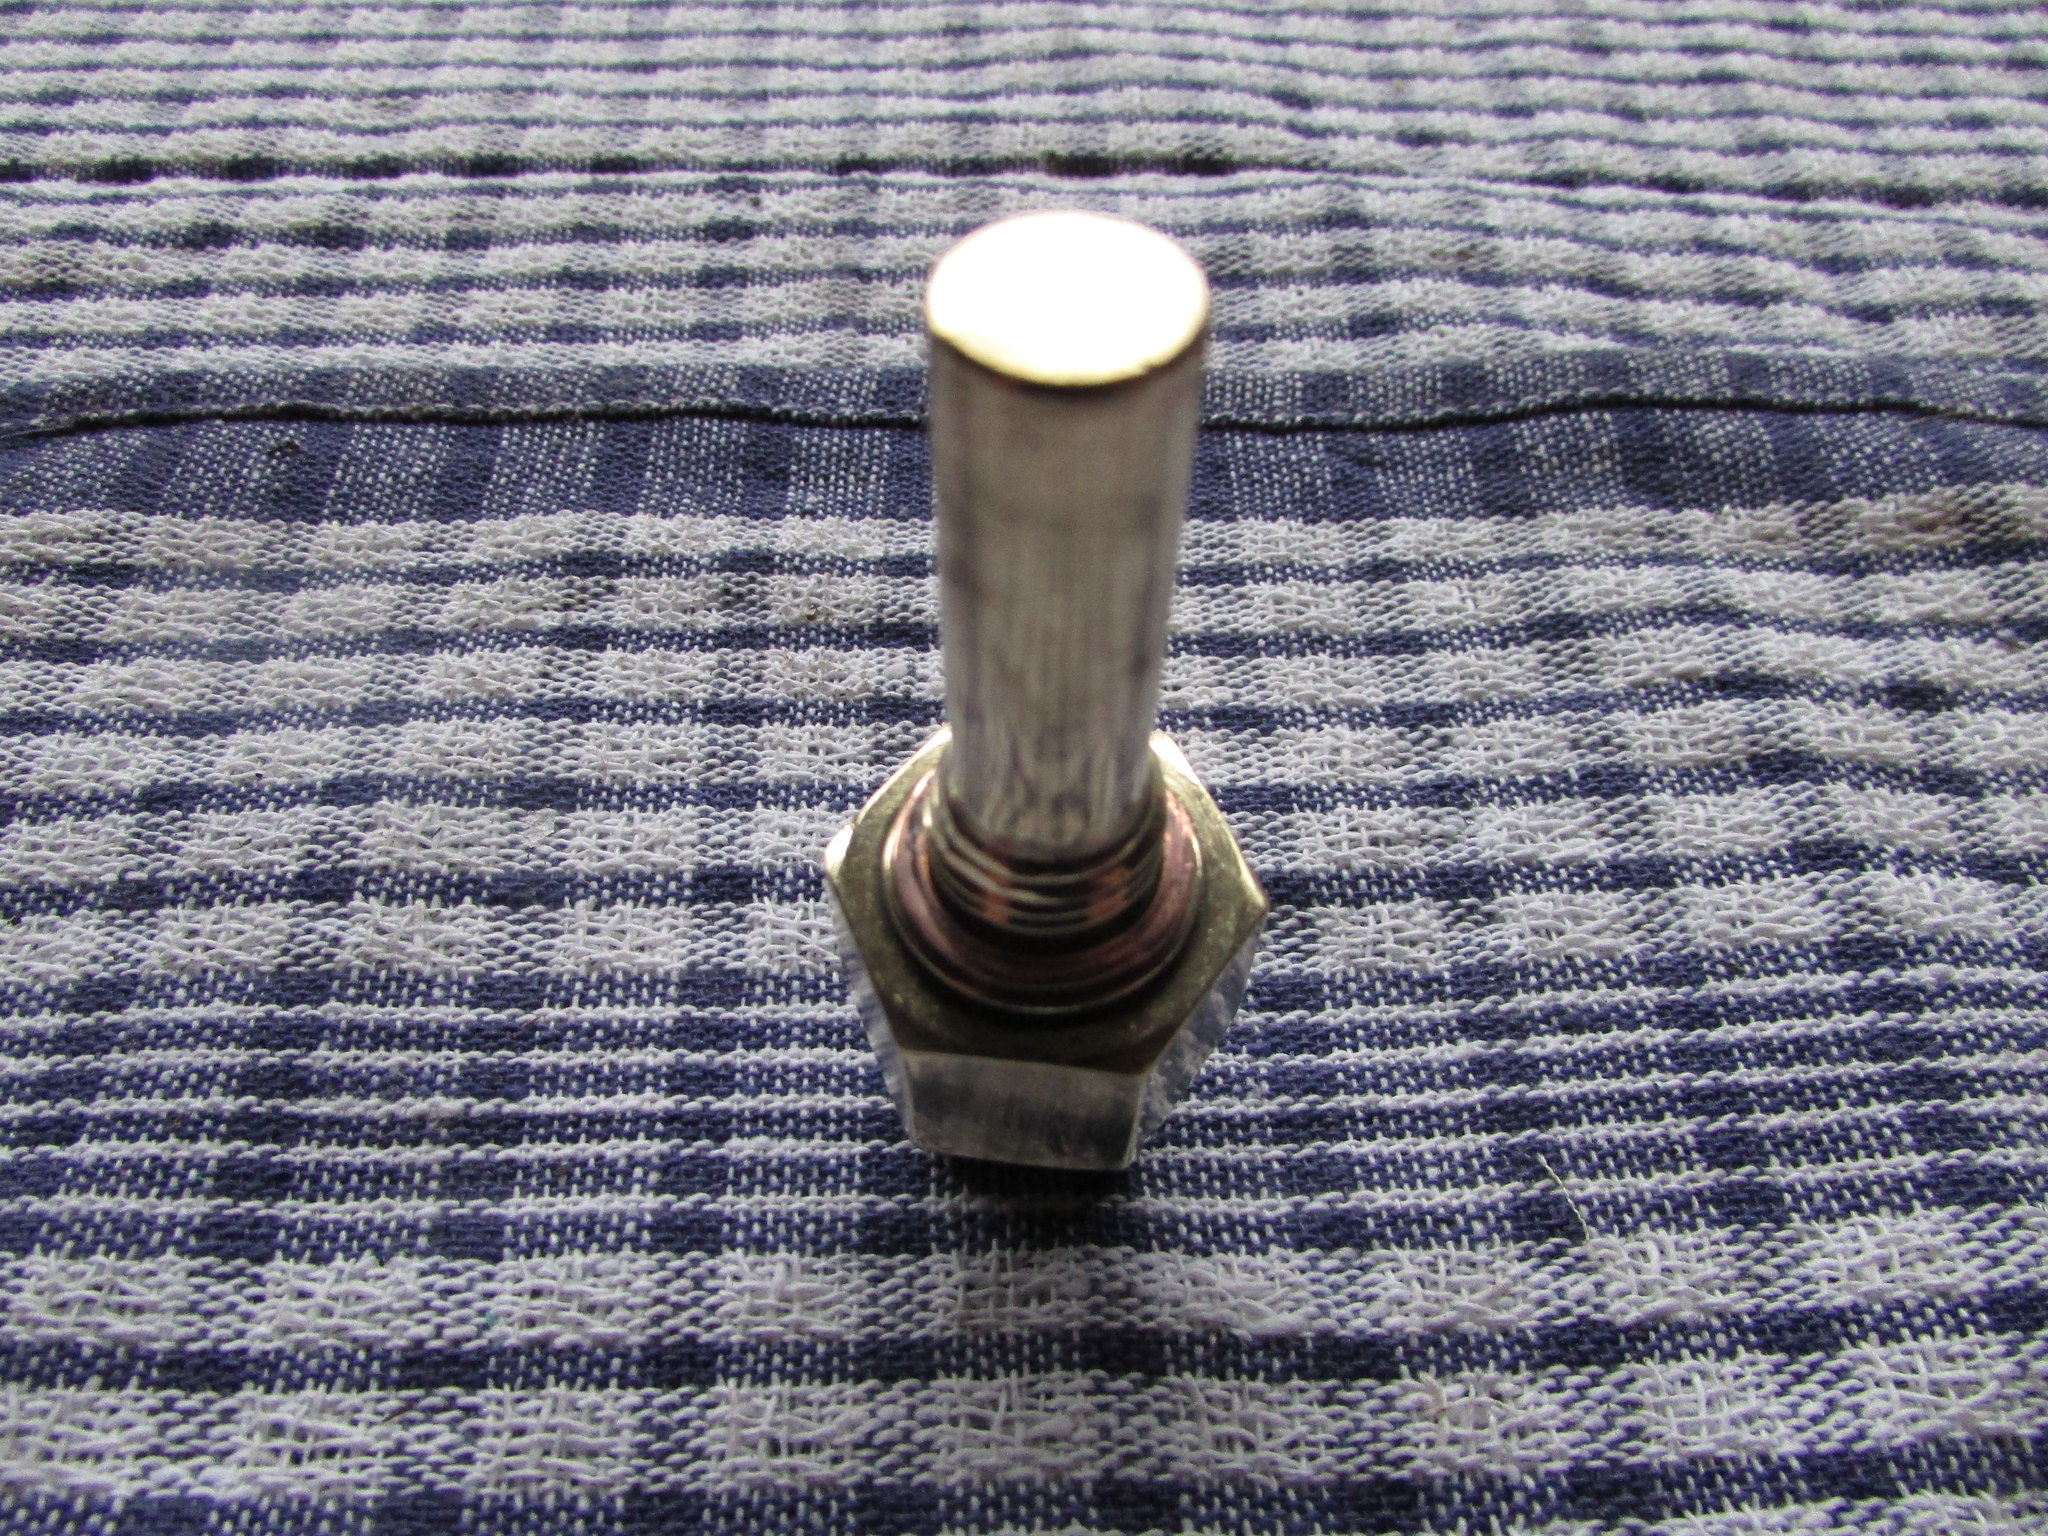
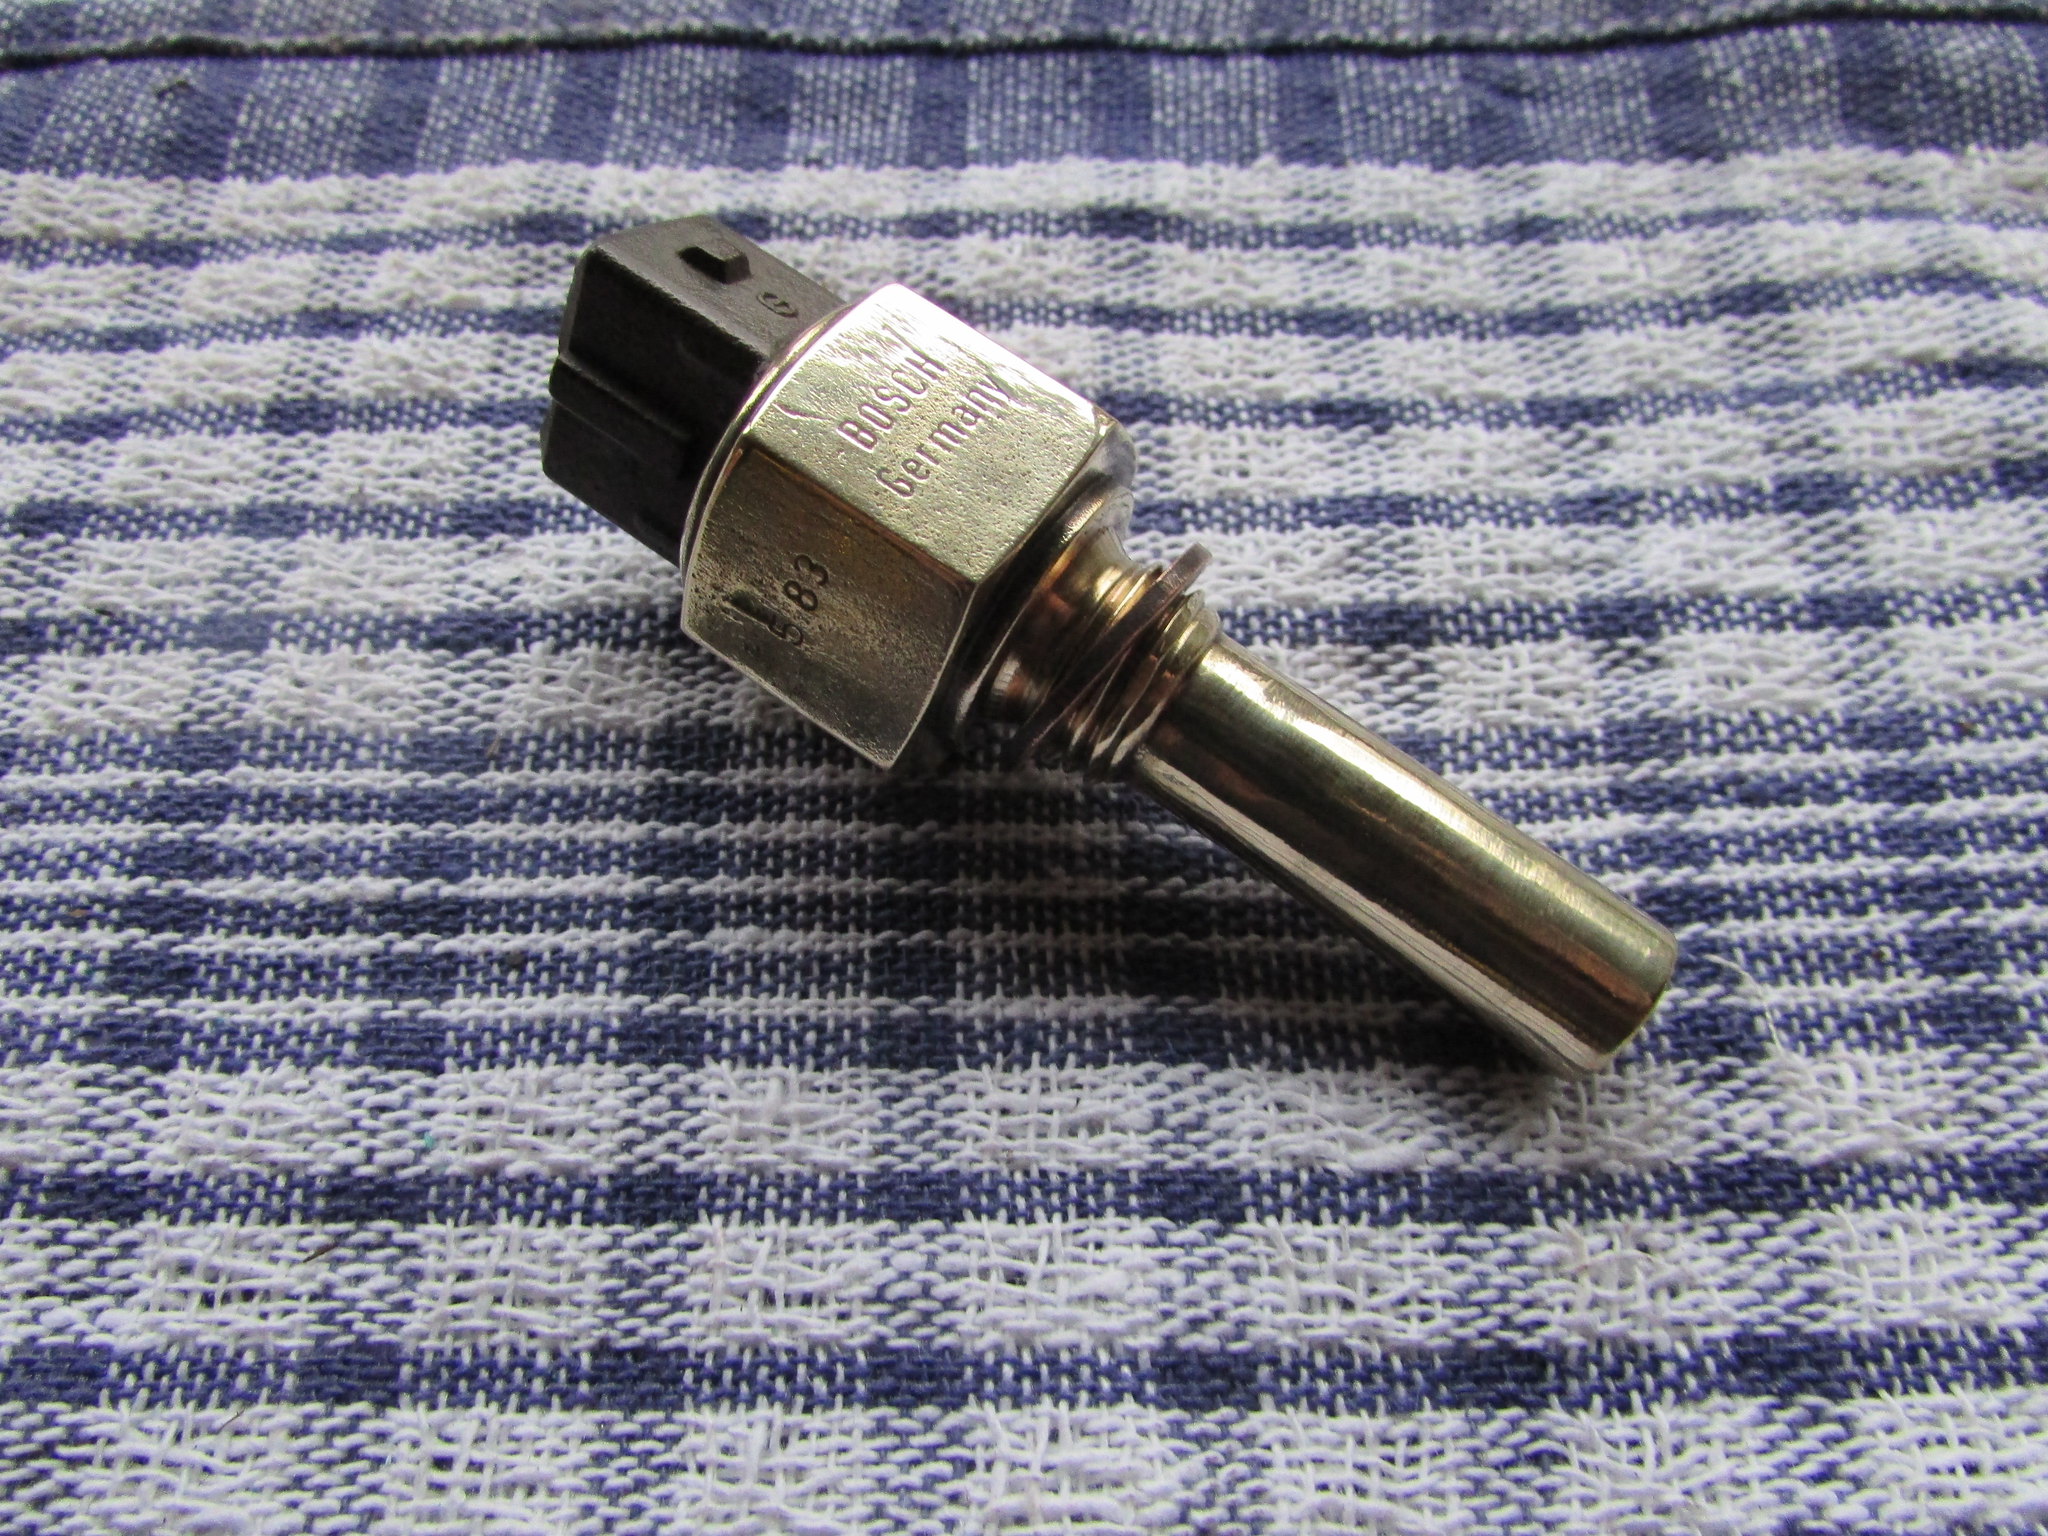
The finished article (for now). I will spend a little more time on this buffing it to perfection, but as it's 90% finished and it's an engine part, I'll leave it until later.
Note: It looks a lot worse in the photos than it is to the eye, you really have to look hard to see the pitting that is evident in the photo. In addition, the shine is very difficult to successfully photograph.
A reminder. Before and after:
I hope that some of you will find this guide useful. Of course, metal polishing isn't exclusively for car parts. I've used the same techniques to successfully polish household items too.
If you have any questions or comments, I'll be pleased to answer them.
All the best,
Andrew.
I thought I'd write a brief guide to inspire some of you to give metal polishing a go. I don't do this professionally, I'm simply an enthusiastic amateur, however, I can pass on some hits and tips that I've picked up along the way.
Firstly, you will need a small amount of equipment. For small projects a hobby rotary tool will do the job, like my well-used Rotacraft shown in the photo below. Even if you don't use it for metal polishing, this tool has a multitude of uses and I can't recommend one highly enough if you don't already own one.
You will also need some polishing compound. Shown in the photo are four different types, each has their own specific use. From left to right, brown is a coarse compound for using on heavily tarnished softer metals such as copper or aluminium. Blue is for finer final polishing of the same metals. Black is a coarse compound for using on heavily tarnished harder metal/alloys such as steel or iron. The white one is used for final polishing of those metals.
The technique is to use the coarse compound if the object you are polishing is heavily tarnished. Once the tarnishing is removed, you can switch to the finer compound to give the item a final polish. One tip here is to use one felt wheel for each type of compound, don't be tempted to contaminate the felt polishing wheel with different compounds.
Depending on how much tarnishing or rust is on the item that is to be polished, you will need different polishing wheels. The three shown to the right of the photo, in order of harshness, are a felt wheel, a stitch mop and a dolly, or dollie, mop. The idea here is to use the dolly mop first to remove rusty deposits, then use the stitch mop and finally use the felt wheel for the final polishing.
The equipment:
Now, the fun begins....
Select your item to be polished, I'm going to use this thermotime switch:
This particular item is only lightly rusty/tarnished, so I'm skipping the steps of first polishing with a coarse compound and stitch/dolly mops and simply giving the item a final polish using the fine blue compound, firstly with a stitch mop and then the felt wheel. Don't panic, the technique for each compound is identical, so you can still follow this guide.
The first stage is to lightly load your polishing wheel with the compound. It's only necessary to use a little amount, just a quick dab of the rotating felt wheel on the compound will suffice. If you apply too much compound, it will just take you longer to buff it all off. Here I am using the stitch mop on the fine blue compound.
Then, on to the polishing....
Use the rotary tool on a slow speed and lightly hold the wheel against the object.
Using the tool on a high speed or pressing the wheel too firmly against the object will result in the item getting extremely hot. This is not good for two reasons. The object will quickly become too holt to hold, but also the compound becomes sticky and difficult to polish. Make sure you thoroughly go over the whole surface before you go on the next stage. Don't worry if the part looks worse than when you started.
When you're happy that the tarnishing has been removed, you're ready to move onto the final polishing. Change the stitch mop for the felt wheel and off you go again....
There's no shortcuts here, the longer you spend on each stage of the polishing, the better the final finish will be. I rushed the polishing a bit, for the purposes of this demonstration, I only spent about 20 minutes in total on this thermotime switch. Obviously, the time taken will also depend on the condition of the item at the start of the process.
Getting there:
The finished article (for now). I will spend a little more time on this buffing it to perfection, but as it's 90% finished and it's an engine part, I'll leave it until later.
Note: It looks a lot worse in the photos than it is to the eye, you really have to look hard to see the pitting that is evident in the photo. In addition, the shine is very difficult to successfully photograph.
A reminder. Before and after:
I hope that some of you will find this guide useful. Of course, metal polishing isn't exclusively for car parts. I've used the same techniques to successfully polish household items too.
If you have any questions or comments, I'll be pleased to answer them.
All the best,
Andrew.