Thanks for the compliments. The new deadline is July for CRAP. I missed that deadline last year, and the year before that, but I will try.

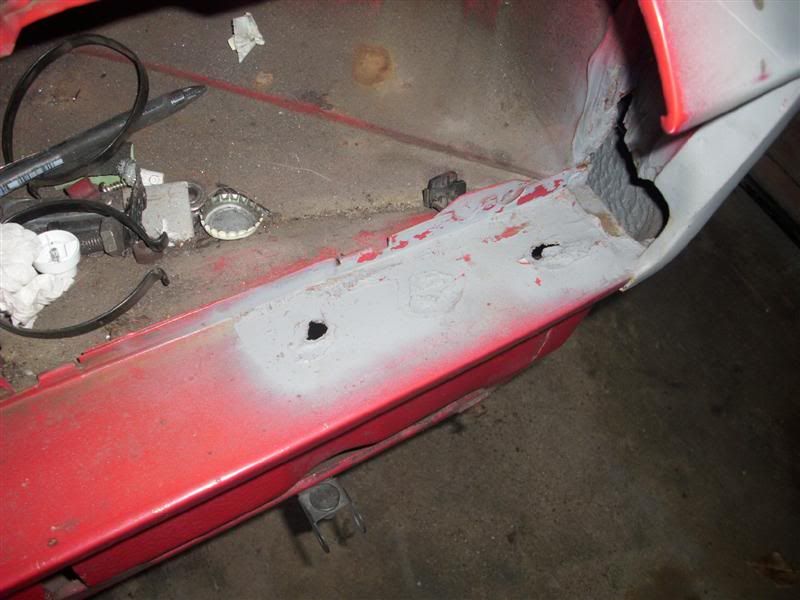
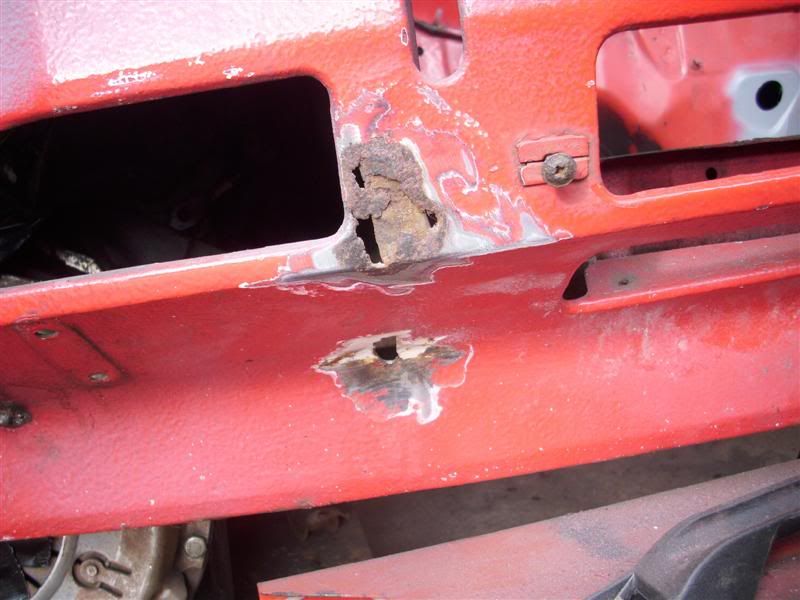
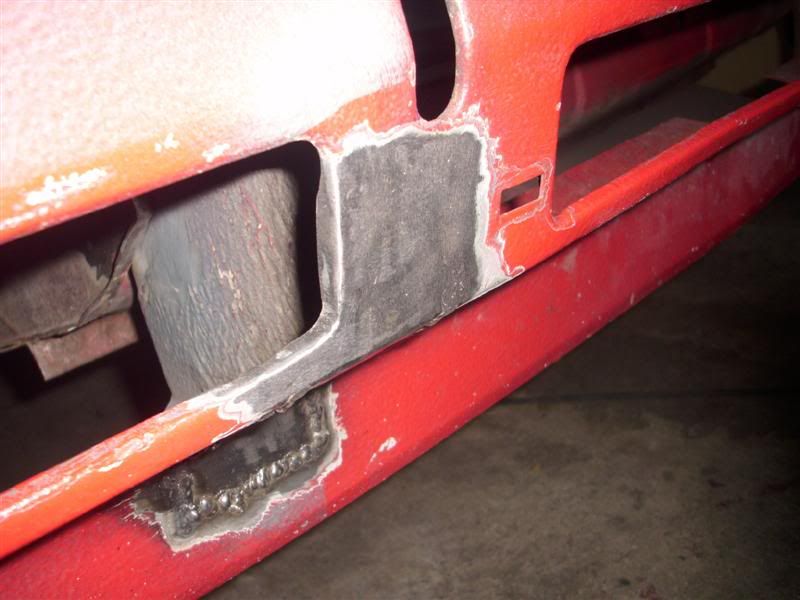
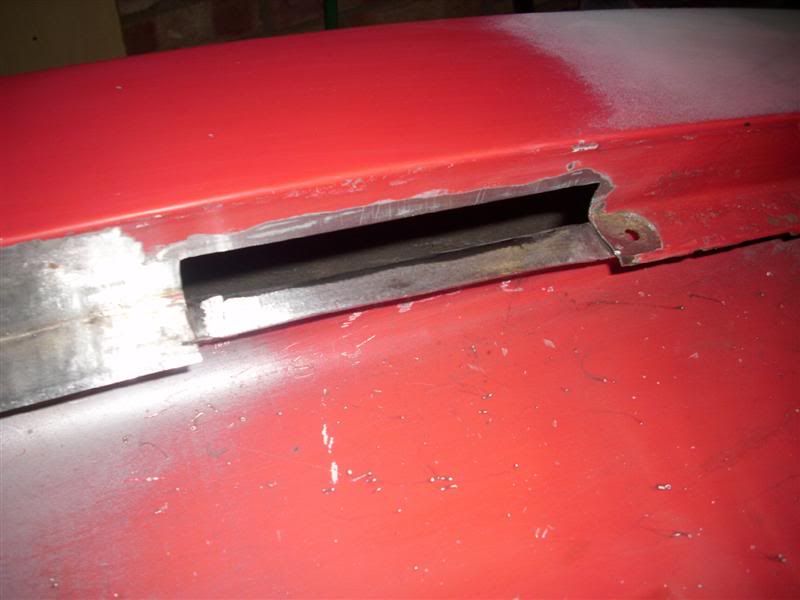
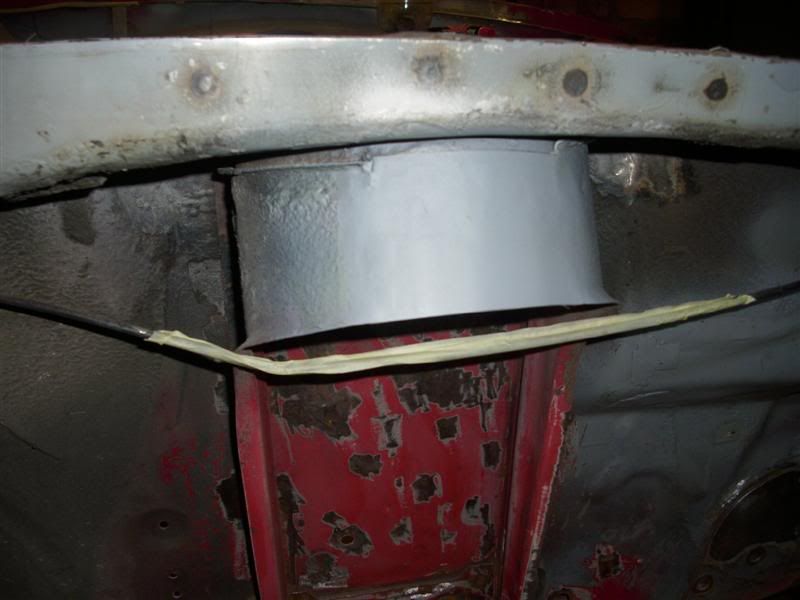
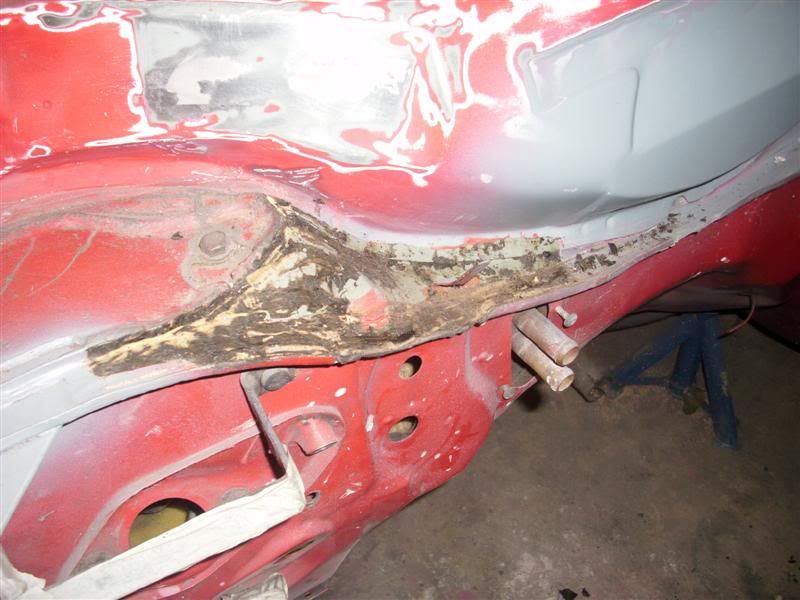
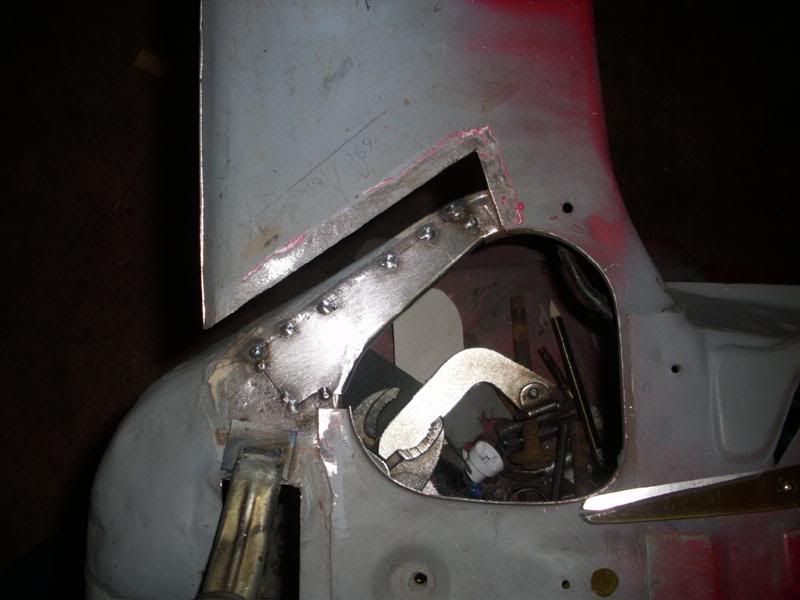
The strut tower wasn't satisfactory.
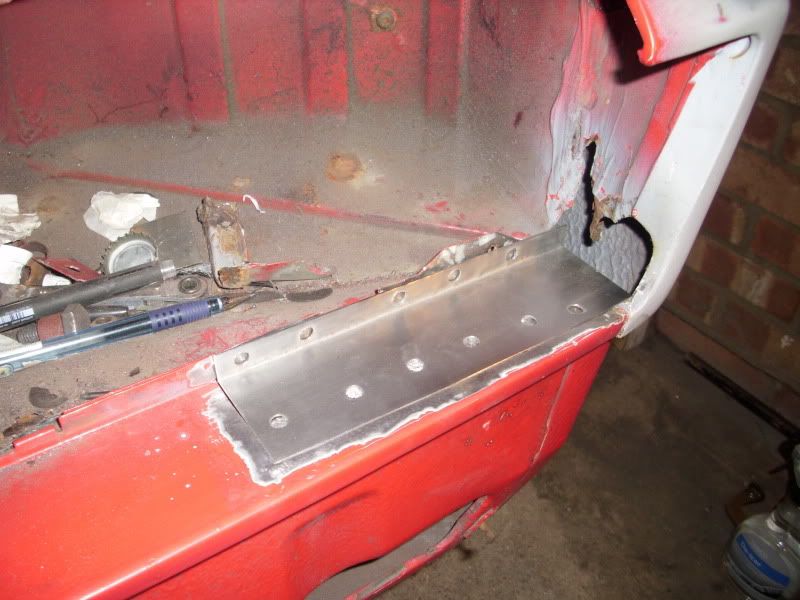
Square section was cut out and fresh 2mm plate welded in:
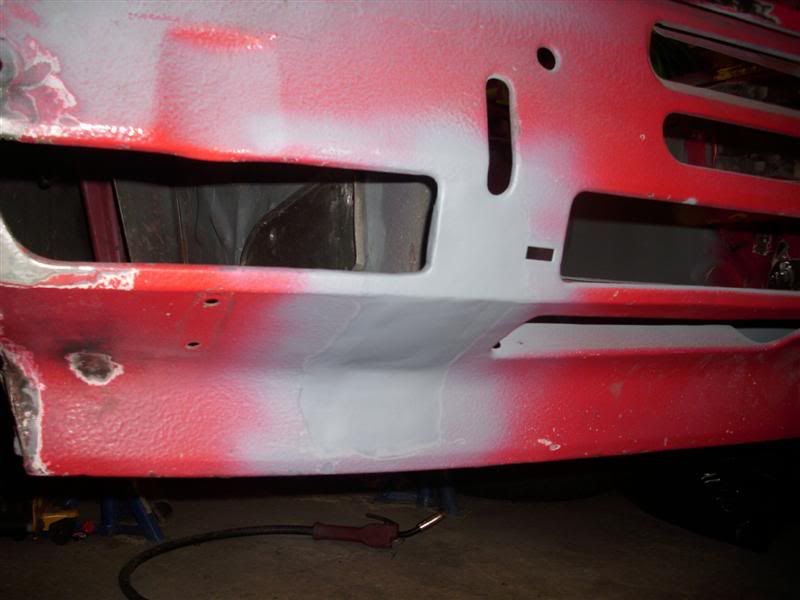
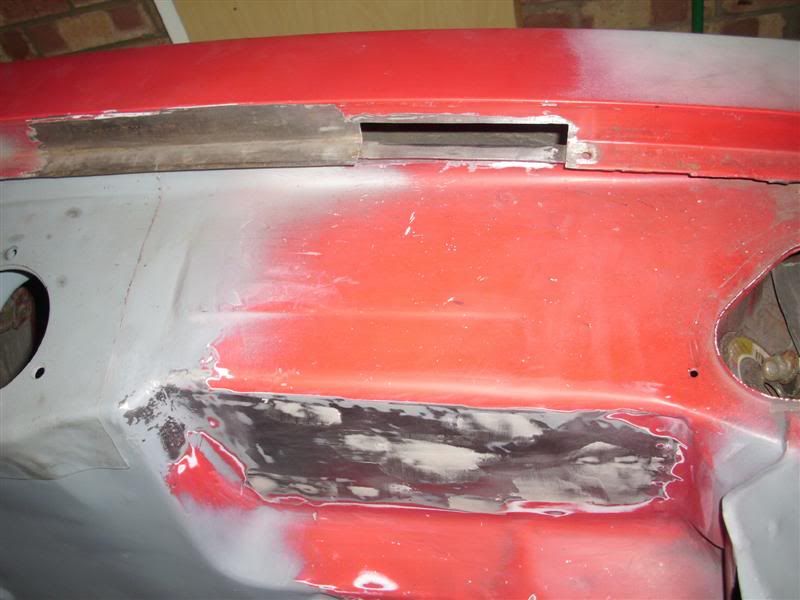
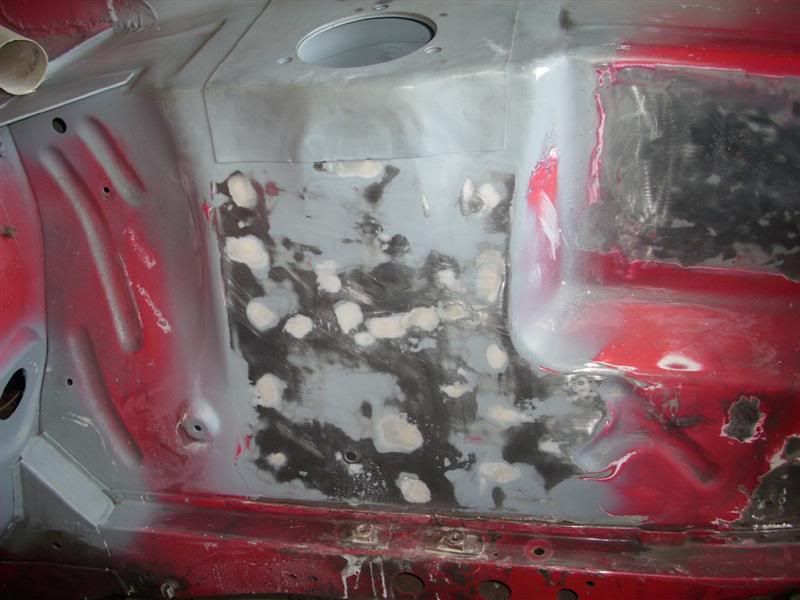
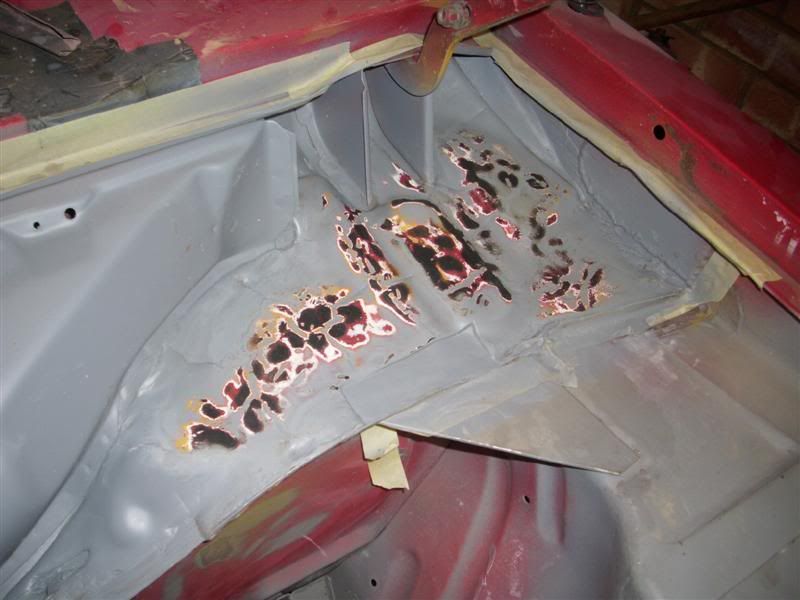
Some of the sound deadening on the bulkhead was a mess. I scraped the worst part off and it was such hard work that I decided to leave the good bits alone.
I had a problem with zinc182 primer reacting on the sound deadening. I tried yellow high build primer and that worked better except that started reacting with some of the old paint. I ended up doing a few layers of each, sanding all the reacted parts off in between layers until the reactions stopped. Bit of a faff really, it makes some funky patterns though.
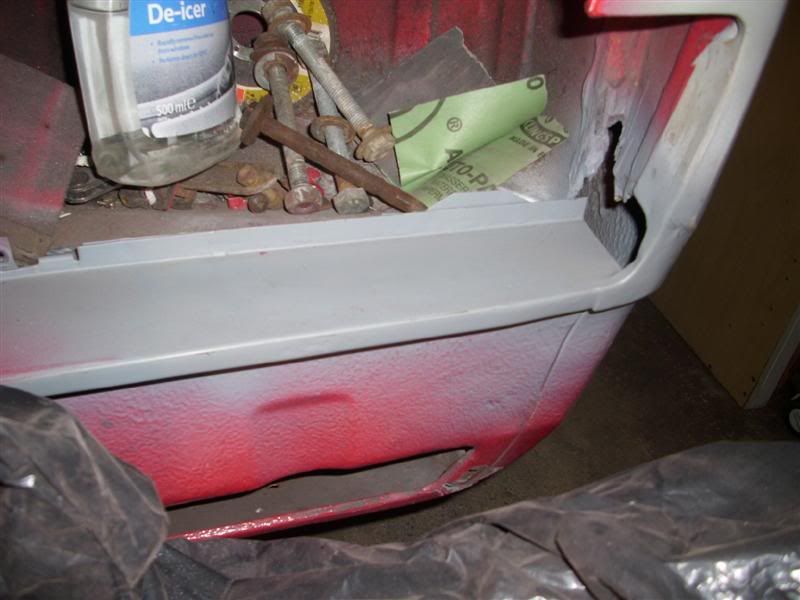
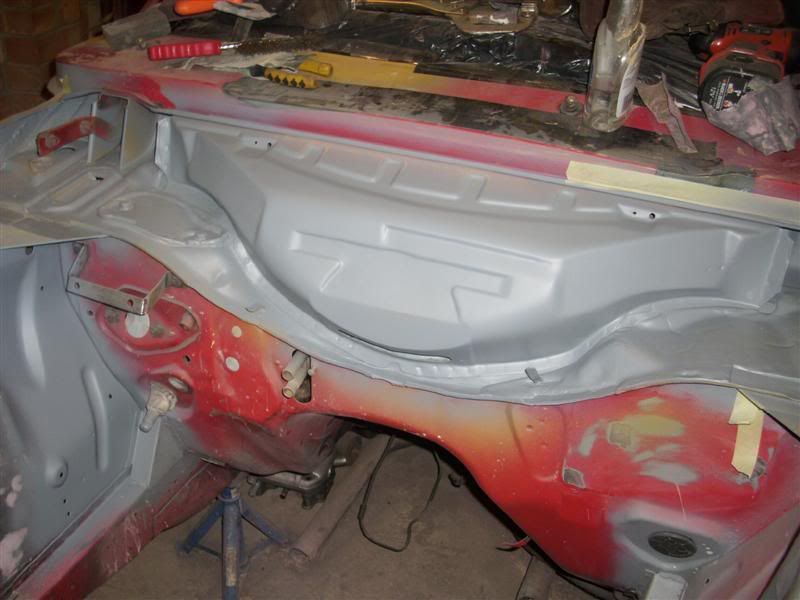
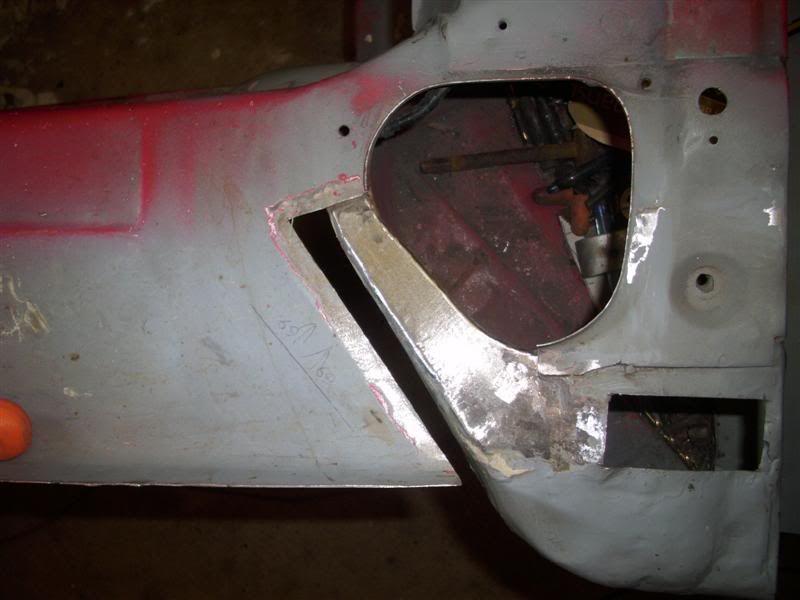
Now looking good.
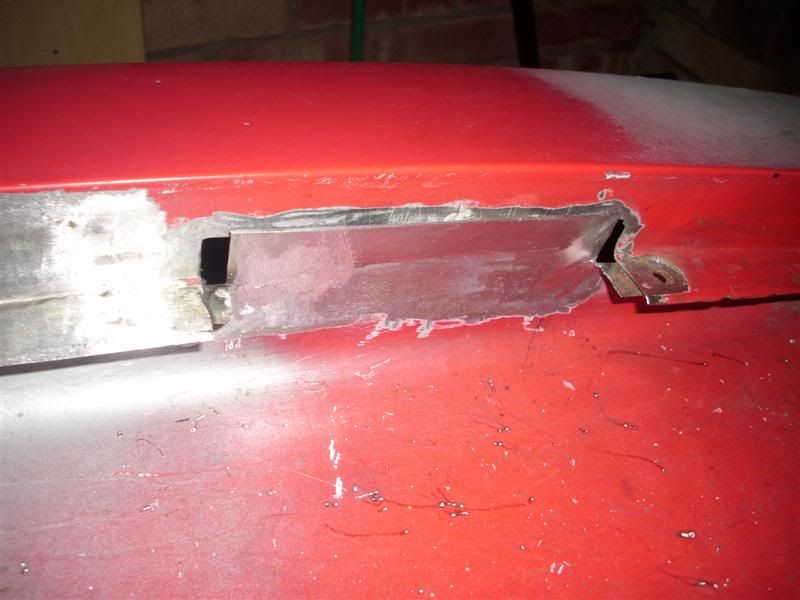
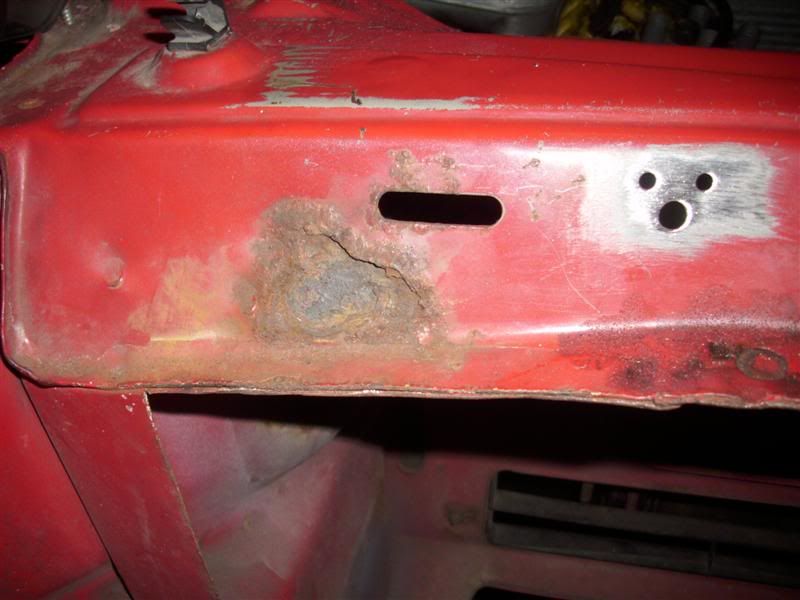
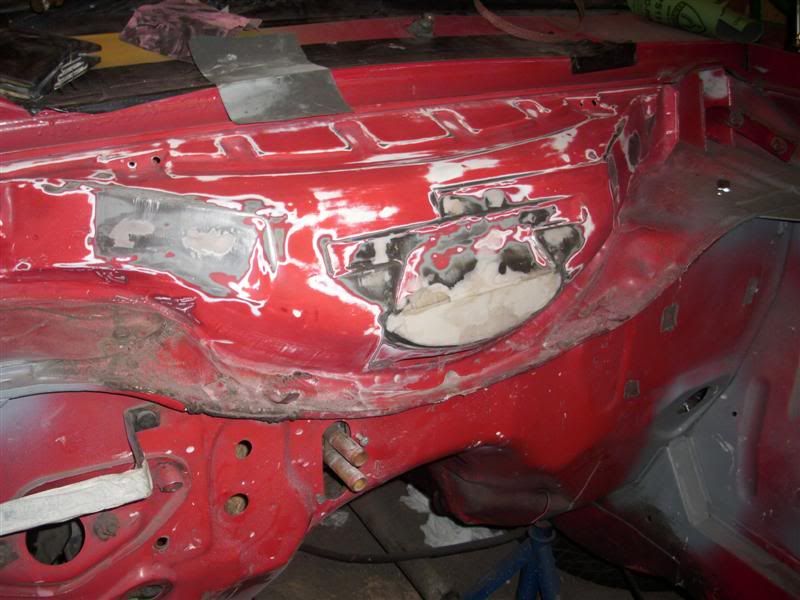
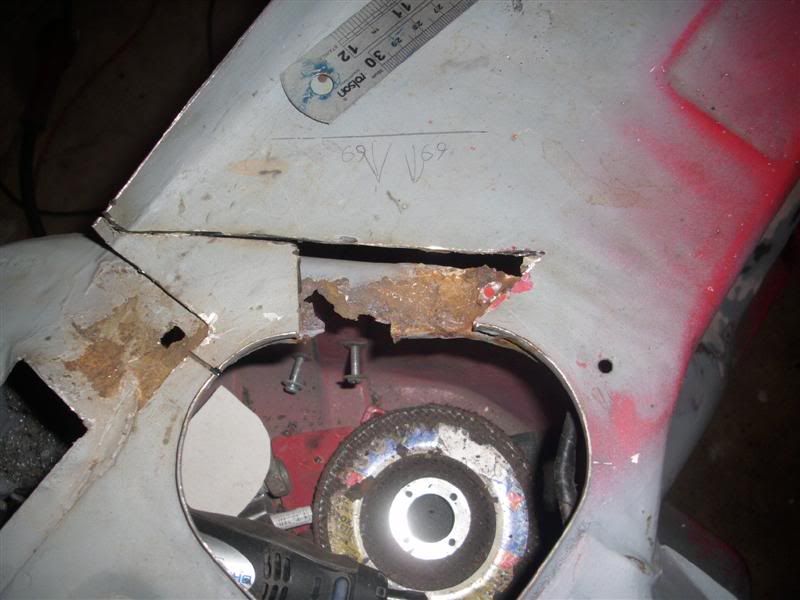
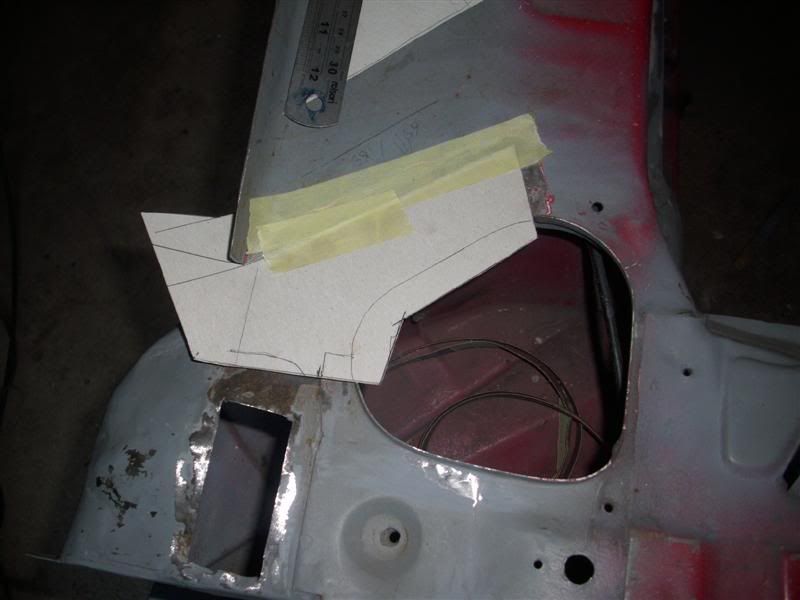
I went back to one of the first repairs I did. The top layer was ok but inside the headlight bowl it was a little crispy and I know it would always bug me if I didn't fix it while I have the chance. Now that I'm not so shy with the angle grinder I began to cut out a perfectly good repair to access the crispy bit underneath.
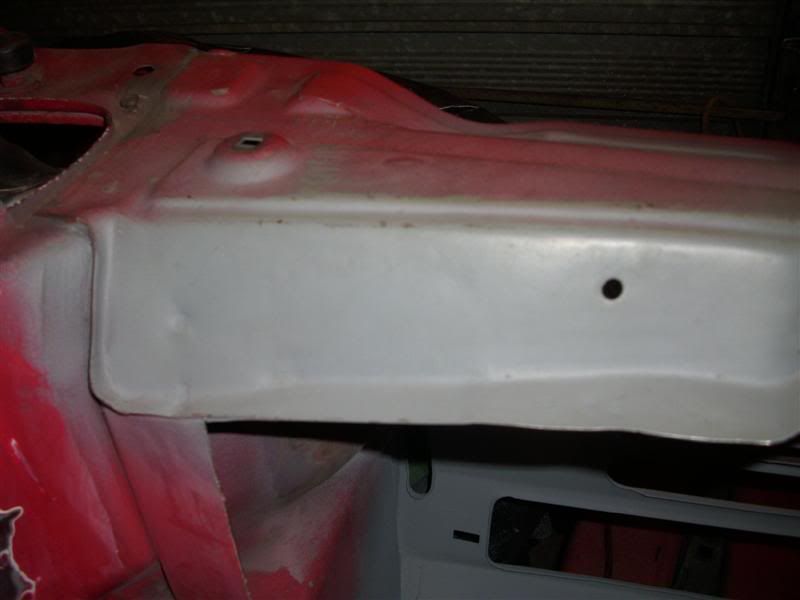
Headlight bowl fixed...
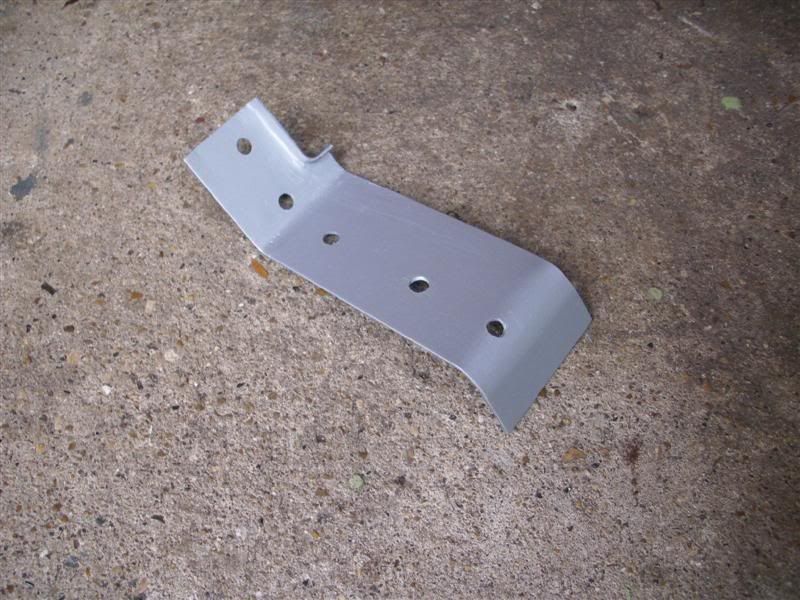
CAD in action...
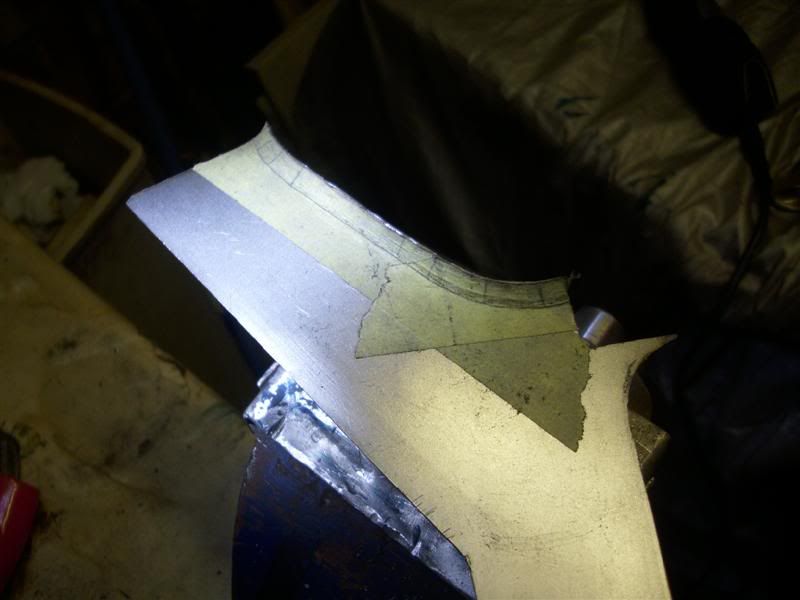
I formed the lip by gradually folding it up with mole grips a tiny bit at a time. I did consider cutting slits to fold and weld them up again but the slow stretching approach seems to be neater.
New top layer tacked in.