Cool. Yeah mine came from the same guy, in South Wales. I just got the near side one for not. Looks like it will do the job just fine, and no one sees it.
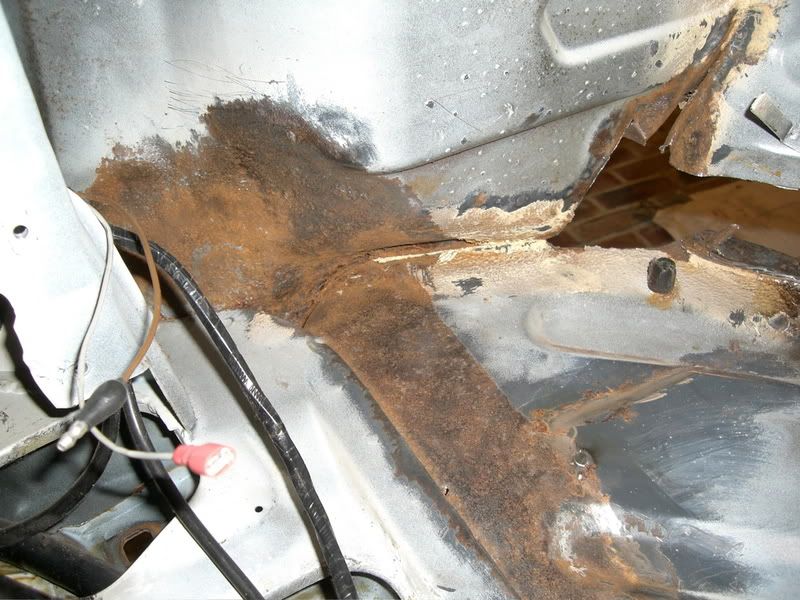
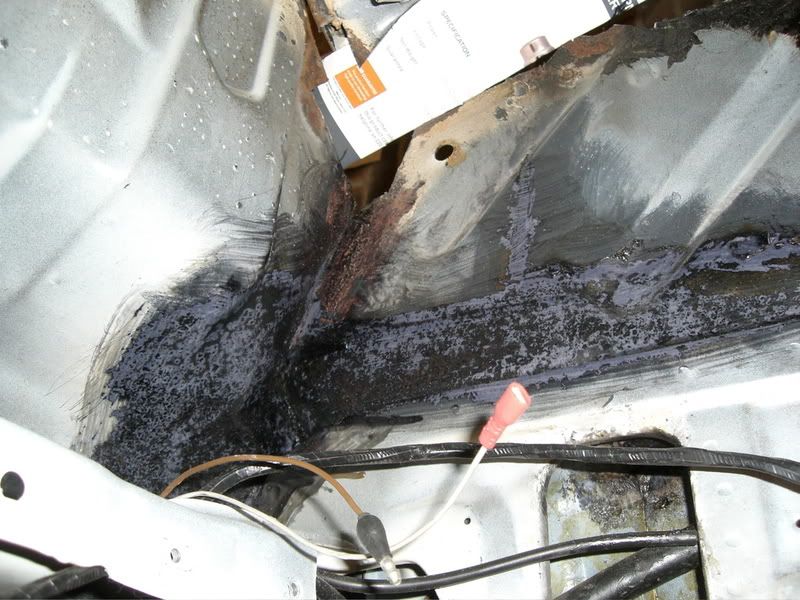
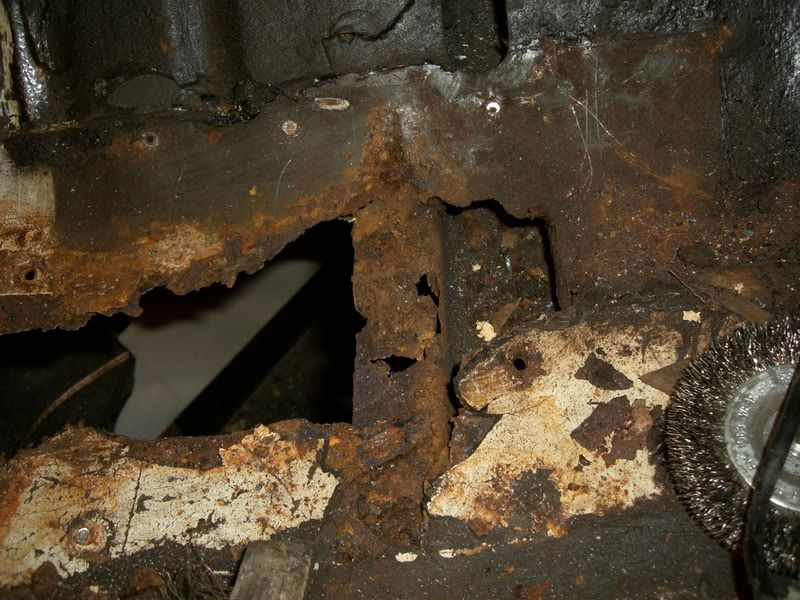
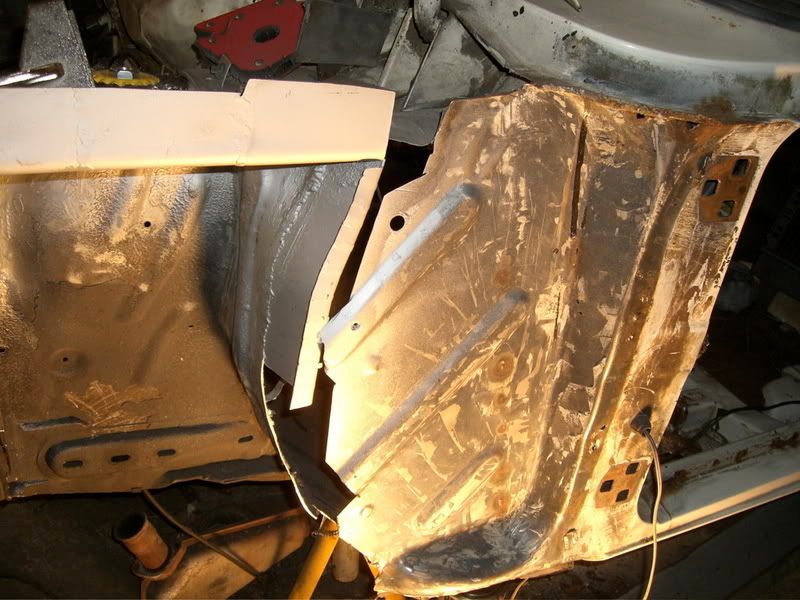
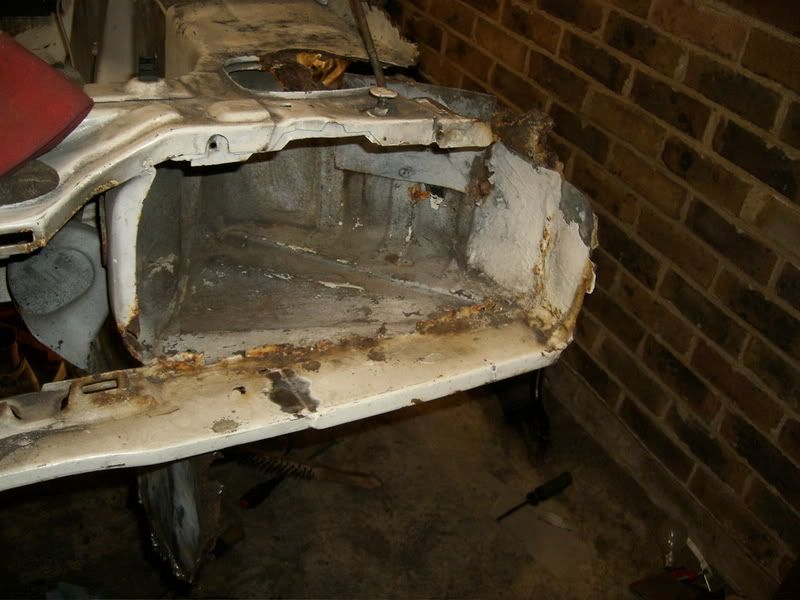
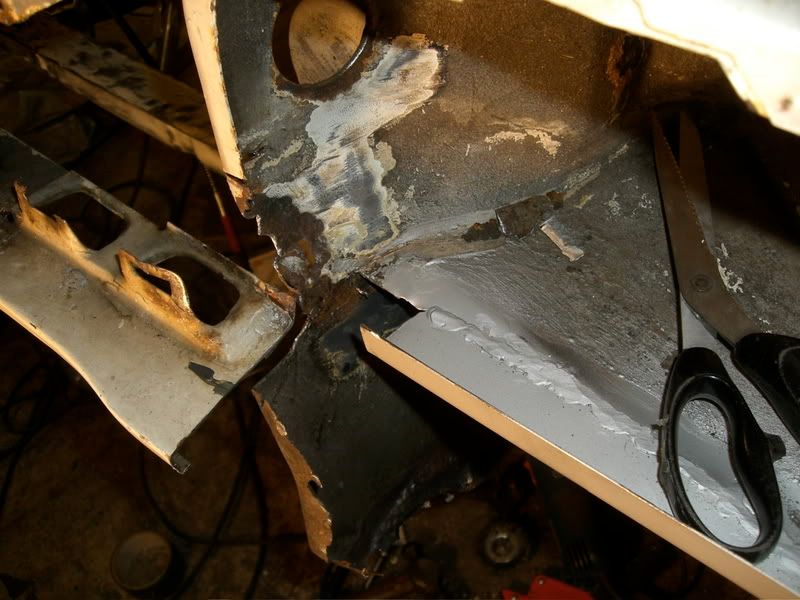
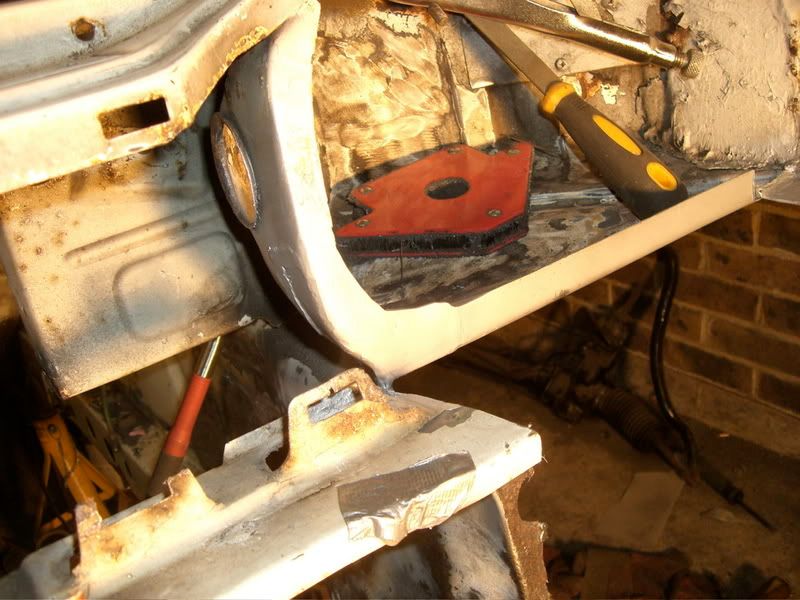
Nice bit of rust here. Not much I can do tho. To cut it out would involve removing the slam panel and A pillar. They would end up being destroyed by removing them and I'd be looking at £350 bill with Expressed Steel, so I'm wire brushing and treating with ferozinc. Then I will replace the metal in a few years:
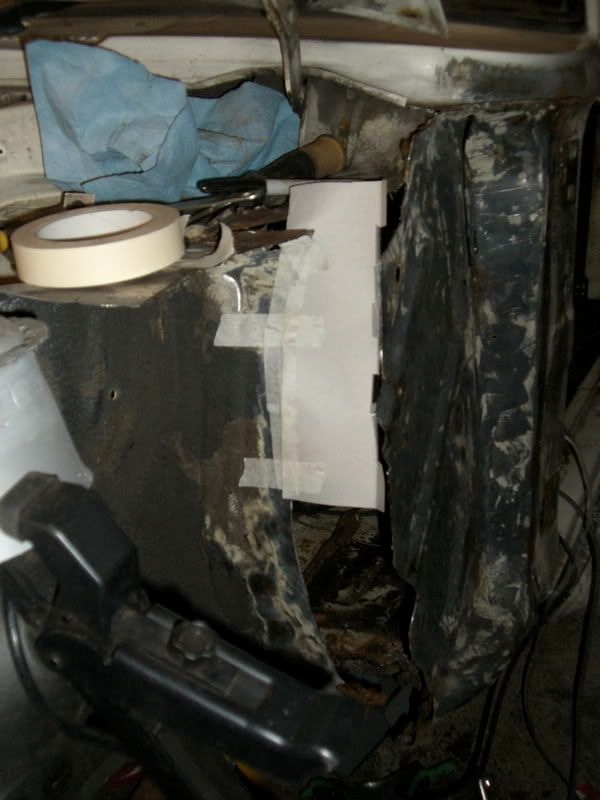
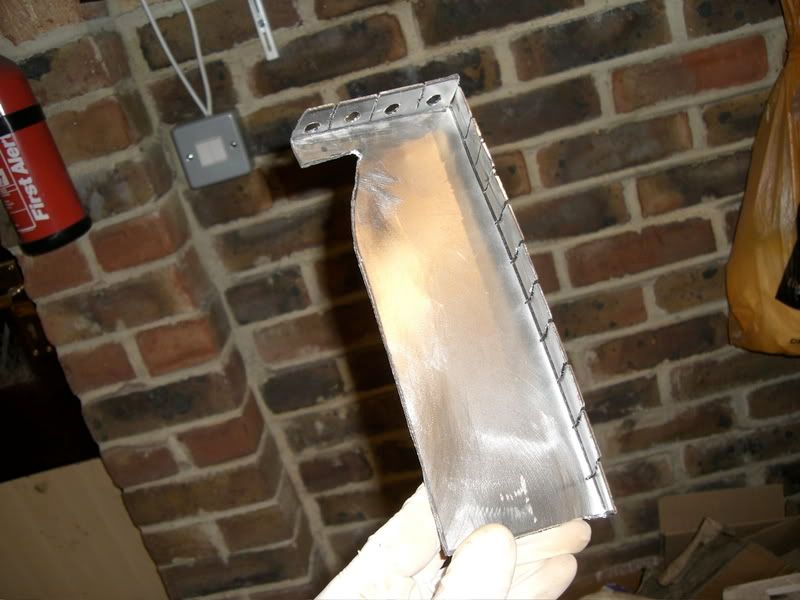
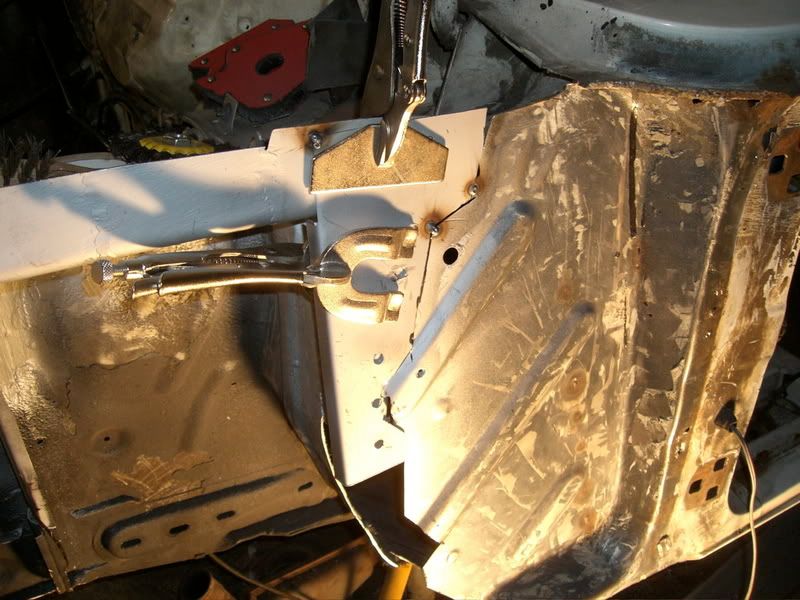
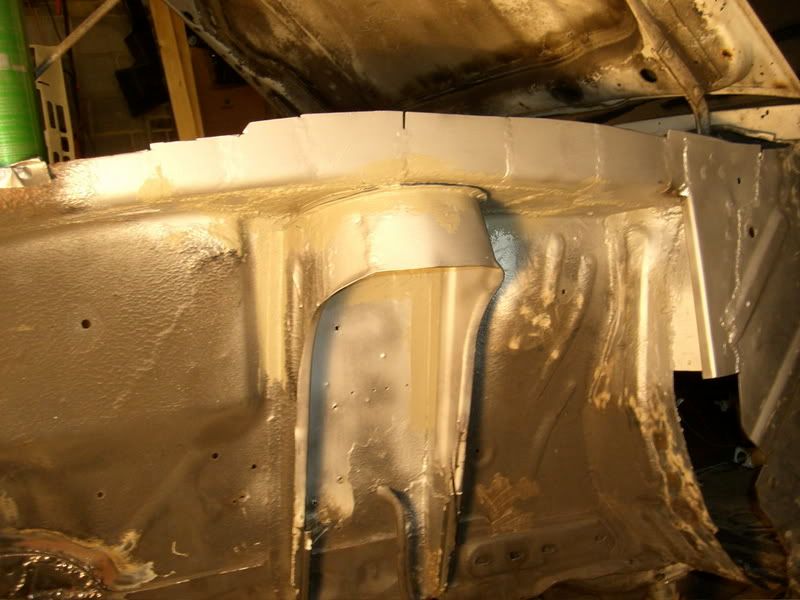
Template made for that big gap:
Bish bash bosh:
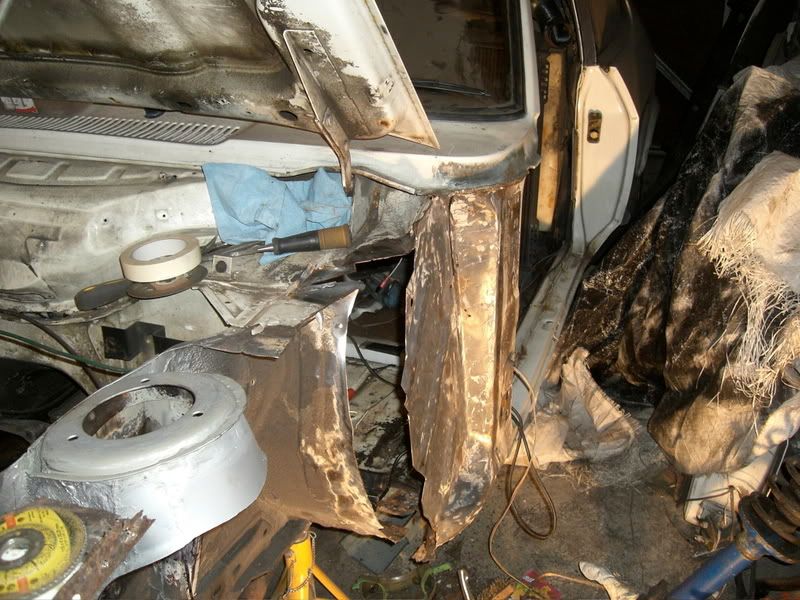
From:
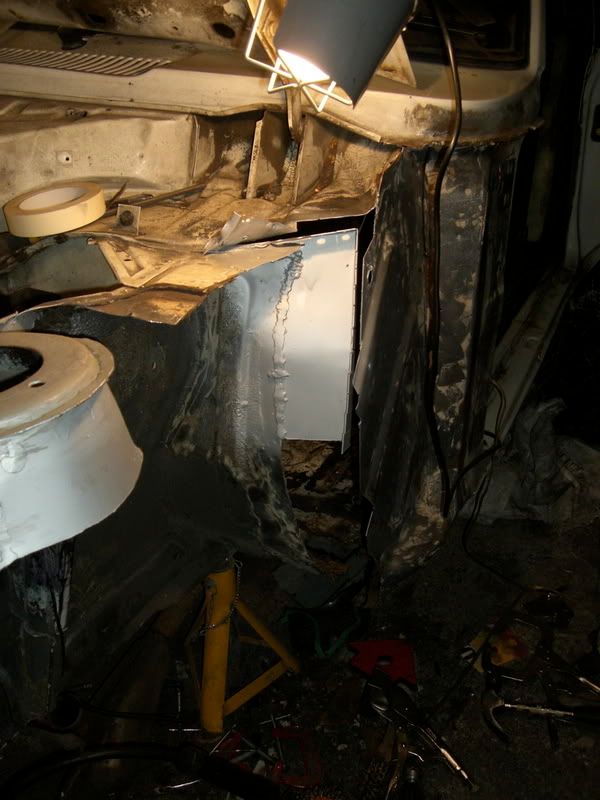
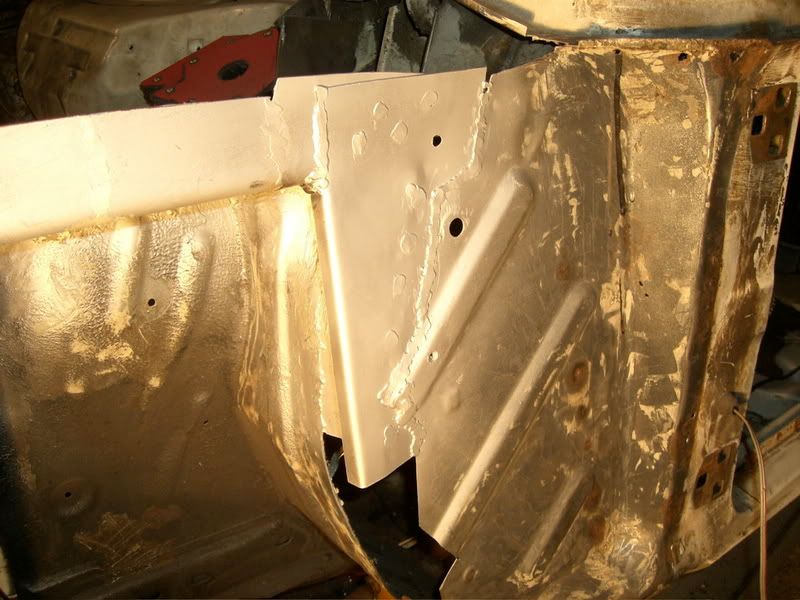
To:
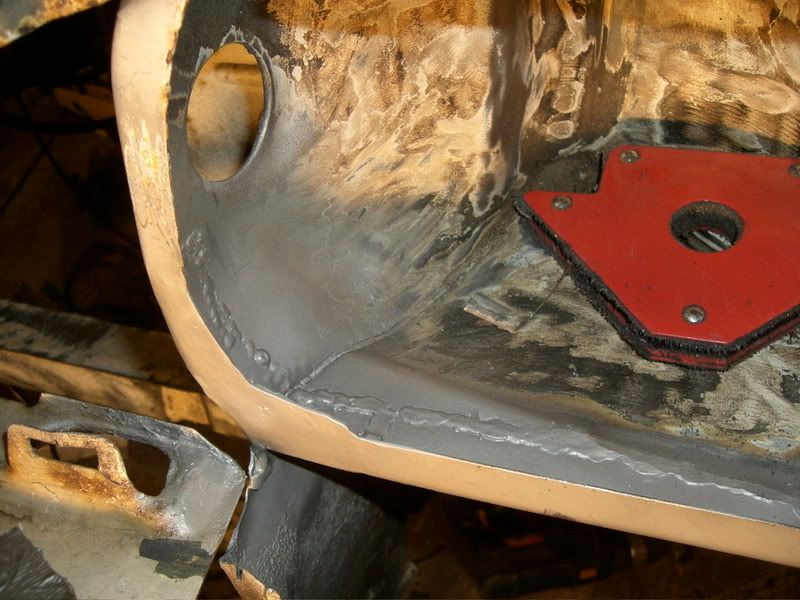
Not gonna grind that weld down completely as I like the idea of a little bit of extra strength here and no one sees.
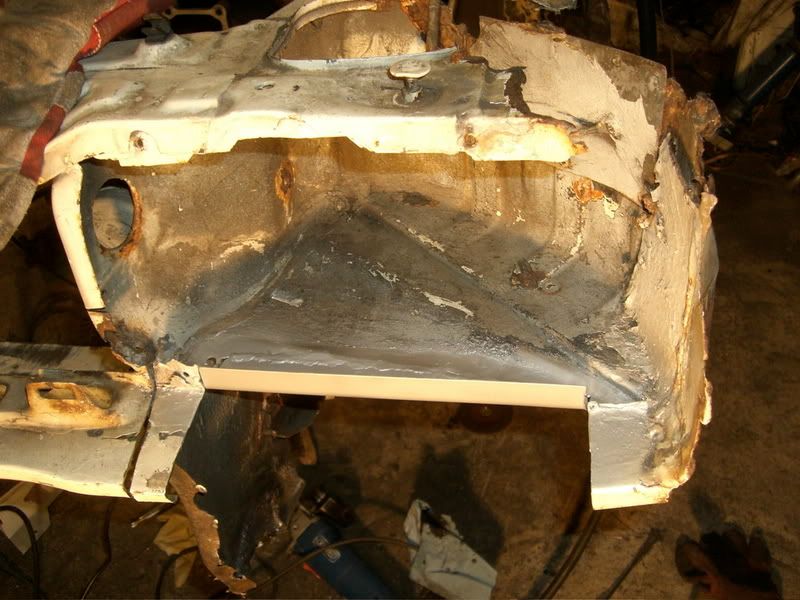
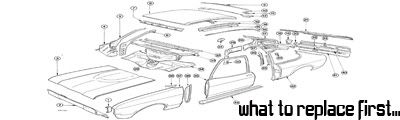
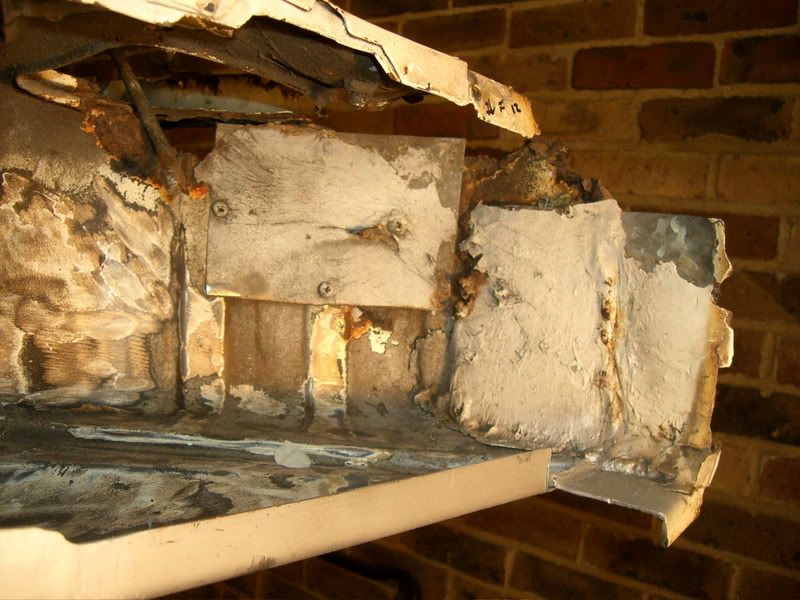
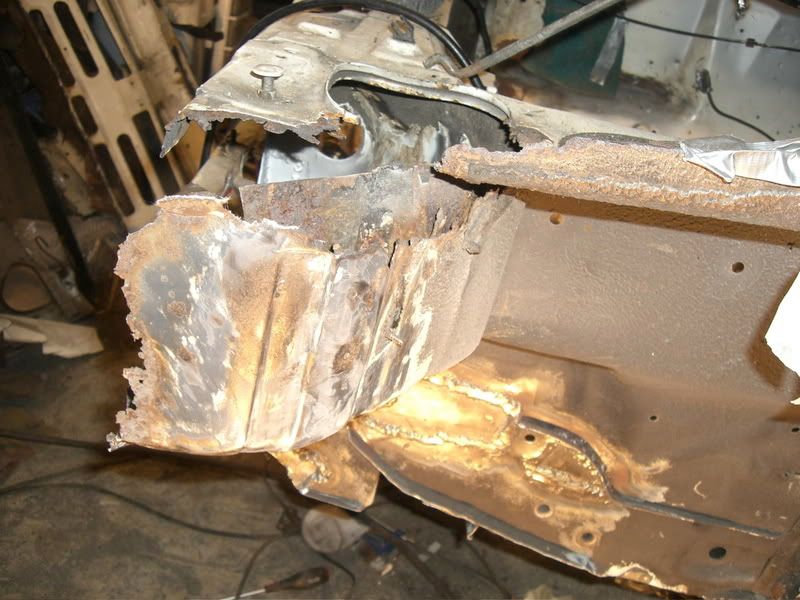
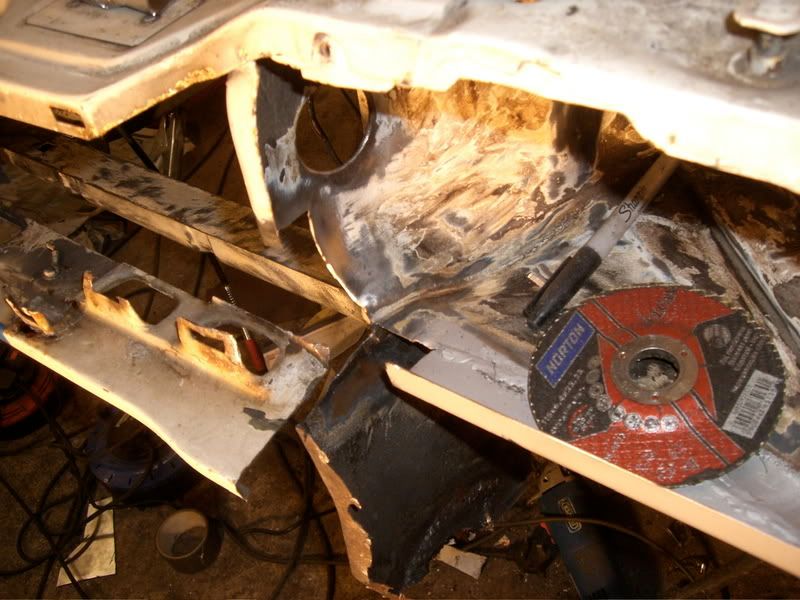
Coming along. Had a poke at the floor and managed to excavate the chasis rails, or what's left of them. Fun Fun Fun
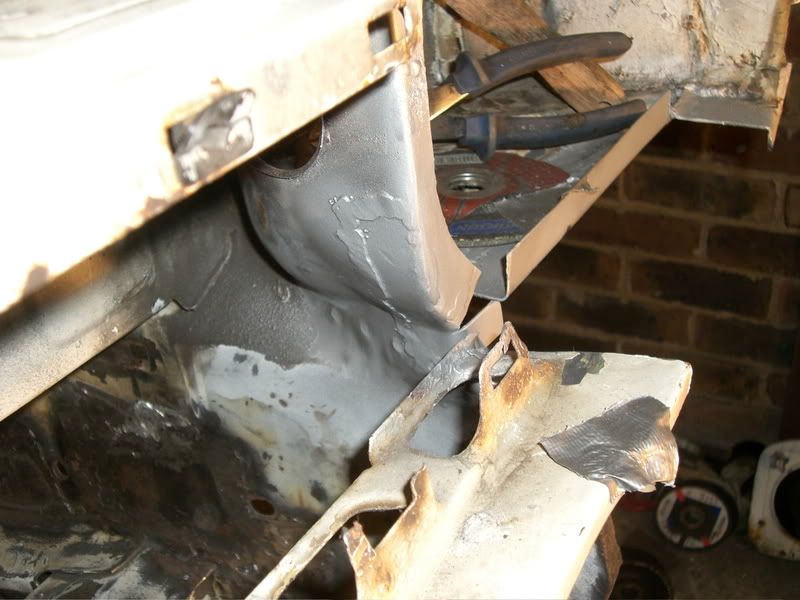
Got the nearside strut top rebuilt now. Just need to grind down the welds tomorrow which will be fun.
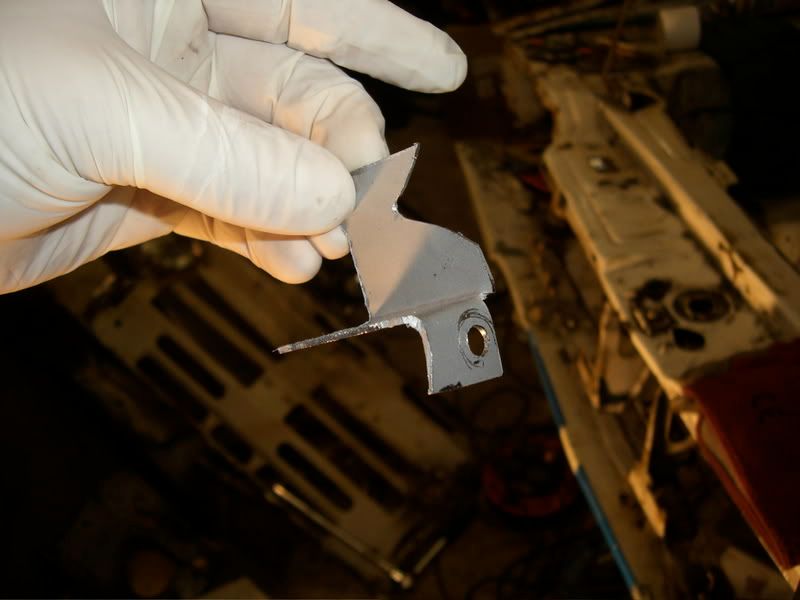
Also started taking the lower front valance off. I'm trying to get it off without cutting it up too much, but given how rotten it is that's not really possible. Idea is that some sold parts of it may be useful for repairing other metal ones in the future.
Car(s): 1984 B Reg 2.8i rebored to 2922cc near concours condition. Restored from near scrap condition. 1983 A Reg 2.8i Caspian Blue over Silver. Ongoing now roadworthy project from scrap condition
Just back from a long weekend of hardcore drinking in Dublin and not quite yet back to a level of health at which it would be safe to operate an anglegrinder.
Looking good chris. I have been watching your resto with great interest,and I think that the amount of new metal you have put in to your car that it is now not a ford capri but a beakster capri.
Kepp up the good work.
Mickey c
Its the small parts that take the longest isn`t it? I removed the WHOLE front end of my ex missus`s micra and replaced the front crossmember/rad support in half the time it took me to weld up the rear chassis legs, but you must love getting engrossed in your work?? Keep it up mate
Matthew
Headlamp bowls are a **** to make, i gave up on mine and brought a replacement! Welding it in looked difficult so i;m sending it to a pro to finish ---------------
Andy
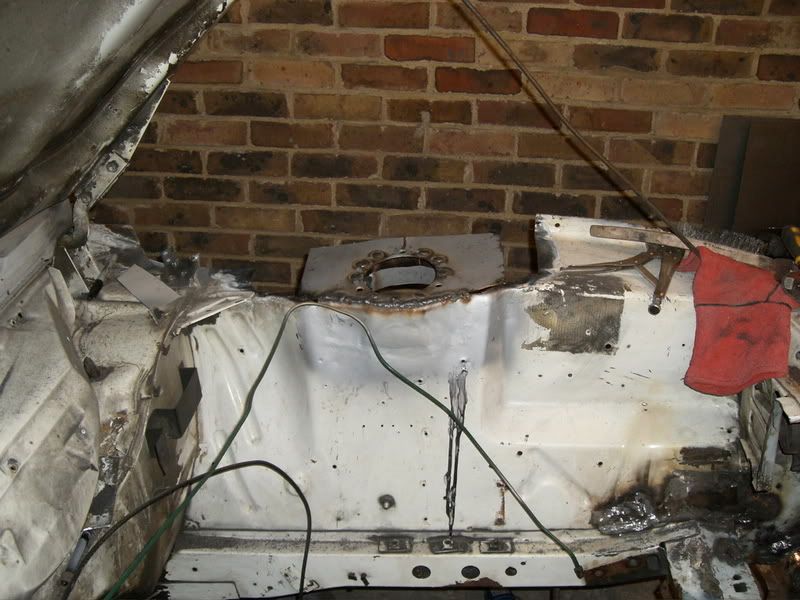
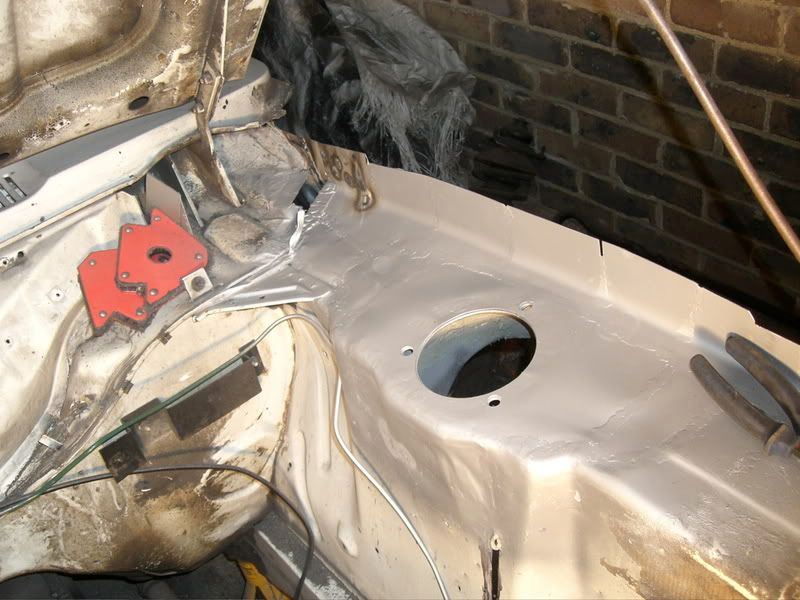
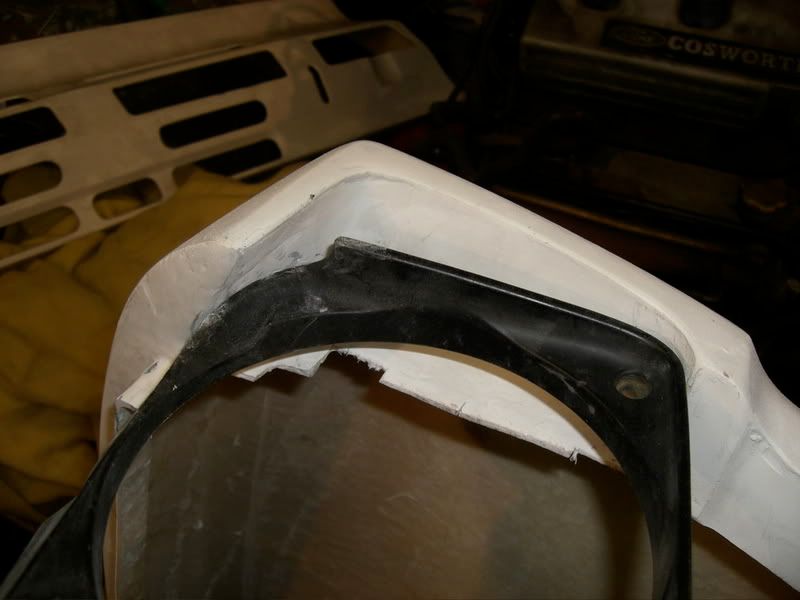
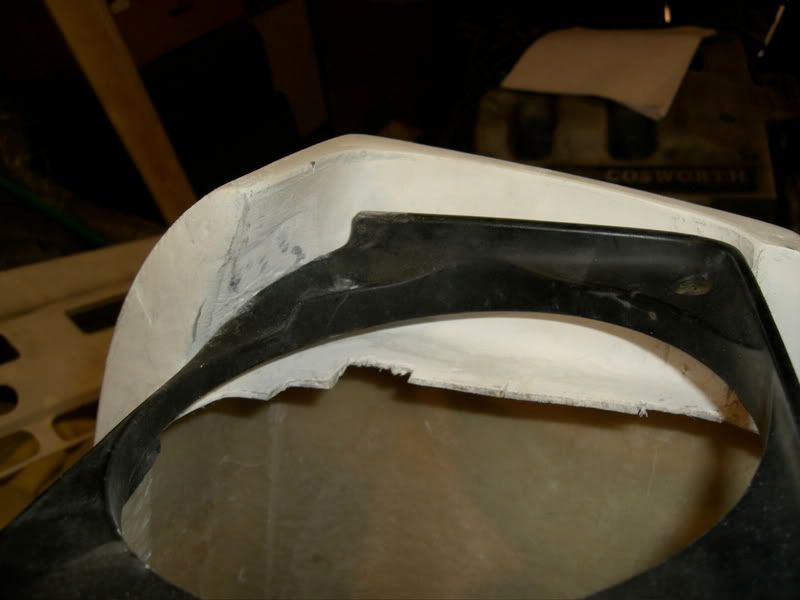
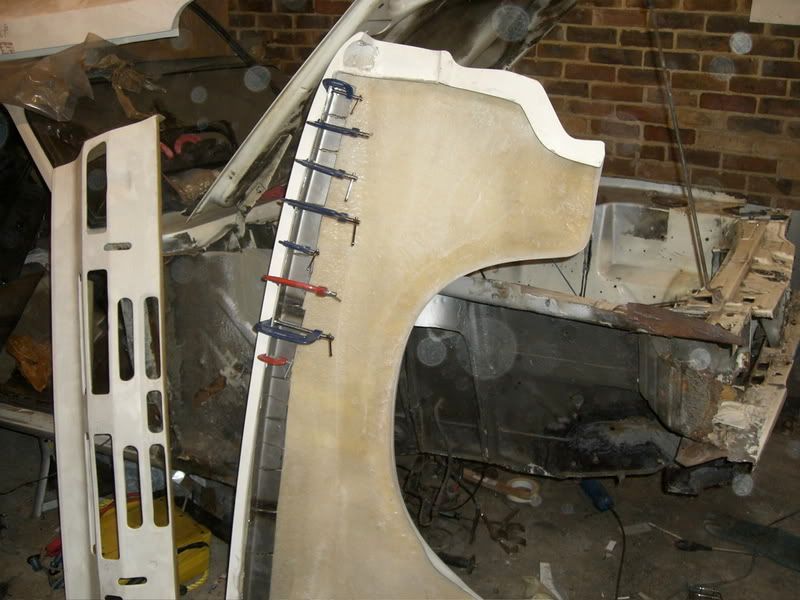
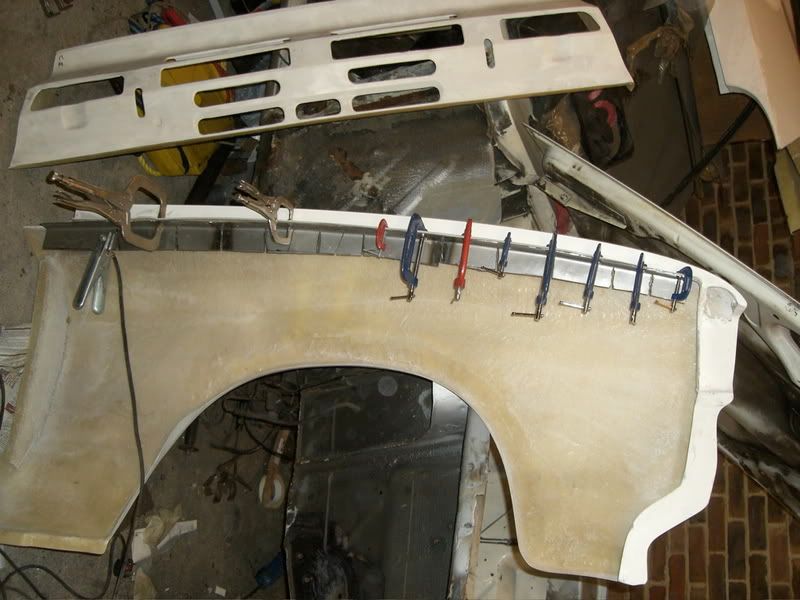
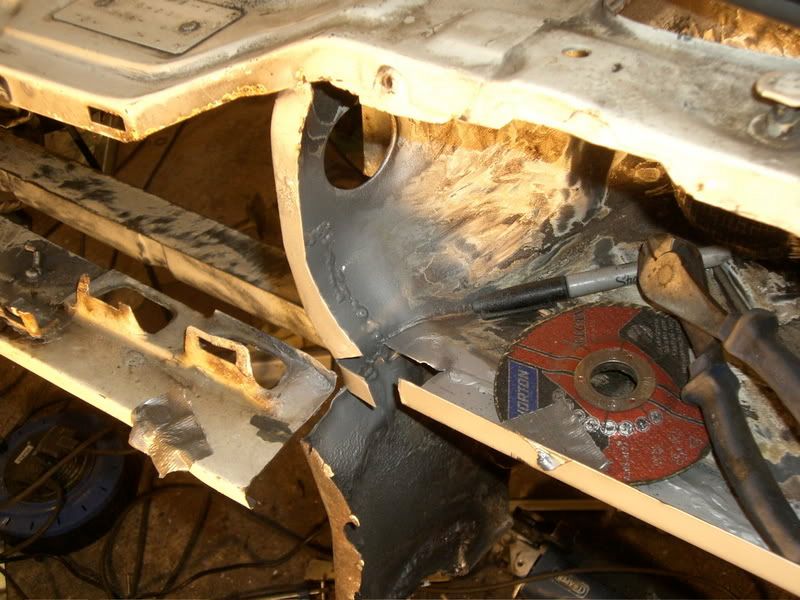
Started on headlamp bowls but couldnt figure out how I wanted the flange to look so I started trial fitting the wings. I then found the headlamps didnt fit the wings so took the dremel to them.
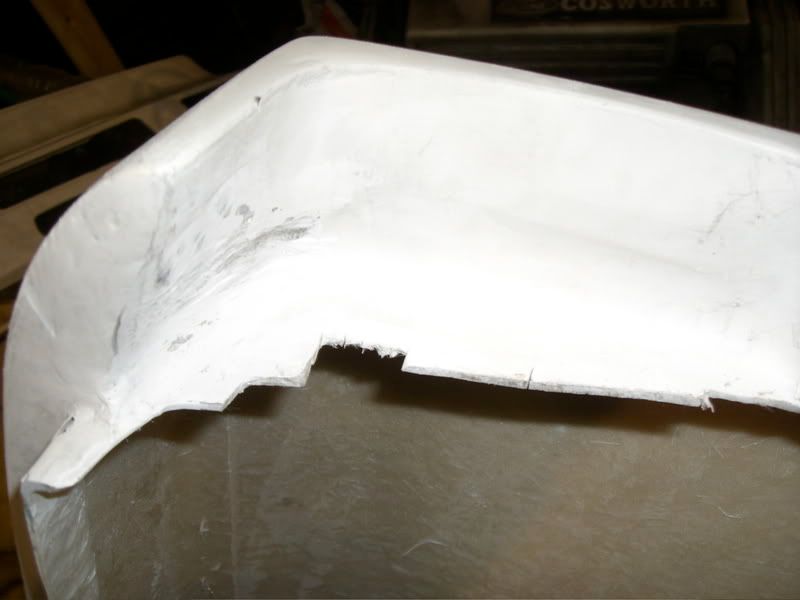
There is a big hole here now to make the surround fit.
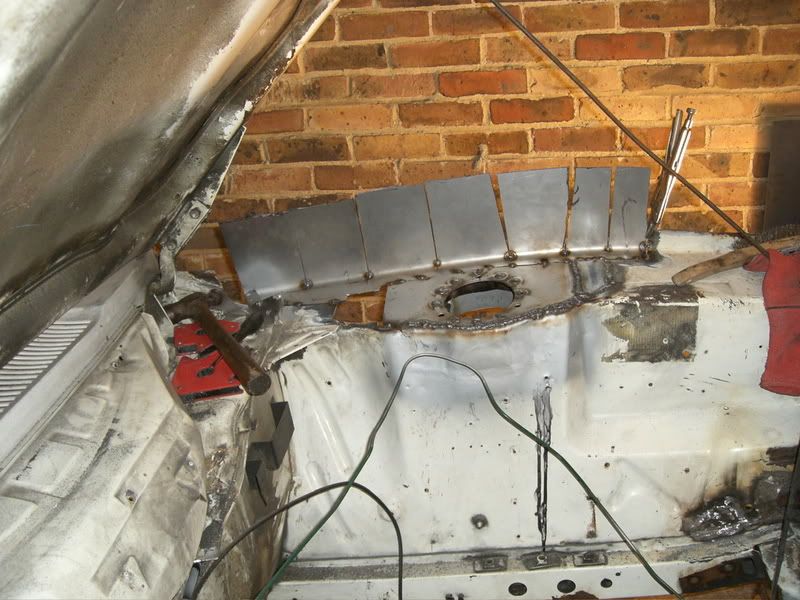
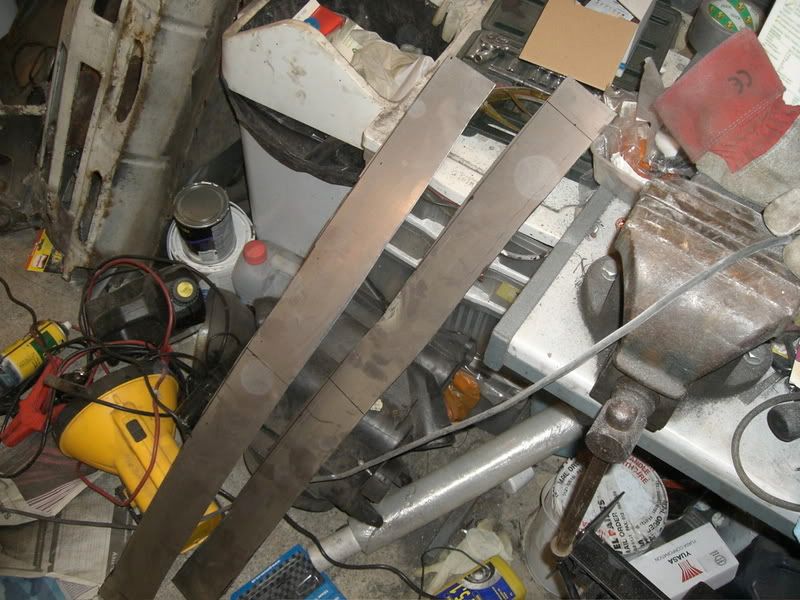
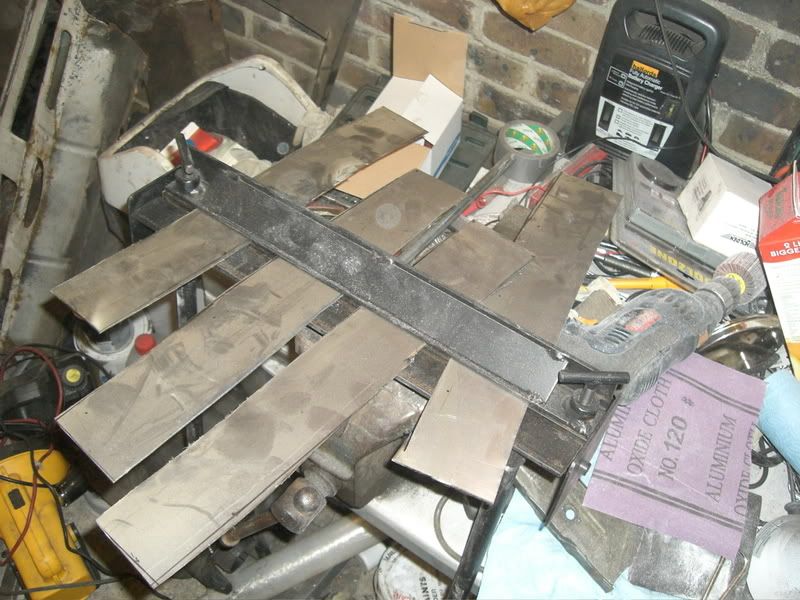
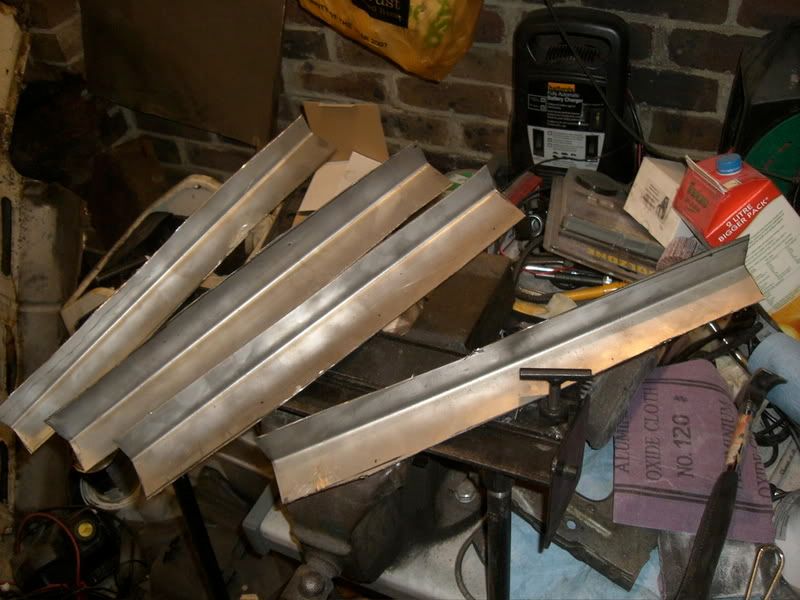
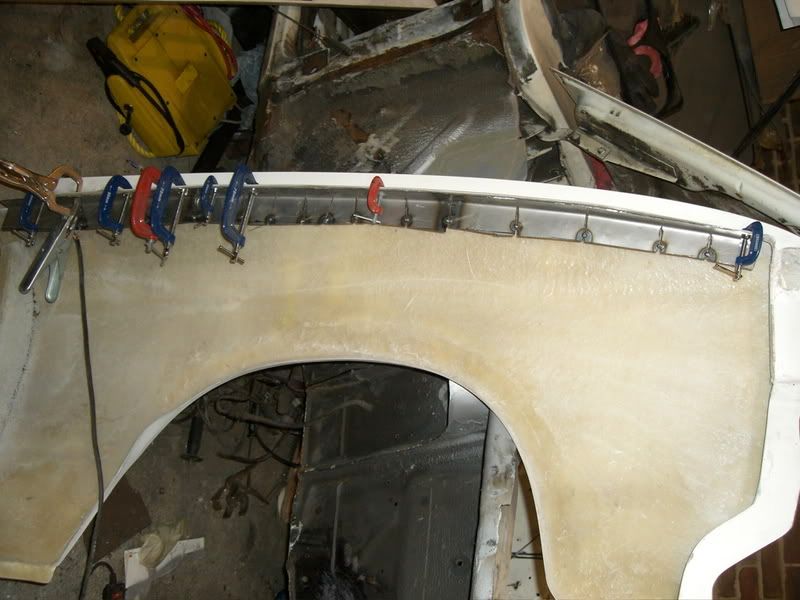
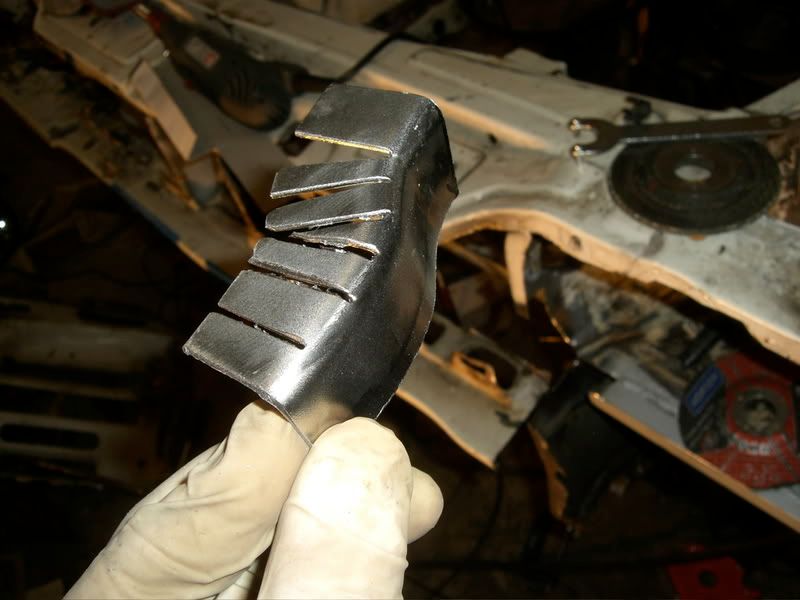
I tried some more trial fitting of the wing but it kept falling off cos I had no drip rails so started making them.
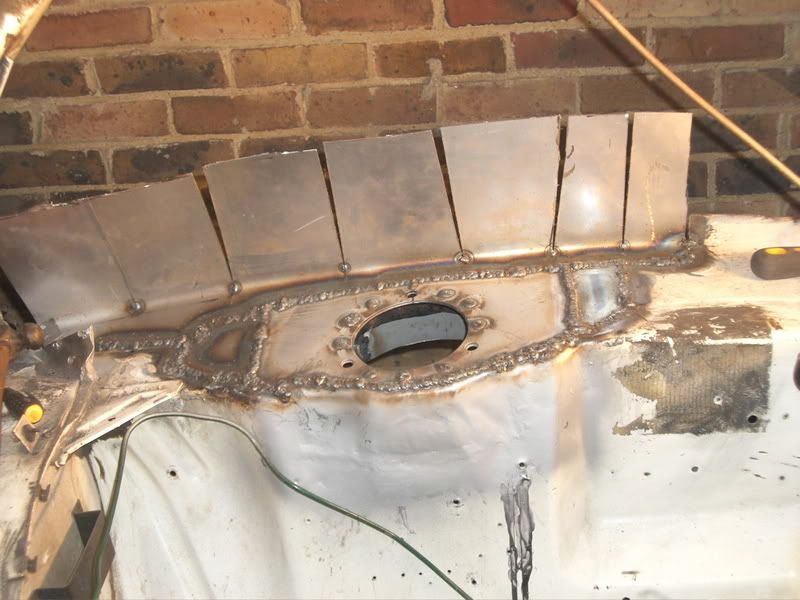
When welding up the slits I had 2 disasters!!! A spark went into my bin and set a KFC napkin on fire, then some weld spatter went onto my camera and now the lens wont open! Think I have some insurance on it so will take it to shop tomorrow.


 JC|2 LITRE LASER AUTOMATIC|STRATOS SILVER