Hey,
Great to see you fixing it up and looks like you've got to grips with that welder really quickly

Going to try to give some constructive criticism though

. I'm not expert and started out exactly like you but here's my 2p:
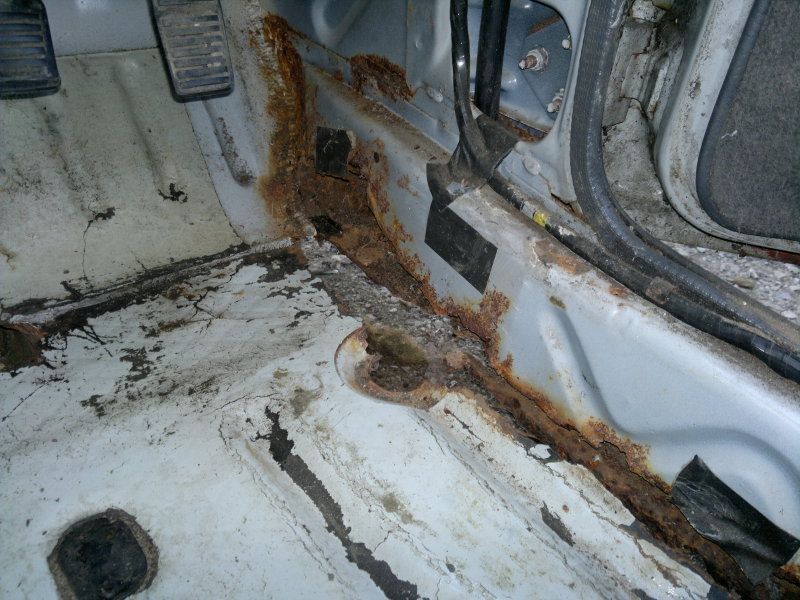
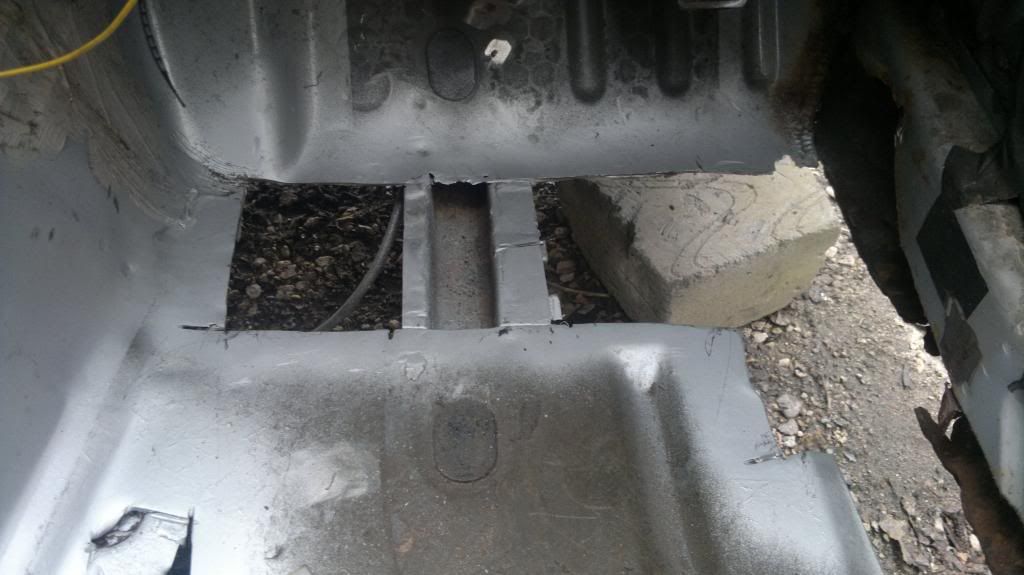
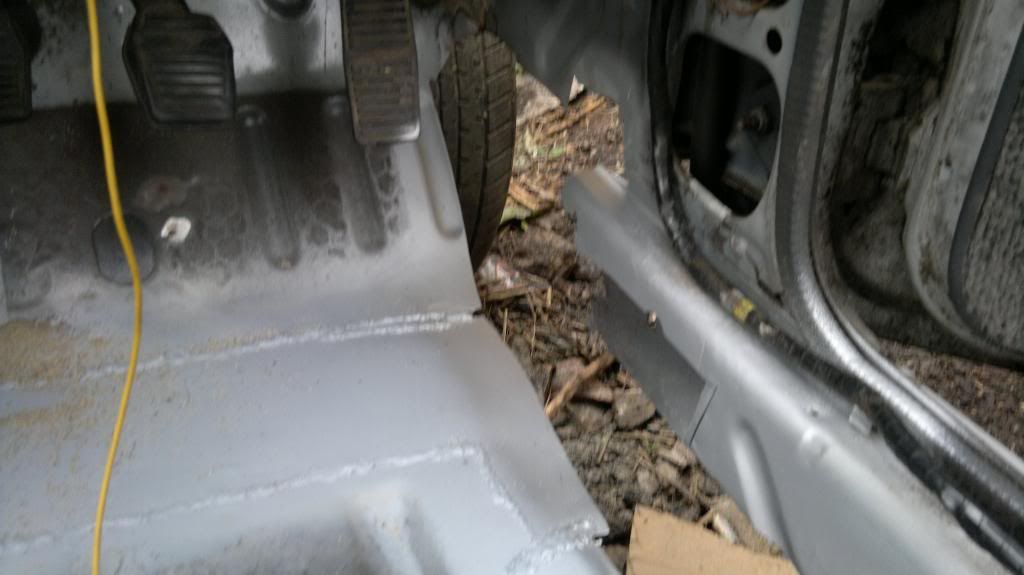
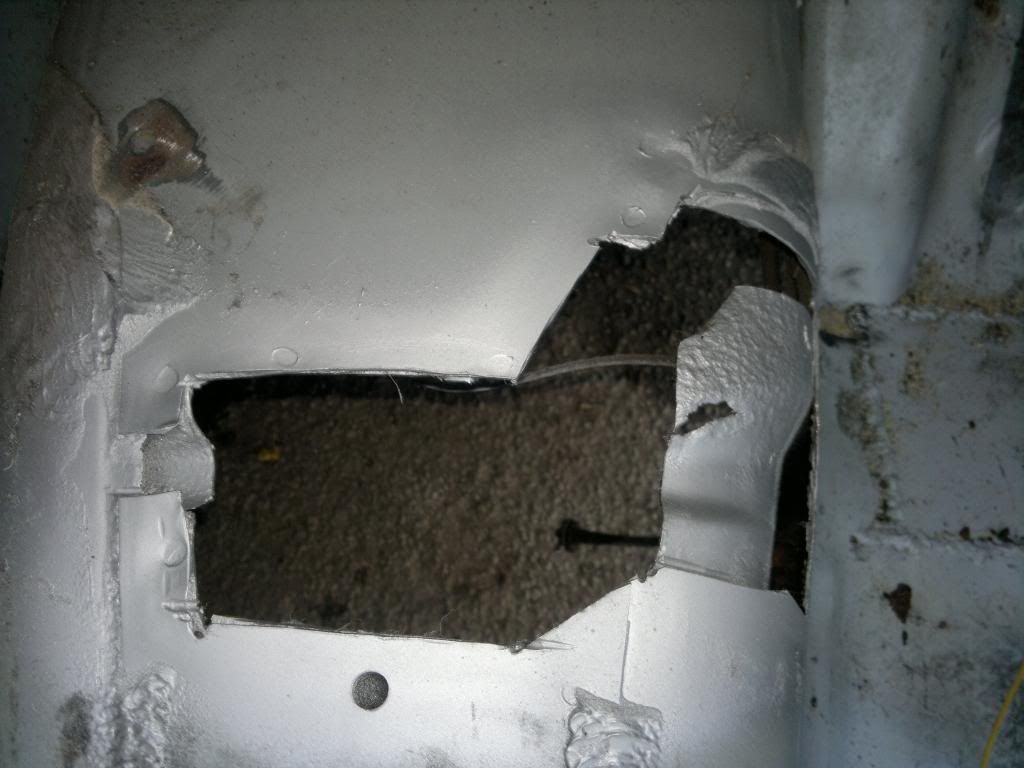
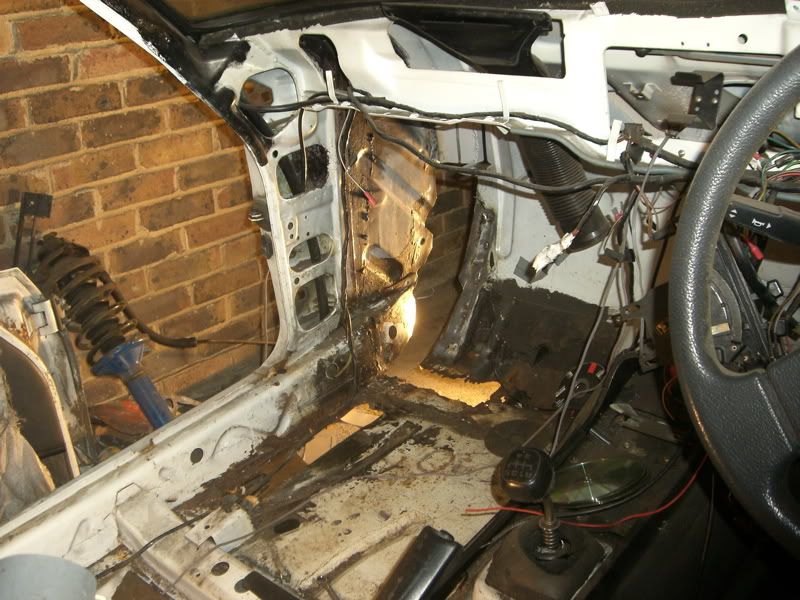
When I fixed that bit on my car which you have in your last picture I took a different approach. There are 3 sections of metal meeting there, the floor, the inner sill and the outer sill. I always tried to repair each section individually, so rather than patching it up, I was repairing the panels. For example at that part I made a section for the floor (with a right angle bend) A section for the inner sill that the floor section was plug welded too, and then I replaced the sill (available cheaply).
The problem you're going to have with the repair you've done is that where the inner sill and floor and rotted away you now have nothing to weld the bottom of the outer sill to because you just patched it from the inside. Then means you'd need to make another patch for the bottom to get the sill on, but then the inner sill isn't connected directly to the outer sill, only through the floor patch. Pretty soon you end up with patched on top of patches which isn't really very tidy.
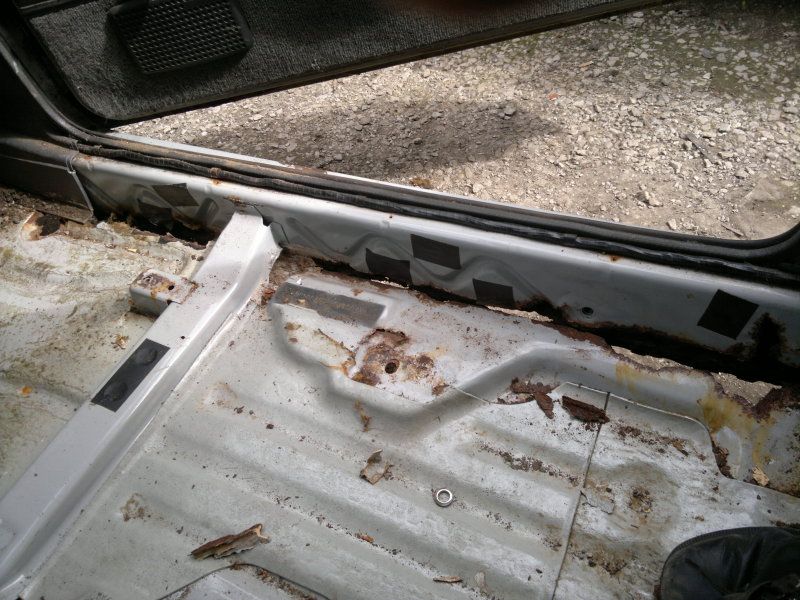
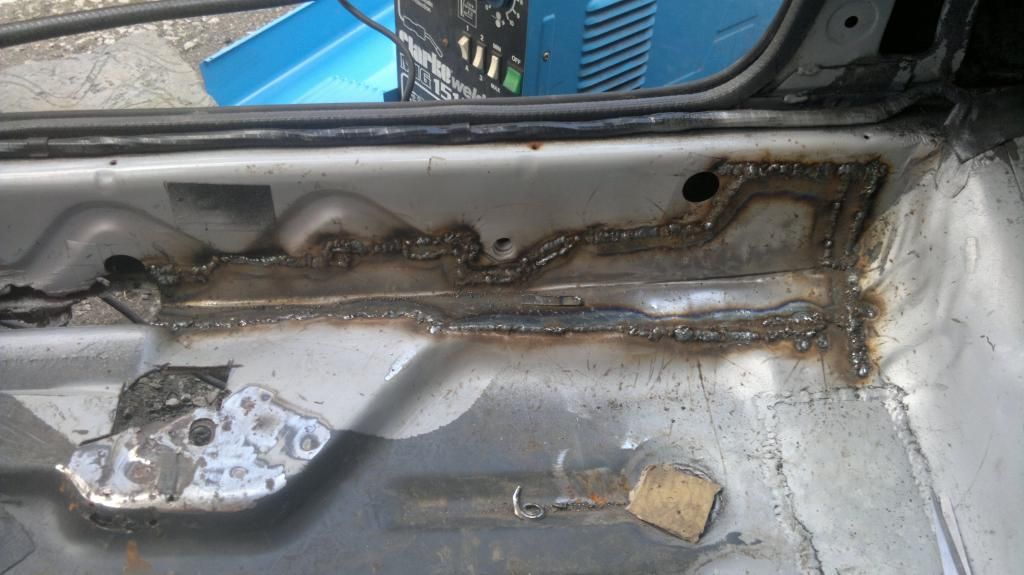
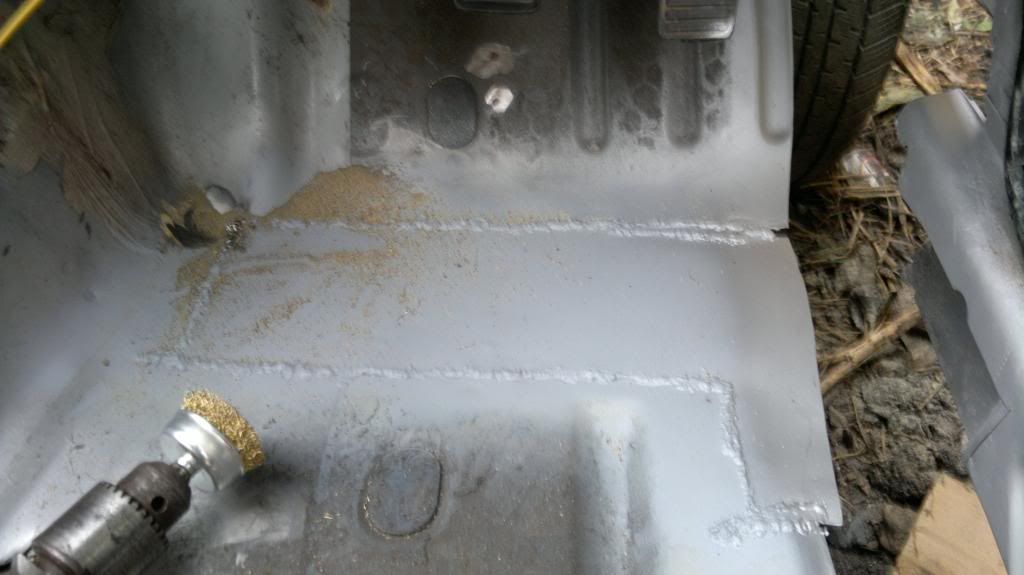
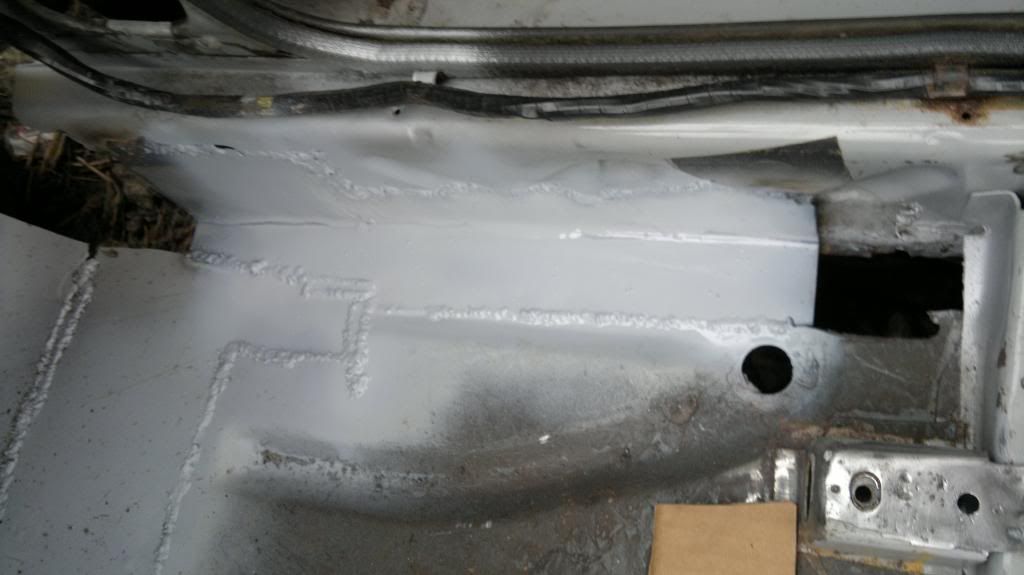
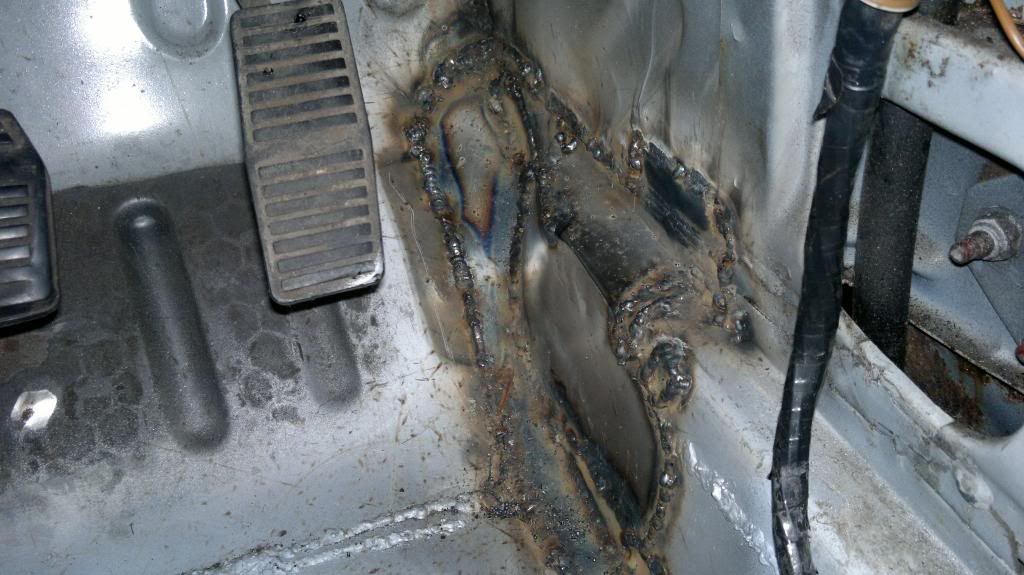
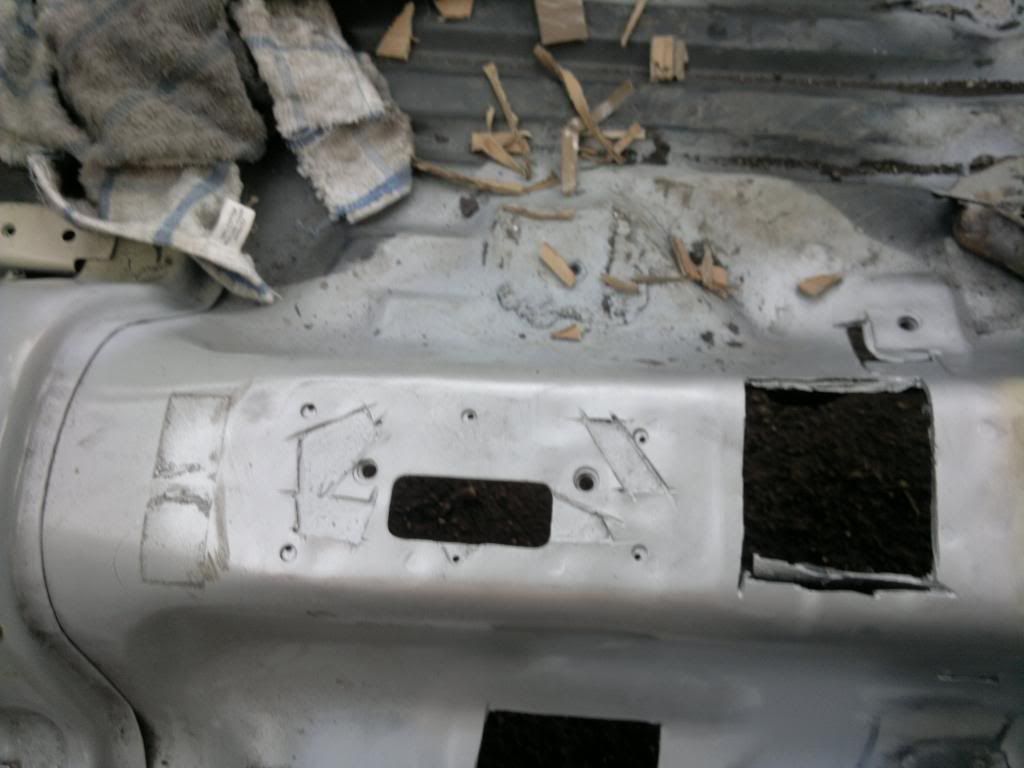
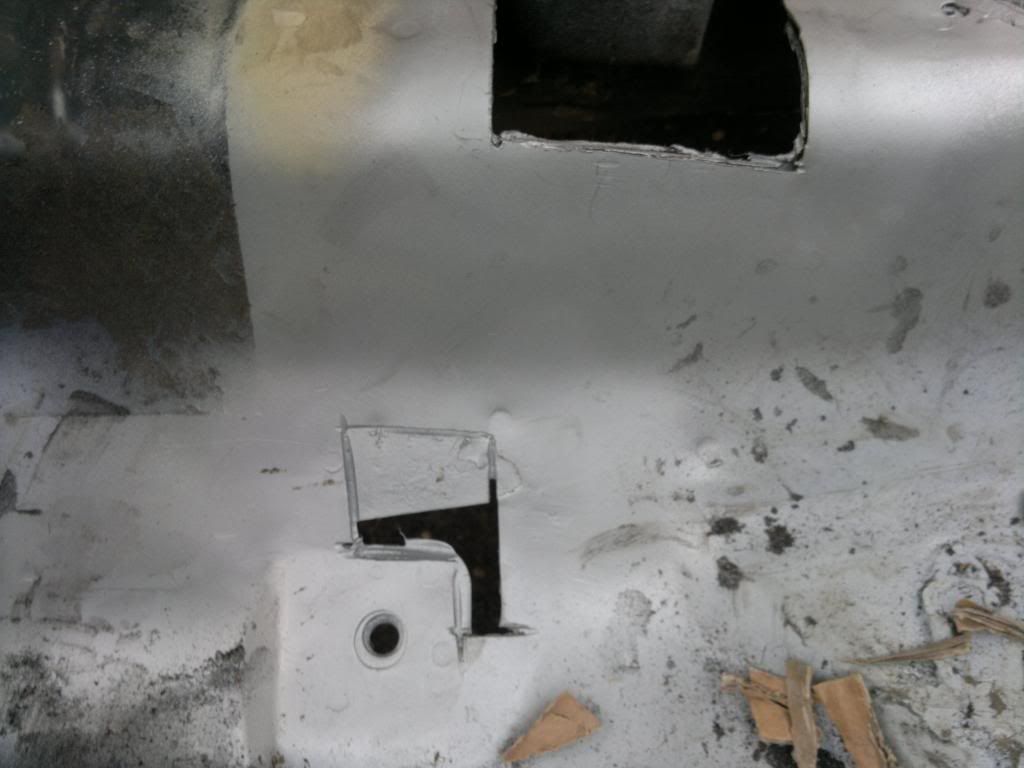
Here's a couple of photos to show you what I mean:
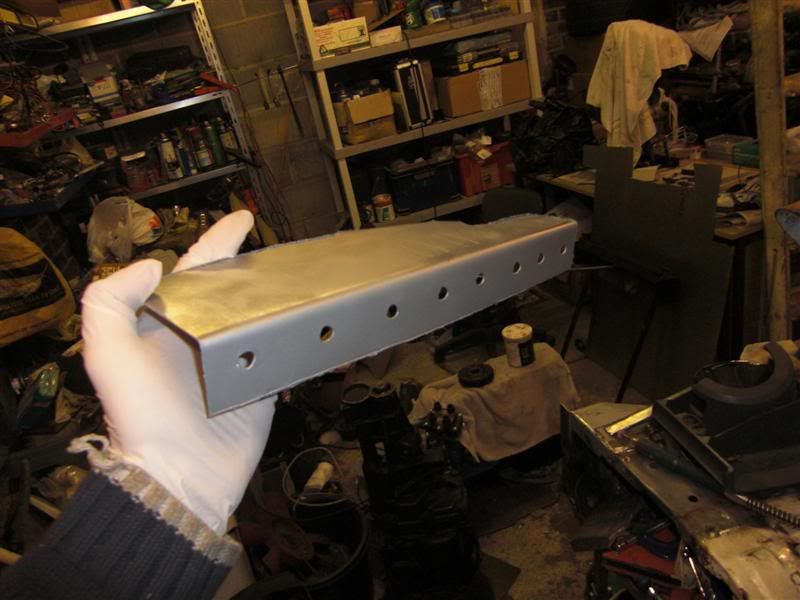

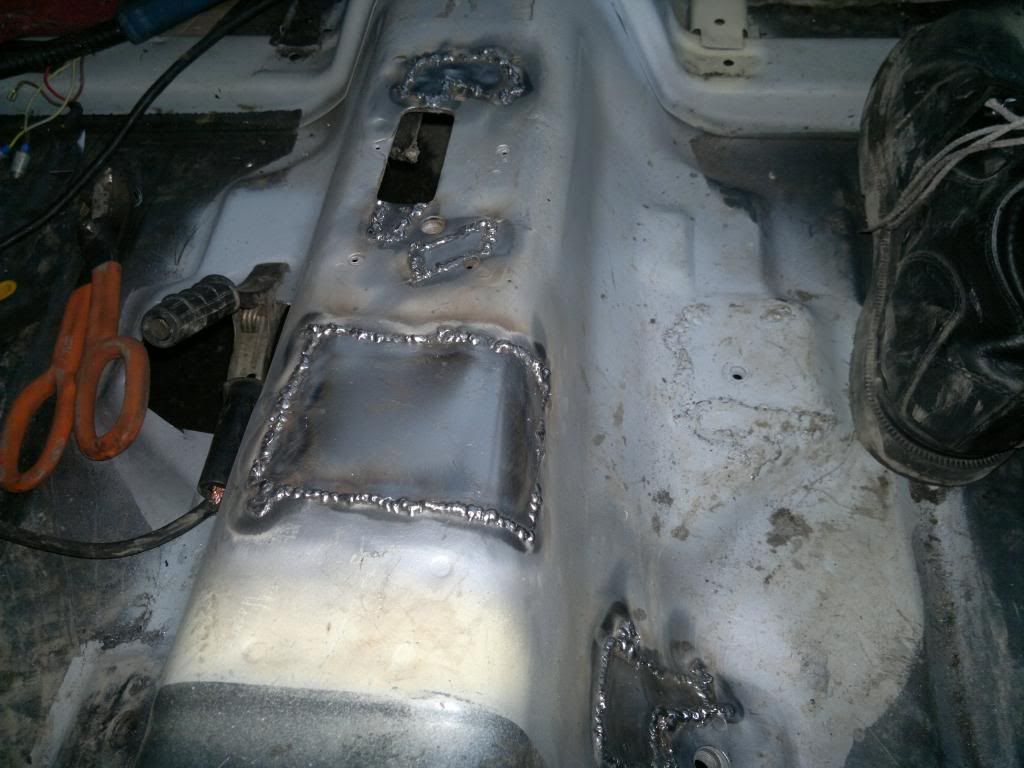
You can see where I butt welded onto the inner sill to replace where it rotted away. The repair section above is for the floor panel, the holes are there to form plug welds which replace the original spot welds.
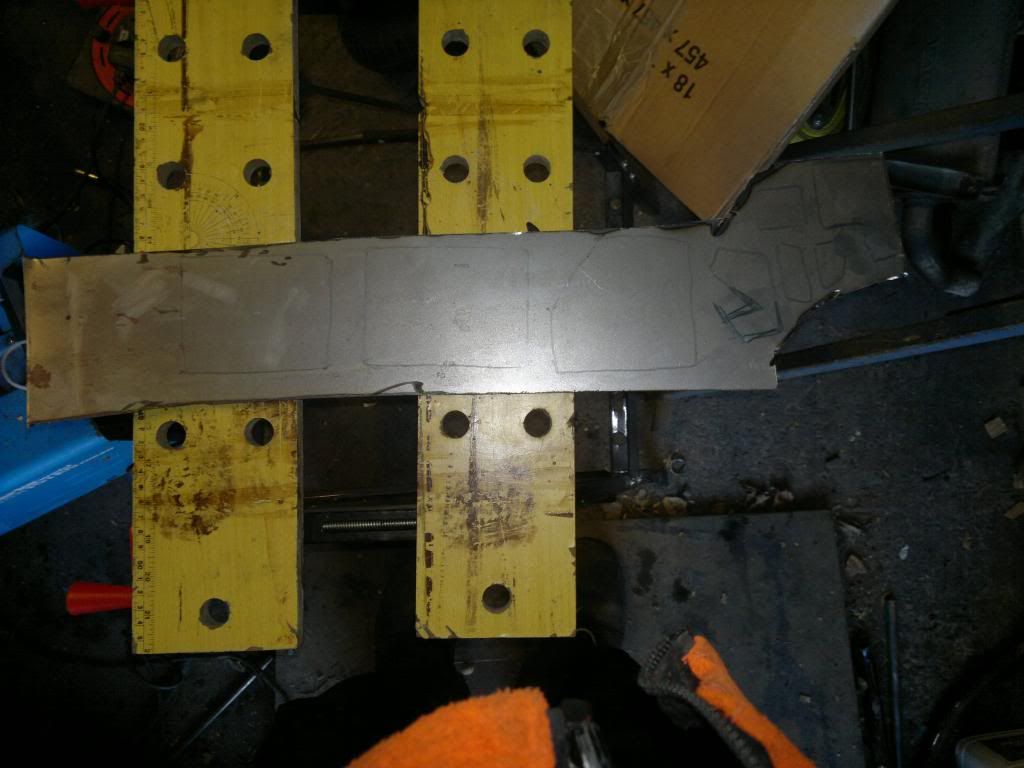
The problem with this approach is that its time consuming though, making repair sections to perfectly fit, and butt welding them up takes a lot more care than putting a patch over a hole. If the car is a keeper though then I reckon it's worth the investment. If you click on my sig pic then you can see my resto thread. I'm not claiming that how I've done it is the only or even the best way, but take a look at the pics and hopefully they will be of some help.
Keep it up, great to see another one being saved from the scrap heap